Showing posts with label Easter. Show all posts

Friday, March 2, 2018

Happy Easter


Good Morning.  Easter is April 1st this year.   Have you created your Easter cards yet?  I love to create spring flowers for my Easter cards, and I couldn't resist adding Joset's cute Bunny die.  Here is how this card was created.

The card size is 6 1/2 x 5 inch card.

Cut a piece of white card stock 6 1/4 x 4 3/4 inches.  Use a Score Board and score around the edges.  Attach to the front of the card.

Use the Stitched Rectangle  die set and die cut one pink rectangle using the largest die in this set.  Attach to the front of the card.

Cut a piece of white card stock to fit inside the pink Stitched Rectangle.  Use the second largest Stitched Rectangle die to die cut an oval opening in the center of this white card stock.  Use the Lots of Dots Embossing Folder to emboss this piece.  

Cut a piece of pink card stock to fit behind the die cut opening in the white card stock.  Emboss this pink piece using the Lots of Dots Embossing Folder.  Attach this piece to the back of the white embossed card stock.

Counting down the dies in the Dotted Scallop Oval die set, use the 3 die.  Counting down from the top of the Stitched Oval die set use the 5 die.  Place the Stitched Oval die inside the Dotted Scallop Oval onto white card stock, centering the center oval.  Tape down the dies and run through the die cutting machine.  This will create a frame.  Attach the die cut frame to the front of the card around the die cut opening.

Use the Garden Notes Tulips 2 die set and die cut enough pieces to create seven tulips.  Die cut using white card stock and use a pink marker to color, leaving the edges white.  Use the Flower Tool Kit to shape the flowers.  Die cut, color and shape the tulip leaves.  Assemble the flowers and leaves, as shown on the lower left corner of the card.

Use the Bunny die set and die cut the bunny.  Color using markers and assemble.  Attach the bunny over the bottom of the tulips, as shown, using dimensional double sided tape.

Use the Spring Basket die set and die cut two small eggs.  Color as desired.  Attach the eggs to the left of the bunny.

Use the Words 3 - Happy Holidays die set and die cut the sentiment, using pink card stock.  Attach as shown.

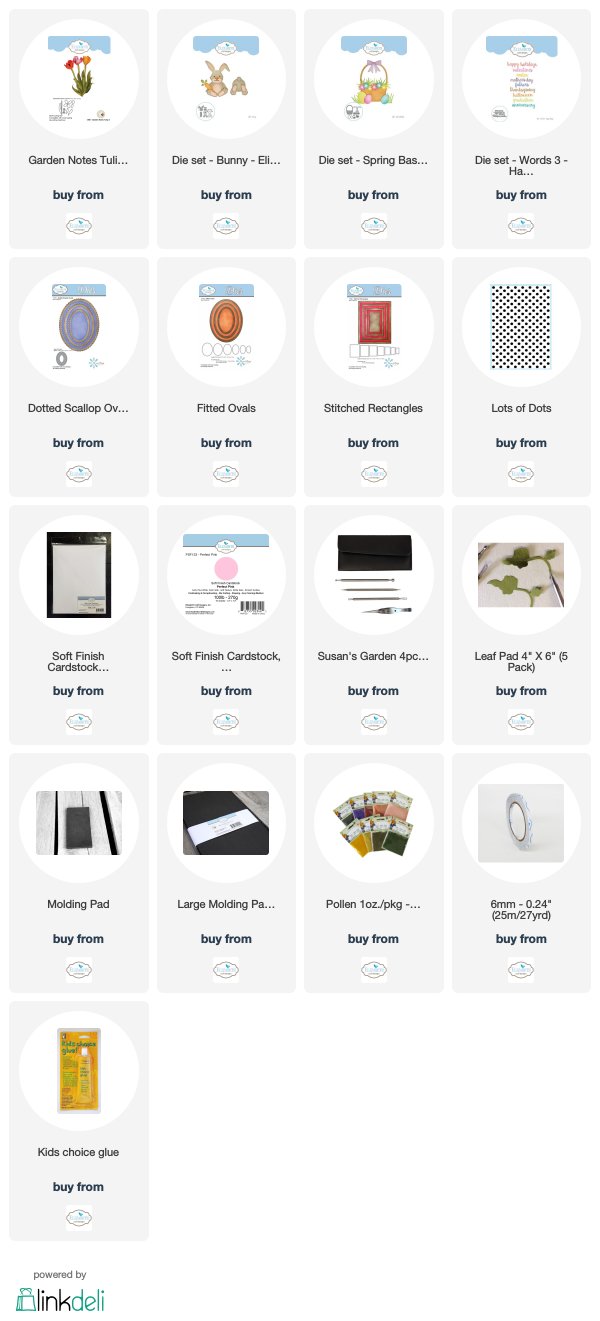
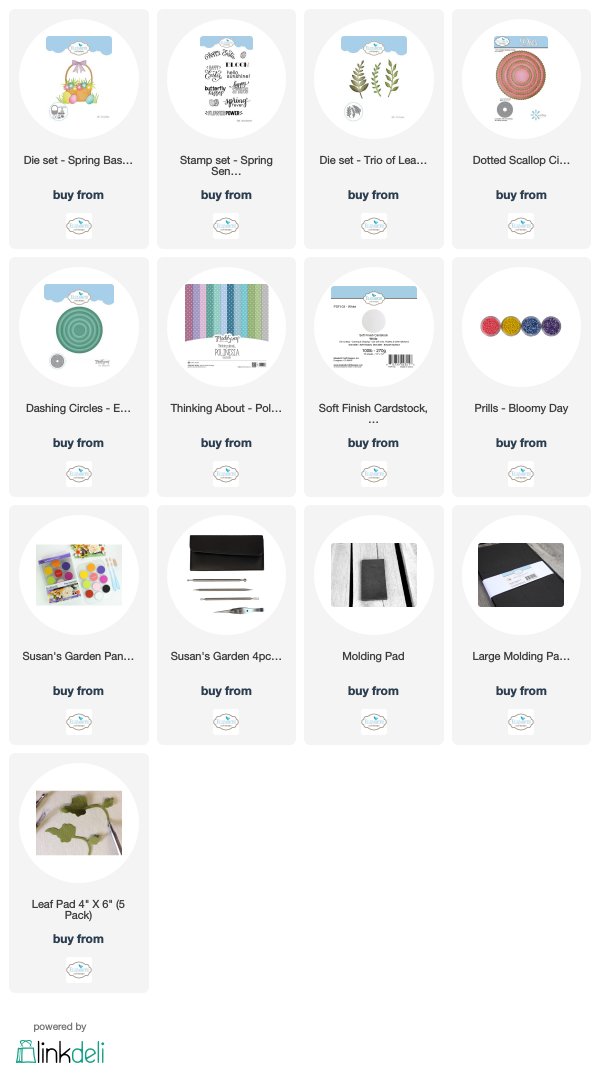
You can shop for the Elizabeth Craft Designs products I used by clicking on the links below.


Tuesday, February 20, 2018

Easter Basket


This is a second card I designed for the design team Easter Card Challenge.   Be sure to go over to the Elizabeth Craft Designs Blog at this LINK so see all the fabulous cards created by the design team for this challenge.

As in the past, you will be eligible to win a prize by commenting on the Elizabeth Craft Designs challenge post.

For today's challenge, Elizabeth Craft Designs is giving away a $20 Gift Card to use on their website to 3 winners


To enter simply leave a comment on the Elizabeth Craft Designs Challenge post and tell us "What Elizabeth Craft Designs dies or stamp sets would you use to create an Easter Card?

Three lucky winners  will be selected in a random drawing and will be announced on Friday, March 2nd on the Elizabeth Craft Designs blog.

Good Luck in the drawing.

* * * * * * * * * * * * * * * * * * * *

1.  Cover the front of a 6-inch square card with a piece of the ModaScrap Thinking About Polinesia design paper.

2.  Use the Dotted Scallop Circle die set and die cut the largest circle, using white card stock.

3.  Use the Dashing circles die set and die cut the largest cirlcle, using white card stock.  

4.  At the top of the Dashing Circle, use the Spring Sentiments stamp set and stamp the sentiment using VersaFine black ink and clear emboss.

5.  Use yellow PanPastel and a sponge to color  below the sentiment.  

6.  Attach the circles in the center of the card.

7.  Use the Spring Basket die set and die cut the basket, bow, five eggs, seven grass and  nine daisy flowers.  You can use design paper or use markers to color the eggs.  Shape the flowers using the Flower tool kit and add Prills to the center of each flower.

8.  Use the Trio of Leaves die set and die cut four branches.  Shape using the leaf tool in the flower tool kit.

9.  Attach the basket using dimensional tape around the sides and bottom, as shown.

10.  Fill the basket with the eggs, grasses, leaves and flowers.   


Easter Card Challenge


Today the design team was challenged to design Easter cards.  Joset Designs has a new release with really cute die sets that I used for my window Easter card.  Be sure to go over to the Elizabeth Craft Designs Blog at this LINK so see all the fabulous cards created by the design team for this challenge.

As in the past, you will be eligible to win a prize by commenting on the Elizabeth Craft Designs challenge post.

For today's challenge, Elizabeth Craft Designs is giving away a $20 Gift Card to use on their website to 3 winners


To enter simply leave a comment on the Elizabeth Craft Designs Challenge post and tell us "What Elizabeth Craft Designs dies or stamp sets would you use to create an Easter Card?

Three lucky winners  will be selected in a random drawing and will be announced on Friday, March 2nd on the Elizabeth Craft Designs blog.

Good Luck in the drawing.

* * * * * * * * * * * * * * * * * * * *

For my Easter card I created a window card.


This is a 6-inch square card.  


Step 1.  Cut a piece of white card stock 5 3/4 inches square and attach around the edges with a removable tape, to the front of the 6 inch square card front.  

Step 2.  Use the 5th die down in the Dashing Rectangles die set to die cut an opening in the two front pieces for the front of the card. Tape the die down on the front of the card using removable tape.  Lift the back panel up and run through the die cutting machine.


Step 3.  The two pieces you have will be the 5 3/4 inch piece of card stock with a rectangle opening and a rectangle opening in the front panel of the 6 inch card.  


Step 4.  A frame to go over the die cut opening is created by die cutting it using the 3rd and 5th down dies in the Dashing Rectangle die set.  Die cut two of these frames - pictured on the left side in the photo above.  One frame will be used on the front of the card, and one will be used on the back of the front panel for a finished appearance (picture shown below).

Step 5.  Use the 3rd and 4th down Dashing Rectangles to die cut a narrow frame to go on top of the previous rectangle - pictured on the right side in the photo above.  Only die cut one that will be used for the front of the card.  

Step 6.  Use the 4th down Dashing Rectangle die and die cut a piece of acetate.  The acetate rectangle is attached with 3mm Clear Double Sided Adhesive over the opening in the rectangle die cut on the 5 3/4 inch square card.

Step 7.  Attach the wider frame over the acetate then attach the narrow die cut frame on top.  This gives the window opening a dimensional looking frame.

Step 8.  Attach the second wider frame you die cut on the inside of the card, around the die cut rectangle opening.

Step 9.  For the front of the card, use the Lots of Dots Embossing Folder and emboss a piece of white card stock.  Cut a strip to fit along the left side of the frame.

Step 10.  Use the Bunny die set and die cut and assemble the bunny and carrots.

Step 11.  Use the Spring Basket die set and die cut grass to go by the bunny and two pieces that will be used on the inside of the card.  Die cut four eggs using this same die set.  Use design paper for eggs with designs.

Step 12.  Use the Garden Notes Pansy die set to die cut the violets.  Color and shape using the Flower Tool Kit.  Add Prills to the center of the flowers.

Step 13.  Use the Garden Notes Maidenhair Fern die set and die cut one fern.  

Step 14.  Use the Garden Notes Hydrangea die set to die cut a few small purple flowers.  Shape the flowers and add a Prill to the center of each.

Step 15.  Arrange the Bunny, Carrots, Grass, Violets and Maidenhair Fern, and small purple flowers on the lower left side of the card front.


Step 16.  The above picture shows the inside of the window card.  Arrange the die cut eggs and grass so they will show through the window  when the card is closed.  

Step 17.  Use the Spring Sentiments stamp set and stamp the sentiment inside the card so it will show through the window, when the card is closed.


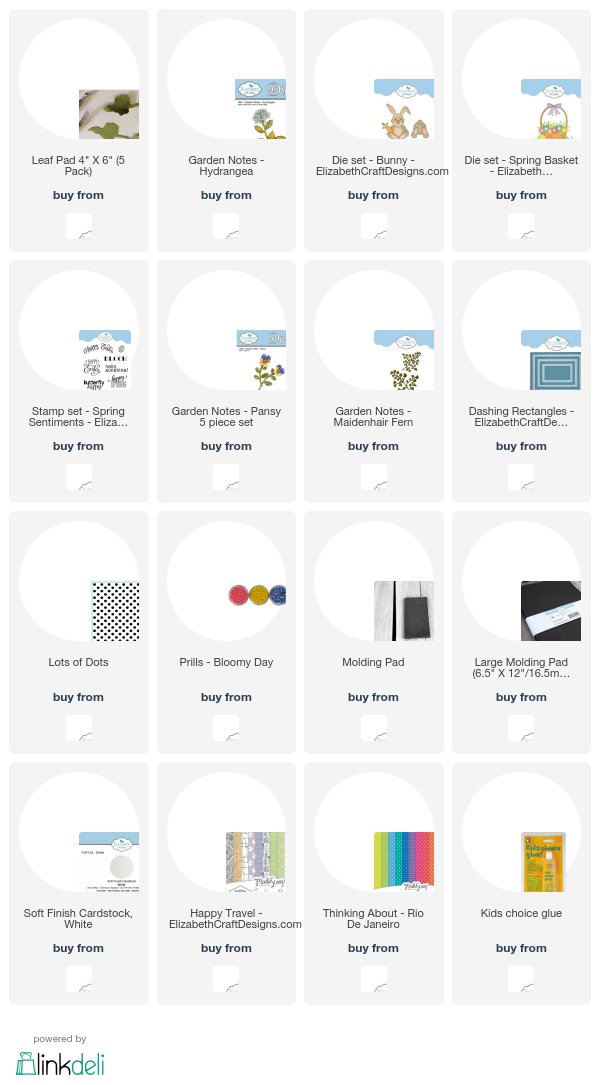
Be sure to go over to the Elizabeth Craft Designs Challenge Blog Post and leave a comment for a chance to win one of the prizes.


LinkWithin

Related Posts with Thumbnails