Showing posts with label Elizabeth Craft Designs. Show all posts

Friday, September 6, 2024

Pink/White Poinsettia


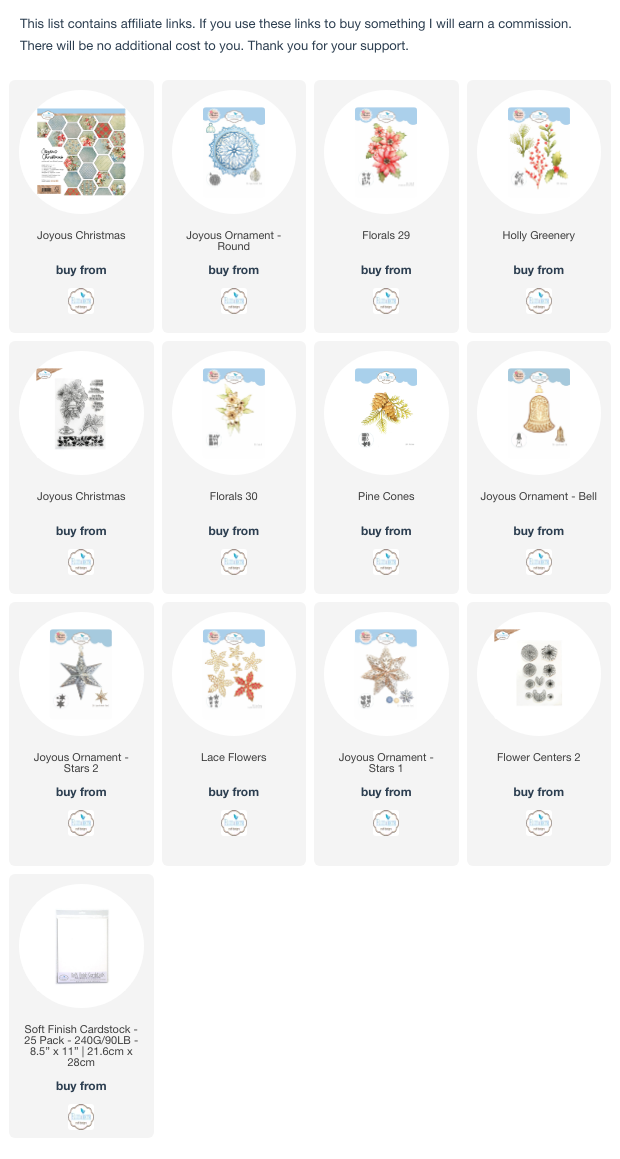
Hello.  I love making pretty  Christmas cards using dies.  All the dies, cardstock and stamp used are from the Elizabeth Craft Designs Joyous Christmas Release.


For this card I die cut the doily from the Joyous Ornament-Round die set.  It was attached to a piece of the design paper from the Joyous Christmas Patterned Cardstock pack.  

The Poinsettia was die cut using the Elizabeth Craft Designs Soft Finished White Cardstock and Florals 29 die set.  I used Tim Holtz water colored pencils to color the center of each petal pink.  The leaves were colored using green alcohol markers.

The pretty ornament was die cut using white cardstock and the Joyous Ornament-Stars1 die set.  It was attached to the doily with glue.

The Holly Greenery die set was used to die cut the berry branches and pink styrofoam balls added for the berries.

The Holly Greenery die set was used to die cut the pine branches using the Soft Finished  White Cardstock.  Green ink was sponged on them.

The sentiment, from the Joyous Christmas Stamp Set, was stamped and silver embossed.

Products used to create this card are linked below.  Thank you for visiting my blog.


Thursday, September 5, 2024

White Poinsettia


Hello Paper Crafters.  I am still working on completing my Christmas cards.  I am working with the Joyous Christmas release from Elizabeth Craft Designs.

Today I decided to use a piece of the gorgeous Joyous Christmas design paper from this collection and use a piece of the cardstock that included a lot of design.   I had fun creating dimensional pieces to go over some of the design in the cardstock.

 Using Elizabeth Craft Design White Soft Finish Cardstock, the poinsettia was created using the Florals 29 die set. A hint of blue was added to the center of the poinsettia to go along with a blue and gold theme.  Gold dimensional elements were added in the center.  The leaves were also die cut using this cardstock and colored using three shades of green alcohol markers.  

Using the Holly Greenery die set, the branch die was used to die cut three berry branches.  White small Styrofoam balls were colored using Indigo Alcohol Ink.  A fine tip black pen was used to press down on the top of each berry.  (The berries were glued to the small circles on the die cut berry branch.)

The Holly Greenery die set was also used to die cut the pine branches.  They were die cut using green cardstock and cut into smaller pieces to glue under the berry branches.

The Joyous Christmas Stamp Set was used for the sentiment.  It was gold embossed on ivory cardstock and die cut using an oval die.  A slightly larger oval die was used to die cut a blue oval.  The sentiment was attached using dimensional dots.  Gold flat backed elements were used to complete the card.

This was a fun card to create using the Joyous Christmas Patterned Cardstock for a beautiful background.

Have you started creating your Christmas cards so you aren't rushed during the holidays?


Wednesday, September 4, 2024

Pretty Mistletoe


Hello.  Today I have another card designed using the Elizabeth Craft Designs Joyous Christmas Release.

The background paper is from the Joyous Christmas Patterned Cardstock pack.  On the bottom I silver embossed the holly design using the stamp from the Joyous Christmas Stamps.

The Joyous Christmas Ornament-Round die set was used to die cut doily using silver mirror cardstock.  It was attached using dimensional tape.

Four branches of Mistletoe were die cut using Elizabeth Craft White Cardstock and the Holly Greenery Die set and were colored using alcohol markers.  The berries are Styrofoam balls that have been colored using alcohol markers.  A black fine tip pen was used to push down on the top of each berry.  Doing a Google search, I found out Mistletoe berries are usually white but there is a pink variety.

The Holly Greenery Die set was used to die cut the Pine Branches.  They were die cut using green cardstock and brown Pan Pastel was used to color the branch.

Flowers were created using the Florals 30 die set.  They were die cut using white cardstock and in the center I stamped the stamens using Flower Centers-CS330.  Prills were added to the center of each flower.

A silver bow was created and attached under the center flower.  


Tuesday, September 3, 2024

Joyous Christmas


Hello Paper Crafters.  

Today I have a card designed using the Elizabeth Craft Designs Joyous Christmas release.

The plaid background is a piece of the design paper from the Joyous Christmas Paper Pad.  

Using the Joyous Ornament-Round die set, the large background doily was die cut using gold metallic card stock and the smaller lacey circle was die cut using white cardstock.  

The poinsettia was created using the Florals 29 die set.  The berry branch, holy leaves and pine needles were die cut using the Holly Greenery die set.  The berries were created using small Styrofoam balls that were colored using alcohol ink.  A black fine tip black pen was pushed down on the top of each berry.  The Pine Cones were created using the Pine Cone die set.  The small white flowers were die cut using the Florals 30 die set.  Two die cuts were glued together and a gold flat bead was glued to the center of each flower.  

To tie in with the gold on the card, a gold cold was made using gold twine.

The sentiment is from the Joyous Greetings stamp set.  It was gold embossed on white cardstock and mounted over a piece of gold mirror cardstock.  

Thank you for visiting my blog today.  Below are links to all the products in the Elizabeth Craft Designs Joyous Christmas release.

Wednesday, July 3, 2024

Christmas Card


Hello Paper Crafters.   It is Christmas in July.   I always like to start creating my Christmas cards early so I don't have a big rush during the holidays trying to complete my cards.

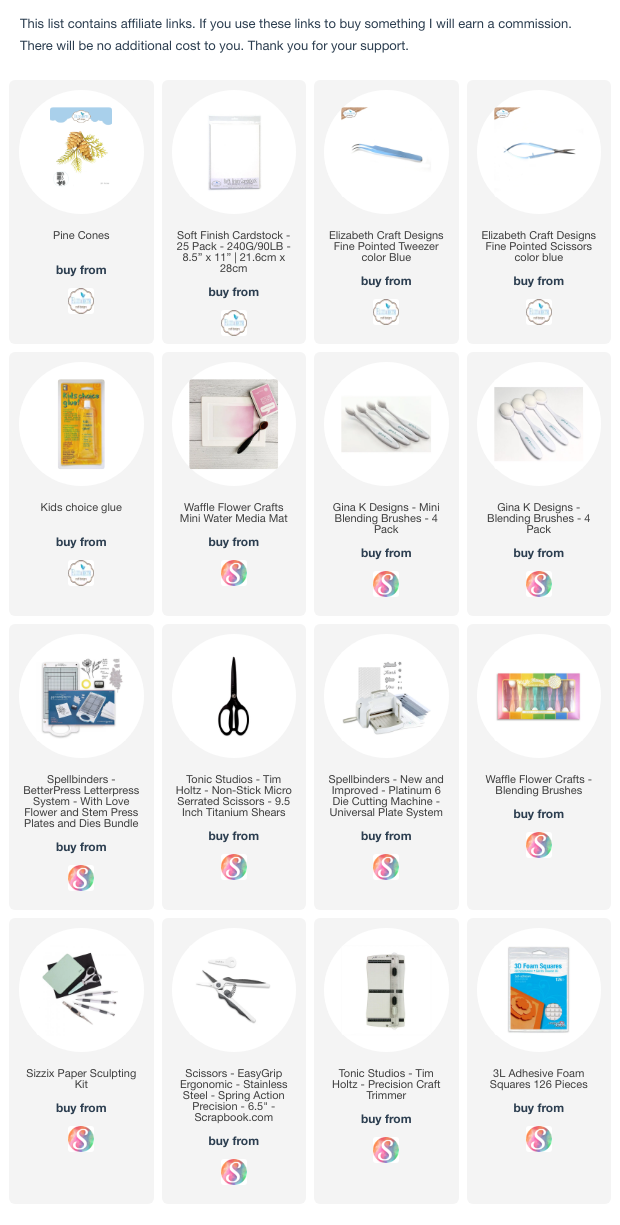
Today I used the Elizabeth Craft Designs Pine Cone die set.  This set includes dies to create two different size pine cones plus two different evergreen branches.


The card I created is a 5x7 inch card.  I used a piece of snowflake design paper from my stash for the background.  

Six evergreen boughs were die cut using 90 lb Soft White Cardstock and two shades of green ink brushed on.  A brown marker was used to color the center of each branch.  The needles were shaped so they don't lay flat.  

Using the Pine Cone die set, two of the larger pine cones and one smaller pine cone were die cut and colored using brown markers.  These were also die cut using the Soft White Cardstock.  Starting at the tip of the pinecone, each layer was glued onto the pinecone base.  These are very easy pine cones to assemble.  

I used a foiled poinsettia and framed it with the evergreen boughs and pine cones.  Small styrofoam balls, colored red, were used for the berry clusters.  


Tuesday, June 4, 2024

Hello Sweet Friend


Good Morning,

Today I have a card designed using Elizabeth Craft Designs Florals 28 die set.  The frame behind the arrangement is a die cut using the Elizabeth Craft Designs Frames & Elements die set.

This is a 6x6 inch card.  I used a piece of design paper from my stash for the background.  

Using white cardstock, the leafy Frame was die cut and attached in the center of the card. The center of the frame is a separate piece and was attached using dimensional tape to raise it slightly.  Two little pieces from the top of the frame (that normally would be discarded) were glued on each side of the frame  

Using Elizabeth Craft Designs Soft White Cardstock, the flowers were die cut using the  the Florals 28 die set.   To add color, I used Distress Picked Raspberry ink and a small blending brush to lightly color only the base of the petals. The petals were lightly misted with water and shaped.   Beacon Kids Choice Glue was used to assemble the flowers.  GinaK light spruce ink was used to color the leaves.  The flowers and leaves were arranged on the frame.  Using the Elizabeth Craft Designs Frames & Elements die set, two white bows were die cut.  One of the bows was colored using the same ink that was used to color the flowers.  The white bow was offset over the pink bow and attached at the base of the arrangement.

For the sentiment, I used a sentiment from the Altenew Sweet Jasmine Press Plate.  It was  attached with dimensional tape.  

Below are links to the products used.  


Friday, August 23, 2019

English Rose


This rose was created using Susan Tierney-Cockburn's Garden Notes English Rose die set.
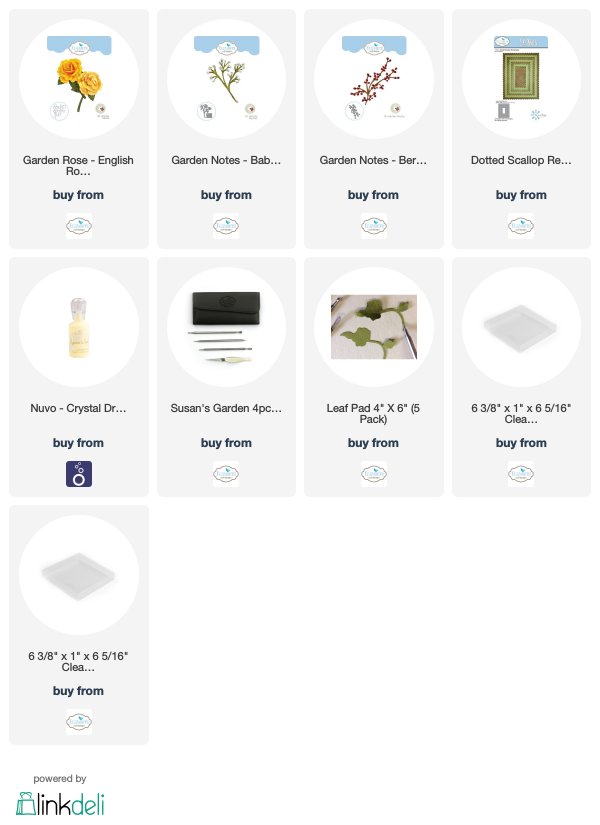
I have created this rose many times using card stock but today I used a piece of light peach Foamiran and shaded the edges with Pearlescent Red PanPastel.  The leaves were die cut using green Foamiran, then Susan's Leaf Tool was used to draw the veins on them.  To shape the rose petals and leaves, a small craft iron was used to warm up the Foamiran then the petals/leaves shaped by gently stretching each one.  A hot glue gun was used to glue the petals together to shape the rose.  Two rose buds were also created with the English Rose die cut petals. 


Here is the card I created with the English Rose.  Susan's Garden Notes Baby's Breath die set was used to create the baby's breath, and her Garden Notes Berry Spray die set used for the berry branch.  Nuvo Buttermilk Crystal Drops were used for the berries.

The sentiment is from one of Susan's stamp sets called 'Cherish'.  It was stamped using VersaFine Ink and Clear embossed.  It was die cut using the Dotted Scallop Rectangle die set.  Before removing it from the die, the edges were sponged with peach ink.  It was attached using double sided dimensional tape.


This card can be mailed in one of the clear acrylic boxes which is linked below.


Thursday, August 22, 2019

Foamiran Poinsettia


I have some red Foamiran that a dear friend in the Netherlands sent me and I decided to create a poinsettia with it using Susan Tierney-Cockburn's dies.  

This is a 6-inch card.  

A piece of white cardstock, slightly smaller than the front of the card was die cut using Susan's Frame It-Stitched Oval die set.  The oval was die cut toward the top.  A piece of white card stock was embossed with a dots embossing folder and attached to the back of the die cut oval.  

Suzanne Cannon's A Way With Words Merry Christmas die set was used for the sentiment.  It was die cut using red card stock and attached on the lower right side.

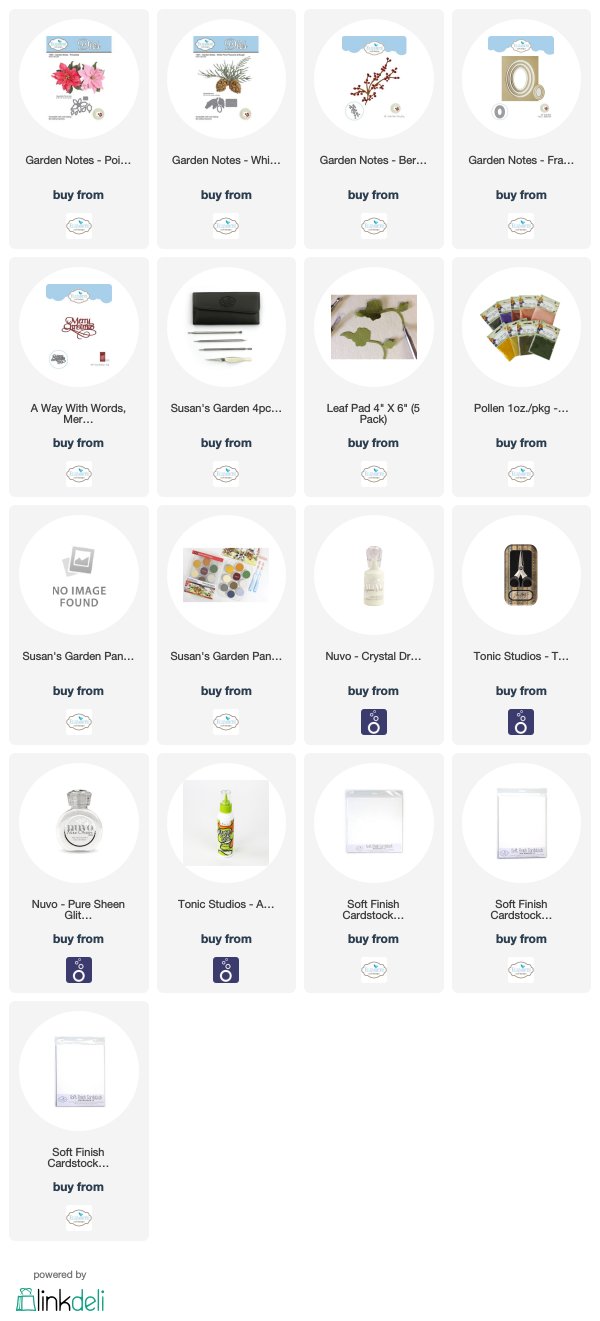
Susan's Poinsettia die set was used to create the poinsettia.  The red leaves were detailed using the leaf tool from her Flower Tool Kit.  The poinsettia was assembled using a hot glue gun.  

To create the bracts for the poinsettia, Nuvo Bottle Green Crystal Drops were created on a craft mat.  While the drops were still wet, a very small amount of yellow pollen was pushed into the top of the green drop.  Once dry, the bracts were glued into the center of the poinsettia using tacky glue.

The Garden Notes Whitepine Bough die set was used to die cut a lot of pine branches.  I used the Tim Holtz scissors to cut some of the pine needles in half.  This makes the pine branch appear fuller.  For snow on the branches, Nuvo  Gloss Simply White Crystal Drops was spread across some of the pine needles then Nuvo Ice White Pure Sheen Glitter sprinkled on, for a snowy effect.

The Garden Notes Berry Spray was used to die cut 2 sprays.  The stems were colored brown and Nuvo Gloss Simply White Crystal Drops was used to create the berries.  

The Poinsettia was attached to the left side of the die cut oval then the pine boughs and berry spray was attached under it.  

This card can be mailed out in one of the clear acrylic boxes linked below.


Monday, August 19, 2019

Peony Bouquet


Today I had an idea and wanted to experiment.  I love adding Susan's Garden Notes Baby's Breath to floral arrangements.  I like for the clusters of flowers to be very thick, like they actually grow.  I usually die cut many little flowers from the die in this set and shape them to fill the Baby's Breath Branch.  I love using the Tonic Nuvo Drops on my projects.  Today I experimented by adding dots of Nuvo White Crystal Drops on the Baby's Breath stem.  I filled each cluster with the Nuvo drops, then used the heat tool and heated up all the drops.  What happened is that the dots blew up like a balloon, then collapsed.  This made each bubble 'ruffly - similar to a cluster of baby's breath'.  This was building up the area for the tiny die cut flowers, giving them depth and fullness. The die cut flowers were then glued on the Nuvo clusters. I really like the effect and it took less of the die cut flowers. This definitely isn't something you have to do, but I had fun experimenting with the Nuvo Drops.

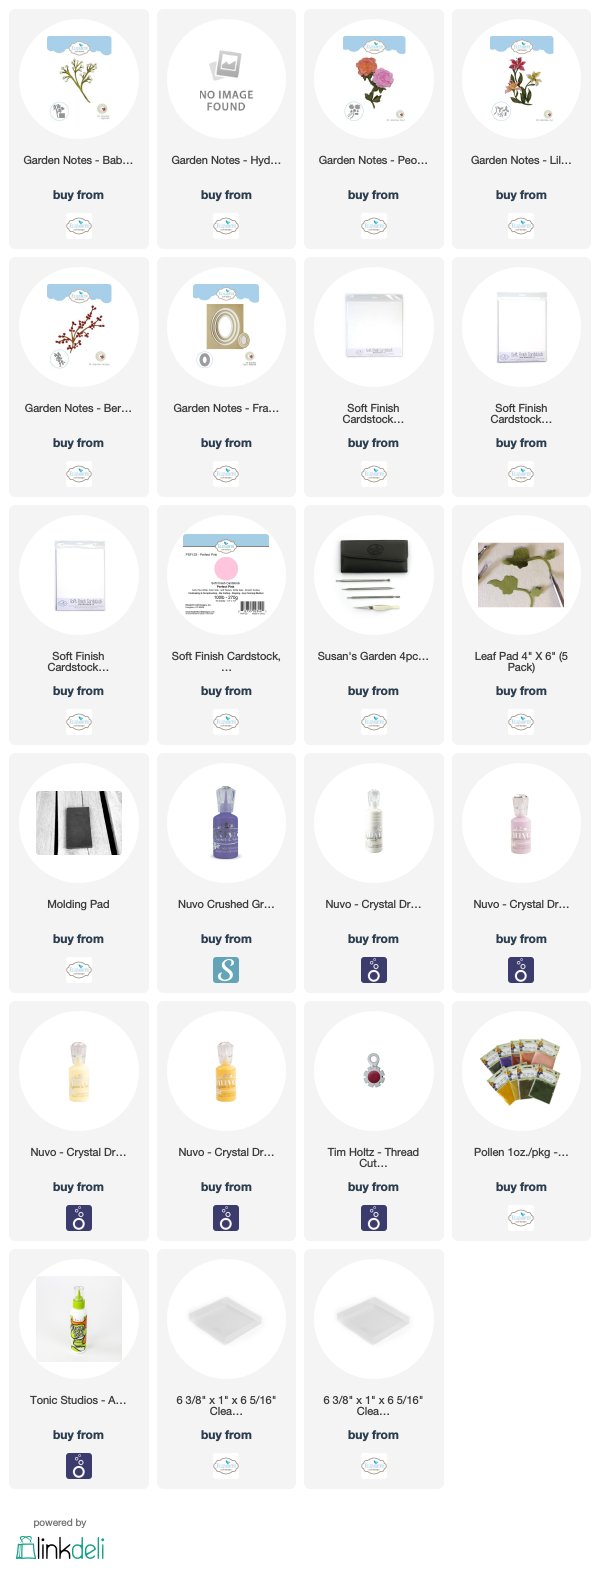
The flowers created for this project include Susan's Garden Notes Peony, Tiger Lily and Pansy.  The flowers were all die cut using white card stock,  colored, and shaped with the Flower Tool Kit.  Pollen was added to the Lily stamen, and a yellow Nuvo Crystal Drop added to the center of the Pansy.  

The Garden Notes Berry Spray die set was used for the berry branches.  Nuvo Crushed Grape Crystal Drops were used to create the berries.  

A leaf branch was die cut and small flowers created with the Garden Notes Hydrangea die set were die cut using lavender card stock, shaped and added to the leaf branch.  A small lavender Nuvo Crystal Drop was added to the center of each of these little flowers.  

This is a 6-inch square card.  A piece of embossed white card stock was distressed and added to the card.  A piece of white card stock was used to create the oval die cut in the center of the card.  Susan's Frame It-Stitched Rectangle die was used to create an oval.  This piece was cut down around the die cut oval and added in the center of the card.  I know it is hard to see this oval die cut piece in the picture because there are so many flowers added.

The Baby's Breath, leafy branch, Peonies, Lily, and Berry Spray were arranged in the oval die cut.  Sweet Lilac Nuvo Crystal Drops were used around the arrangement.

The sentiment is from the Tonic Craft Kit #24.  

This card can be mailed in one of the clear acrylic boxes, linked below.


LinkWithin

Related Posts with Thumbnails