Showing posts with label GinaK Designs. Show all posts

Monday, July 29, 2019

Pink Poinsettias


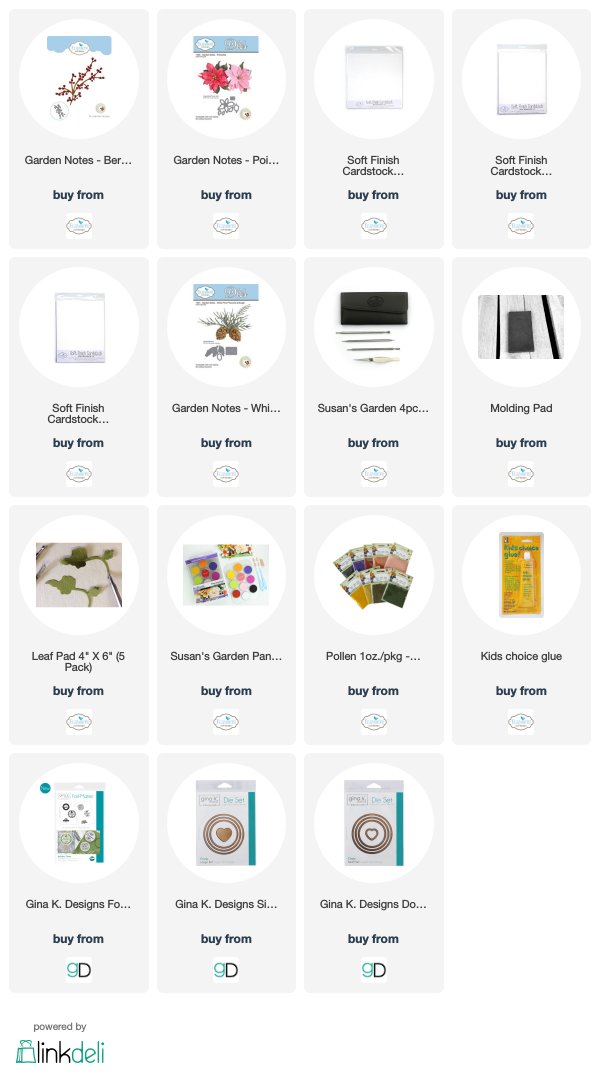
Today I have a Christmas card created with Susan's Garden Notes Poinsettia die set and Berry Spray.

This is a 6-inch card.  A piece of card stock from my stash, that has a pearled design in it, was used for the background.  The edges were scored, using the Scor-Pal, then attached to the front of the card.  

Three poinsettias were created with the Garden Notes Poinsettia die set.  They were die cut using white card stock then colored using the light pink PanPastel.  They were shaped using the flower tool kit and assembled using Kids Choice Glue.  For the bracts of the poinsettia, dots of Nuvo, Bottle Green, Crystal Drops were used to create each dot down on a craft mat.  While still wet, yellow pollen was put on top.  Once they were dry, the green bracts were glued to the center of each poinsettia.

One branch was die cut using the Garden Notes Berry Spray die set.  It was die cut using white card stock and the branch was colored with a brown marker, leaving the berries white.  Nuvo Ivory Seashell Crystal Drops were used to create the berries.  Once the berries were dry, the branch was cut apart in smaller pieces to be glued behind the poinsettias.

A Marianne Designs Pine Branch die set was used to die cut the pine branches.  I have had this die a long time.  I do not know the number of the die set.

For the sentiment, I used one of the GinaK Design Foil Mates, from the Holiday Cheer Foil Mates package.  It was die cut using the GinaK Double Stitched Circle die set, then foiled using a piece of the DecoFoil Emerald Watercolor foil.  A larger GinaK Designs Stitched Circle die was used to die cut a piece of green metallic card stock. I used an old embossing folder to give this circle some dimension. The two circles were attached using double sided foam tape, to give dimension between the two circles, then attached to the card front.

The pine bough, berry branch pieces, and poinsettias were attached on the left side of the sentiment.

This card can be mailed in the clear acrylic box, which is linked below.


Sunday, July 21, 2019

English Rose


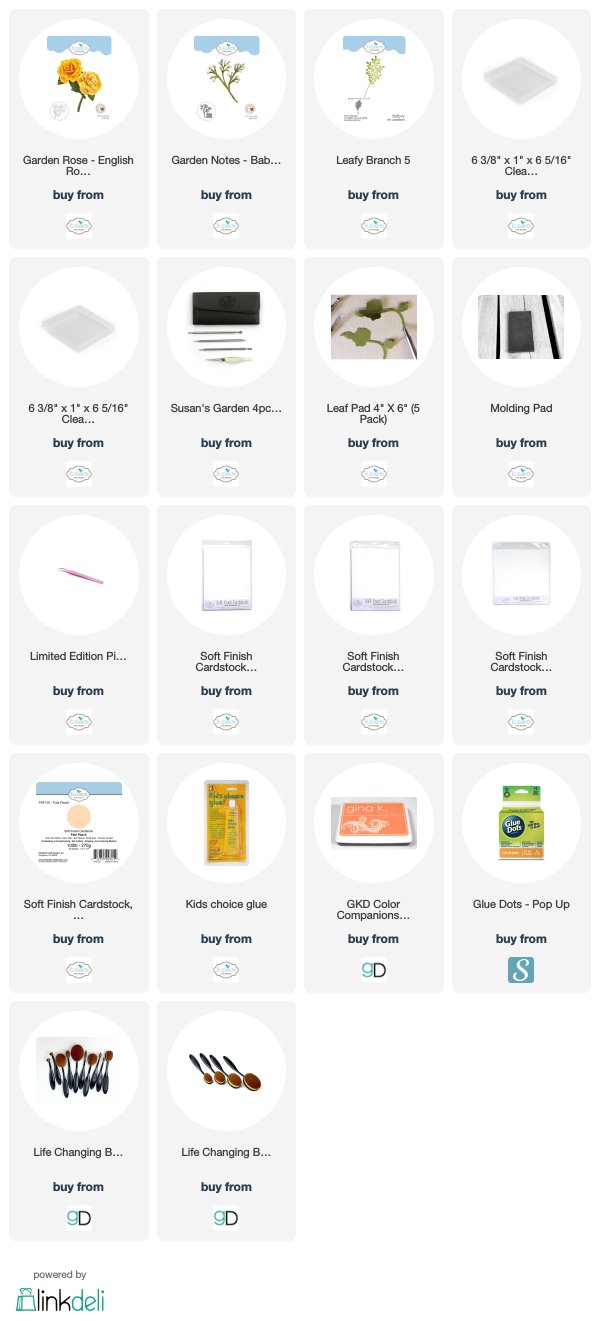
Three dimensional roses are so easy to create using Susan's Garden Notes die sets.  Today I created one rose using her English Rose die set.  Behind the rose are some branches of Baby's Breath.


Close up of English Rose


Using the English Rose die set, a lot of flower pieces were die cut, using white cardstock.  To create a soft yellow on the petals, I brushed on Altenew Buttercream ink on both sides of the petals.  Both the large and single petals were sponged lightly.


To add a light peach color, GinaK Peach Bellini ink was sponged very lightly on the lower 2/3 of the 3 petal die cuts.  More ink was added to the single petals, almost all the way to the top.  I wanted the center of this flower to be darker peach on the center petals.  I looked up English Rose colors on the Internet. You can add as many layers of petals as you want to create the fullness you like.  I added 8 layers of the 3 petal die cuts, alternating them as they were glued together.  When shaping the petals, I used the Flower Tool Kit and cupped the petals.  The single petals were cupped and added in the center of the three petal die cuts.  The very center petals were rolled and glued at the base.

One branch of Baby's Breath was die cut using the  Garden Notes Baby's Breath die set.  The stem was die cut using a very light tan card stock.  The flowers were die cut using white card stock.  The little flowers were pressed down in the center and glued to the branch.  Make clusters of the flowers on each branch to make it look full.  

Use the Leafy Branch 5 die set and die cut 4 branches.  Use the leaf tool to draw a line down the center of each leaf.  

This is a 6-inch card.  A piece of pale peach card stock was attached to the card front.  I added a die cut background, that was die cut using white card stock.  I have had that die for a while and do not know the name of it.  Peach pearls were added to the corners of the diamonds in the background die cut.

Attach the Leafy Branches on the left side of the card front.  Cut the Baby's Breath branch apart and spread it out over the leafy branches.  Attach the Rose, using a dimensional glue dot.  

Add a peach organdy ribbon under the rose, as shown.

This card will fit in one of the clear acrylic boxes, linked below, for mailing.


Saturday, July 20, 2019

Red Poinsettias


What happens in July?   Crafters begin thinking about Christmas cards.  It is so nice to get an early start so when the holidays arrive, we don't have to spend a lot of time creating the beautiful cards we want to send out to the special people in our lives.

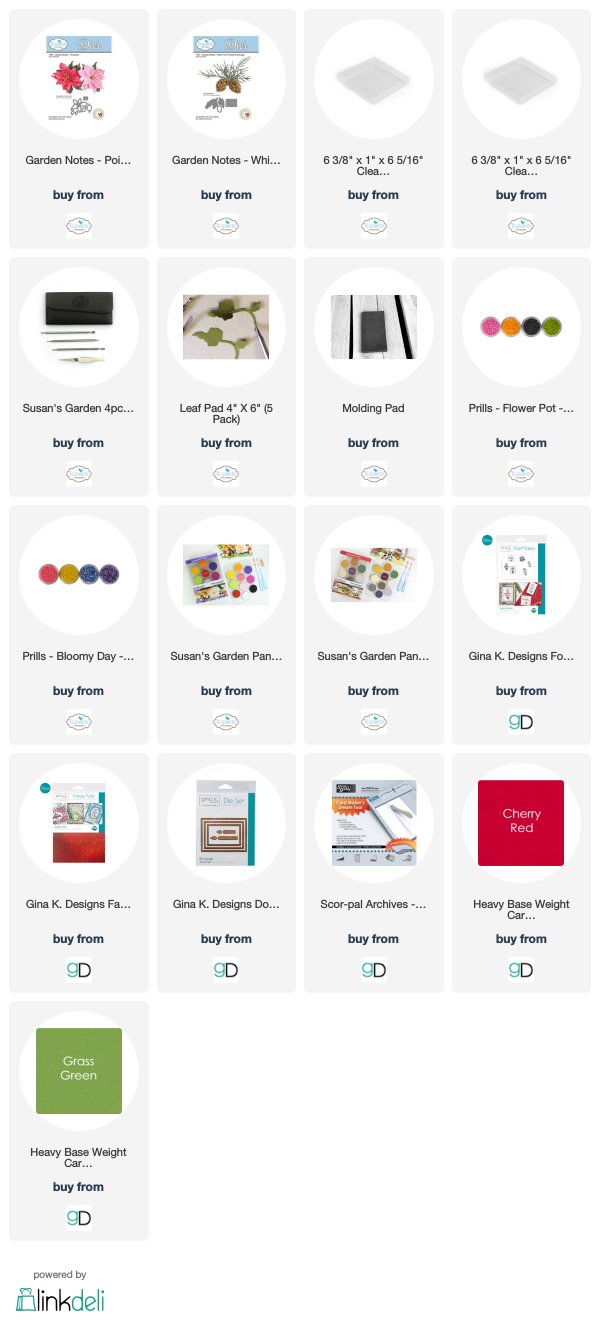
If you follow me, you know I love to create my Christmas cards using Susan's Garden Notes Poinsettia dies.  Today I have created three red poinsettias and embellished with Garden Notes Whitepine Boughs.

This is a 6-inch card that will fit nicely into the Clear Acrylic Box linked below.  

I used a piece of white embossed  card stock, from my stash, for the background on this card.  The Scor-Pal was used to score a line around all four edges. 

Three Poinsettias were created by die cutting the red leaves out of bright red card stock.  They were shaped using the Flower Tool Kit.  For the center of each poinsettia, a small ball of 'YES' glue was rolled in green, yellow and red Prills, then glued in the center of the poinsettia.  Susan has a video on her Garden Spot Live Facebook page showing how to assemble the poinsettia and how to create the center (bracts). 

Both the red and green leaves were shaded with PanPastels.  A mixture of red and dark green PanPastels were used on the center vein of the red leaves and the light yellow green was sponged down the center of the green leaves.  A little bit of red and darker green PanPastes was sponged around the edges on the green leaves.  PanPastels are easy to clean up on your work space by using a Swifter cloth.  

The Garden Notes Whitepine Bough & Pinecone die set was used to die cut enough boughs to fill in nicely under the poinsettia arrangement.  The boughs were die cut using a dark green card stock then sponged with the light yellow green PanPastels.  Tonic Nuvo Glitter Accents Fresh Snowfall drops were used to add glittered snow to the pine boughs.

For the sentiment, I used GinaK Design Joyful Holiday Foil Mates.  I love adding sparkle and shine to my Christmas cards.  The foil used on the sentiment is Radiant Red Fancy Foil.  It has a beautiful sparkle in the foil.  The die set used to cut out the Foil Mate sentiment was the GinaK Designs Double Stitch Small Rectangle die set.  A piece of red mirror card stock, from my stash, was used to line the die cut sentiment. 

It feels good to have my first Christmas card created.  Hopefully I will have them all completed before the holiday season!  Have you started your Christmas cards yet?


LinkWithin

Related Posts with Thumbnails