Wednesday, October 30, 2024

Autumn Flowers


Hello Paper Crafters.  Today I designed a card using one of the new flower die sets in the Elizabeth Craft Designs Autumn Harvest Collection.

This is a 5x7 inch card.  For the background, I used a piece of the design paper from the Autumn Forest  Cardstock.  

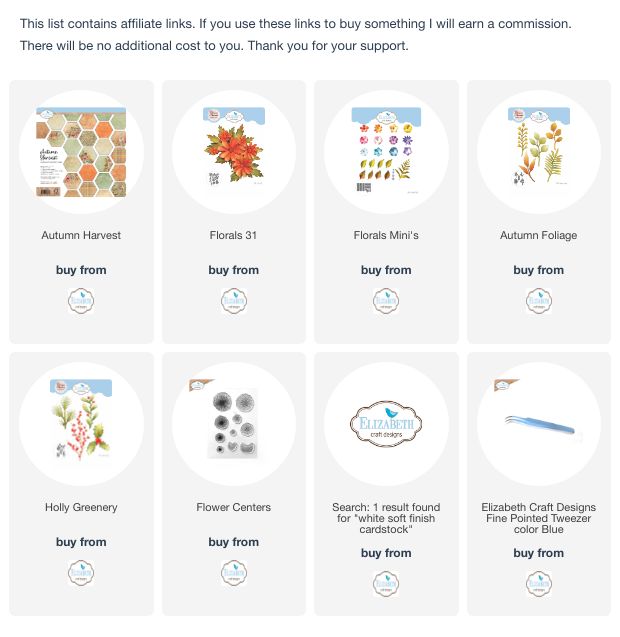
The Flowers were created with the new Florals 31 die set.  Stamens from the Floral 27 die set were die cut for these flowers.  The Elizabeth Craft Designs Soft Finish Cardstock was used for all die cuts.  Several shades of orange ink was brushed on the petals.  One of the stamps from the Flower Centers stamp set was used to stamp the dots at the base of the flower petals.  The flowers were shaped and glued together using Kid's Choice Glue.  Florals Mini's Die Set was used for the small white flowers.  The smallest stamp in the Flower Centers Stamp set was used to stamp in the center of each flower.  A rhinestone was added to the center of the little flowers.

The Holly Greenery Die Set was used to die cut the Berry Branches.  Small white Styrofoam balls were colored using Alcohol Ink and glued to the Berry Branches.  

The Autumn Foliage Die Set was used to die cut the two different foliage branches, which are glued under the arrangement.

Thin gold cording was used to create a bow to finish off the card.  


I appreciate you visiting my blog.  I hope I gave you some inspiration.  Below are links to products used.  


Tuesday, October 15, 2024


Good Morning.  Our weather is much cooler and the trees and shrubs are such beautiful colors now.  I have my front porch decorated for Autumn.  Since I'm in the Autumn mood, decided to work on creating another Autumn card.

This is a 6x6 inch card.  I scored around the edges and a few extra score lines down the left side.  I used the Elizabeth Craft Designs Elegant Decorative Borders die set and die cut the small border using gold metallic cardstock.  The die was placed close to the edge of the cardstock to die cut which gave me an extra thin piece to add to the top of the card edge.

The Floral Foliage 1 die set was used to die cut the wooden barrel.  Gold Metallic cardstock was used to die cut the bands for the bucket.  Tiny black beads were glued to the holes in the bands.

I used the Florals 30 die set for all the flowers.  There are three levels of petals for the larger flowers.  For the small yellow flowers, I used the smallest flower die in this same set and colored the flowers yellow and added a burnt orange at the base of the petals.  I use the Elizabeth Craft Designs Soft Finish Cardstock for all my die cuts.  I wanted these tiny flowers on a branch so I used the Holly Greenery Die Set and die cut two of the Berry Branches.  The tiny flowers were glued onto these branches.  Once the flowers were glued to the branches, I added a tiny gold bead to the center of each flower.

For the Berry Branches, I used the Holly Greenery Die Set again and die cut two branches, and colored them brown.  I used purple flat backed pearls and glued to each of the spaces provided on the die cut for the berries.  I used a black marker to add a dot of black on the top of each berry.  

For additional foliage, I used the Floral Greenery Die Set and die cut the two different leaf branches.   For the larger set of leaves, I colored yellow with a little green and the branch of smaller leaves I colored green.  I used a yellow interference ink to brush over all the leaves.

Around the bottom of the barrel, I added three Maple Leaves.  These were die cut using the Floral Foliage 1 die set.  They were colored using a variety of ink colors, shaped and placed behind the barrel.


Sunday, October 13, 2024

Metallic Poinsettia


Good Morning.  Today I wanted to try something different.  I created this card using only metallic cardstock an die sets from Elizabeth Craft Designs.

This is a 6x6 inch card.  

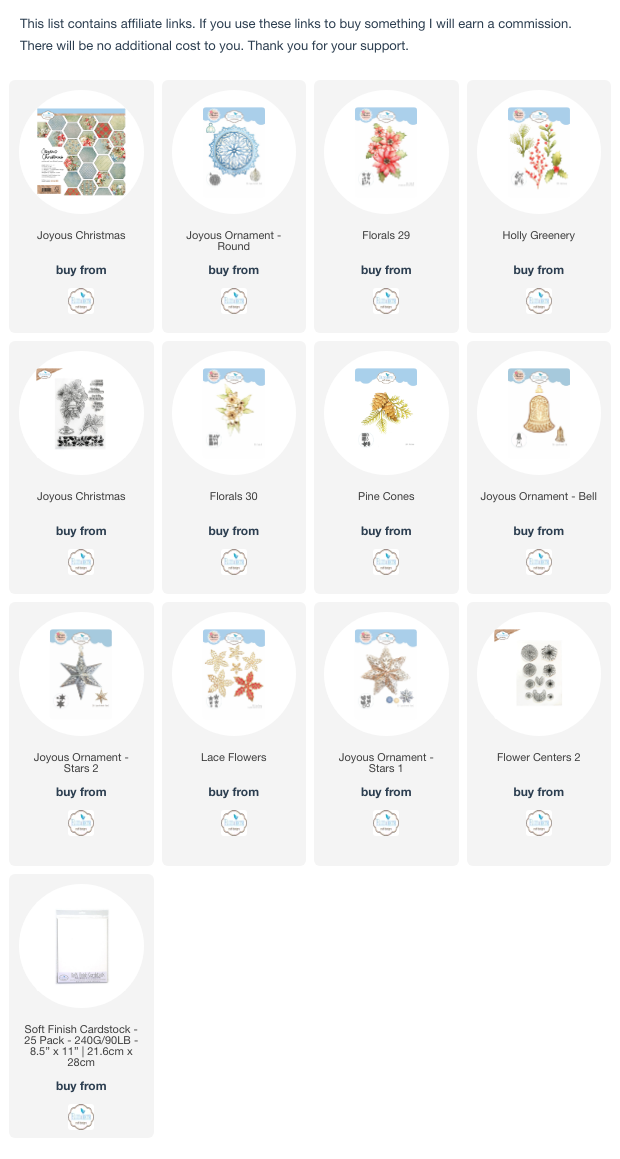
The Florals 29 die set was used to die cut the poinsettia using red metallic cardstock.  The leaves were die cut using green metallic cardstock and the largest die of the poinsettia.  The poinsettia was shaped and glue together with Kids Choice Glue.  The green leaves were cut apart and individually glued under the poinsettia.

The Lacy Leaves die set was used to die cut four sets of leaves using gold metallic cardstock.  One set was cut into individual leaves.  They were arranged in a circular pattern on the front of the card.  The poinsettia was attached in the middle.  Gold embellishments were used for the center of the poinsettia.  

The Holly Greenery die set was used to die cut four pine branches.  The branches were cut apart and attached around the arrangement.  

The Elizabeth Craft Designs Joyous Christmas Stamp Set was used to gold emboss the sentiment.  It was die cut using an oval die.  A slightly larger red metallic oval was die cut and attached under the sentiment.  Gold metallic elements were attached around the arrangement and on the oval sentiment.

Working with all metallic cardstock turned out to be very easy to work with to create this card.  

Below I have links to the Elizabeth Craft Designs Holiday collection.


Monday, October 7, 2024

Autumn Leaves


Good Morning.  The leaves are starting to change colors and I decided to create a card using the Elizabeth Craft Designs Floral Foliage 1 die set.  The leaves I created show up much better on the actual card than they do in these photos.

This is a 6x6 inch card.  I used a piece of design paper from my stash for the background. Using another piece of design paper, I used the Frames and Elements die set for the yellow die cut frame.

The leaves were die cut using the Floral Foliage die set and colored with a variety of inks.  The branches were die cut using the same die set and gold metallic cardstock.   Gold Cording was tied in a bow and added to the bottom of the stacked leaves.  Gold embellishments were added to complete the card. 


Sunday, October 6, 2024

Sending my Love


Good Morning.  Today I designed a card using the Elizabeth Craft Designs Florals 27 die set.

This is a 5x7 inch card.  For the background I used the Elegant Decorative Borders die set and die cut the larger border twice using white cardstock.  The two borders were glued to the center of the pink card.

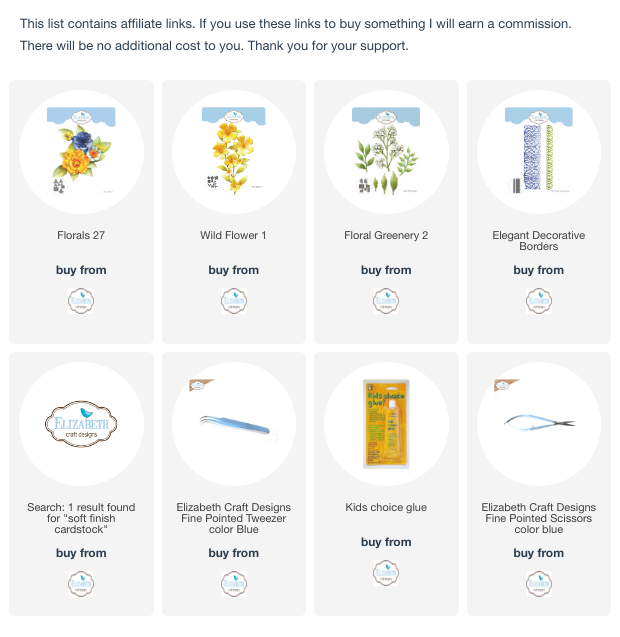
For the flowers, I used the Florals 27 die set and die cut the next to largest petals to create five flowers. To color the petals, I used Altenew Blush ink to lightly color the petals then used Altenew Fuchsia ink to add the bright ink spot on each petal.  An Arteza magenta pen was used to draw on the lines on only the top petals of each flower.  On the bottom petals, I used the Derwent Intense Fuchsia Pencil to lightly draw on the lines.  These lines are much lighter than lines on top layer. On the very center tip of each petals, I used the OLO marker YG 8.3 to add light green.  The same green was used at the base of all the petals.   The petals were glued together and shaped before adding the stamens.  The stamens are yellow with black tips.  

 The Leaves were die cut using white cardstock. The die set used is Wild Flower 1.   All the cardstock used is the Elizabeth Craft Designs Soft Finish Cardstock.  The leaves were colored using OLO markers YG 8.7, YG 8.5, and YG 2.5.  They were shaped and glued to the lacy border design.  The Flowers were added to the stems then additional leaves cut from stems were added to make them fuller.

The Floral Greenery 2 die set was used for the Baby's Breath.  The stems were die cut using white cardstock and colored with a light green marker.  The die for the tiny flowers in this set were die cut, shaped an glued to the Baby's Breath Stem.  A dark Green fine tip pen was used to dot the center of each little flower.  

Embellishments from my stash were added along with a sentiment.

It was nice to take a break from Christmas cards and design a card using the Florals 27 die set.  The products used are linked below.  Thanks for stopping by.


Wednesday, October 2, 2024

Poinsettia Arrangement


Good Morning,

I recently posted an Autumn card using the Elizabeth Craft Designs Barrel  from the Floral Foliage 1 die set.  Today I used this die set to create a holiday arrangement.

The barrel was die cut using a piece of woodgrain design paper and attached to a heavier piece of white cardstock.  The woodgrain was emphasized by using a fine line brown pen in the debossed creases, then brown distress ink was sponged around the edges.  The bands were die cut using bronze metallic cardstock and small gold beads glued across the bands.

The poinsettias were die cut, using the Elizabeth Craft Soft Finish Cardstock, and Florals 29 die set.  Distress Inks were used to color them.  For the bracts, I used small styrofoam balls colored with alcohol ink and tiny bits of yellow Flower Soft added.  The largest poinsettia die was used to die cut leaves that were colored green using OLO markers.  

The Holly Greenery die set was used to die cut the Berry Branch and Pine Branches.  The berries were created using small styrofoam balls colored red with Alcohol Ink.  When dry, they were glued to the Berry Branch and a black fine tip pen pressed on the end of each one.  

The brown branches were die cut using the Floral Foliage 1 die set.  They were cut into small pieces and glued under the arrangement.

The Elizabeth Craft Designs Joyous Christmas Stamp Set was used for the sentiment.  It was gold embossed, fussy cut and glued in the lower corner.

The Elegant Decorative Borders die set was used for the narrow border on the bottom of the card.  It was die cut using gold metallic cardstock.  


LinkWithin

Related Posts with Thumbnails