Showing posts with label Joset Designs. Show all posts

Tuesday, March 19, 2019

I Am Wild About You


Today I have a cute card created with some of the Joset Designs die sets.  This card can be used for a birthday card and later framed for a child's room.

This is a larger card than I usually create.  I folded a piece of 8 1/2 x 11 inch card stock in half.

To create the cloudy sky, use the Garden Notes Earth & Sky Stencil and blue ink to sponge the color across the upper 3/4 of the card.  Sponge green ink on the lower portion of the card front.

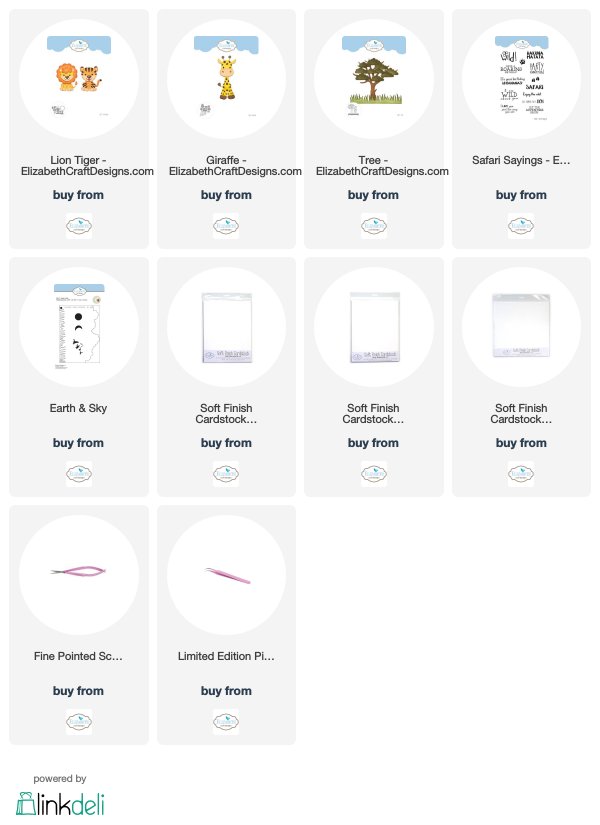
Use Joset's Lion/Tiger die set and create both the tiger and lion.  I cut all die cuts out using Soft Finish White Cardstock and sponged on color.  Assemble both animals.  Use dimensional tape behind the head of the lion. 

Use Joset's Giraffe die set and create the giraffe.  

Use Joset's Tree die set and create the tree.  Attach the tree in the center of the card and attach the green leaves.

Use the Tree die set and die cut three lengths of grass.  Sponge on green ink then use the Fine Tipped Scissors to cut each blade of grass in half.  Attach grass across the length of the bottom of the card.  Attach the animals as shown, using dimensional tape.  Cut pieces of additional grass and tuck in around the animals.

Use Joset's Safari Sayings stamp set and stamp the sentiment in the upper right corner.


Thursday, November 1, 2018

Baby It's Cold Outside


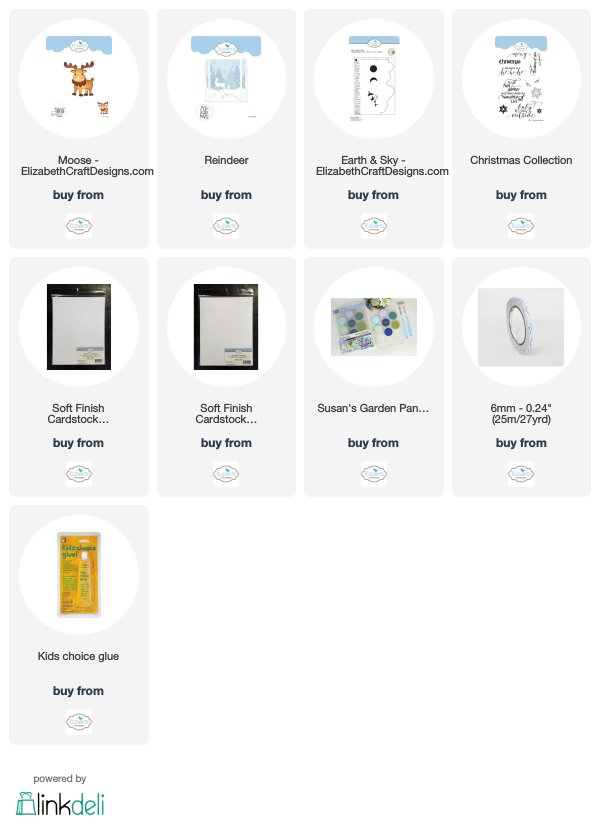
I really love this moose.  He was created with the Joset Designs Moose die set.  Suzanne Cannon's stamp was used for the perfect sentiment for this card.

This is a 6-inch card.  A piece of white card stock was cut 6-inches square and scored around the edges, which is used for the front of the card.  

Use Susan's Earth & Sky Stencil and the light blue PanPastel to create a cloudy sky, approximately half way down, on the 6-inch square piece of cardstock.

Use the Reindeer die set to create the pine trees.  Use a scrap piece of card stock and die the tree in the center of it to make a stencil.  Use a sponge and green ink to sponge inside the tree stencil.  Stencil the tree on the left; move the stencil over and sponge on a second tree, making it slightly darker green.  Move the stencil between the two trees and lightly sponge on green ink.  If the trees are colored different shades of green, it gives them dimension when sponged on the card.

Use a white opaque pen and create snowflakes in the sky and on the trees.

Use the Christmas Collection stamp set and stamp the sentiment, using VersaFine Black Ink, in the lower left corner.

Use the Moose die set and create one Moose.  I die cut the pieces using white Soft Finish Cardstock and sponged on tan and brown inks.  He was assembled using Kids Choice Glue.  Attach the moose using dimensional tape in the lower right corner.

For extra dimension and sparkle, use Nuvo Glitter Crystal Drops and draw in snow lines below the trees and under the hooves of the moose.

This card is flat enough to be mailed in a regular 6-inch square envelope.


Saturday, October 27, 2018

Floral filled Sleigh


I had fun working on this card.  I love Christmas Sleighs and thought it would be fun to fill the Joset Design Christmas Sleigh with holiday greenery and poinsettias.

This is a 6-inch card.  A piece of white design paper that has shiny polka dots on it was used for the background.  The edges of this piece were scored around the edge for a finished appearance.

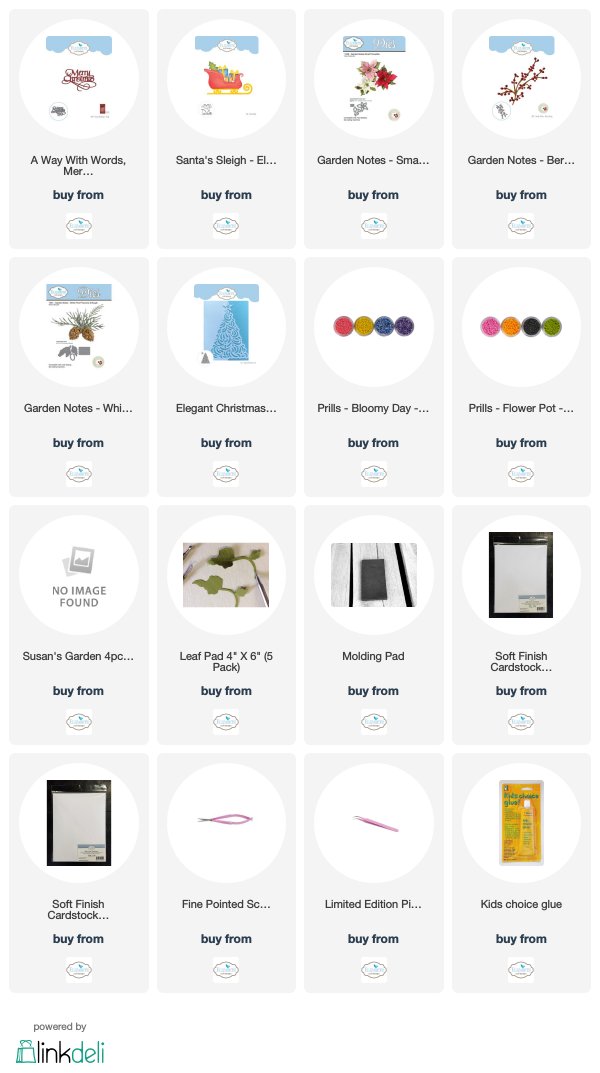
The A Way With Words Small Merry Christmas die set was used for the sentiment.  It was die cut using gold metallic card stock and glued to the upper right corner.

The Joset Designs Elegant Christmas Tree die set was used to die cut the tree, using silver metallic card stock.  A small portion of the left side was cut off and it was glued to the left side of the card, inside the scored line along the edge.

The Santa Sleigh die set was used to die cut one gold metallic sleigh.  The same die was used to die cut just the top edge of the sleigh on another piece of gold metallic card stock.  This piece was trimmed with scissors to create the gold trim along the edge of the sleigh.

The Santa Sleigh was used again to die cut the sleigh using a rosy bronze metallic card stock.  The bottom edge of the die cut was cut off with scissors.  (The bronze sleigh will be attached above the gold metallic base.)  Use an embossing folder to emboss a design on the bronze sleigh.  I used the discontinued Elizabeth Craft Designs (119) Swirly Curves embossing folder. A pewter metallic paste was rubbed lightly over the embossed design.  Glue the embossed piece in place on top of the gold sleigh.  Glue the Gold trim for the top of the sleigh along the top edge of the bronze piece.  Attach the sleigh, using dimensional tape, at the bottom of the card, as shown.

Use the Garden Notes Whitepine Bough & Pine Cone die set and die cut the pine branches 5 or 6 times (depending on full you want the branches in the sleigh).  

Use the Garden Notes Berry Branch and die cut 2 brown Berry Branches.  Use Autumn Red Nuvo Crystal Drops to create the berries.  Allow to dry before adding to the arrangement.


Picture of a Picasso Poinsettia

Use the Garden Notes Small Poinsettia die set and create two poinsettias.  There is a poinsettia called Picasso Poinsettia, which is tan and red.  This is the type of poinsettia I created.  The Poinsettia pieces were die cut using white Soft Finish Cardstock and sponged using Vintage Photo Distress Ink.  Red ink was then sponged around the edges.  The poinsettias were shaped using the Flower Tool Kit and assembled using Kids Choice Glue.  Prills were added to the center of each poinsettia.  

Fill the sleigh with a lot of the pine boughs.  Once the berries are dry on the Berry Branches, cut the branches into smaller branches.  Tuck the berry branches in between the pine bough.  Add the two small Picasso Poinsettias to the Sleigh.  

As an extra embellishment, small glittered balls were glued around in the arrangement.  These little balls were purchased at a craft store.  A little bit of flaked snow was added along the bottom of the sleigh.


Wednesday, October 24, 2018

Ho Ho Ho Gift Card Folder


My grandchildren love to receive gift cards or money for Christmas.  I have created a Christmas card that has a pocket inside to hold a gift card.

This is a 6-inch square card.  

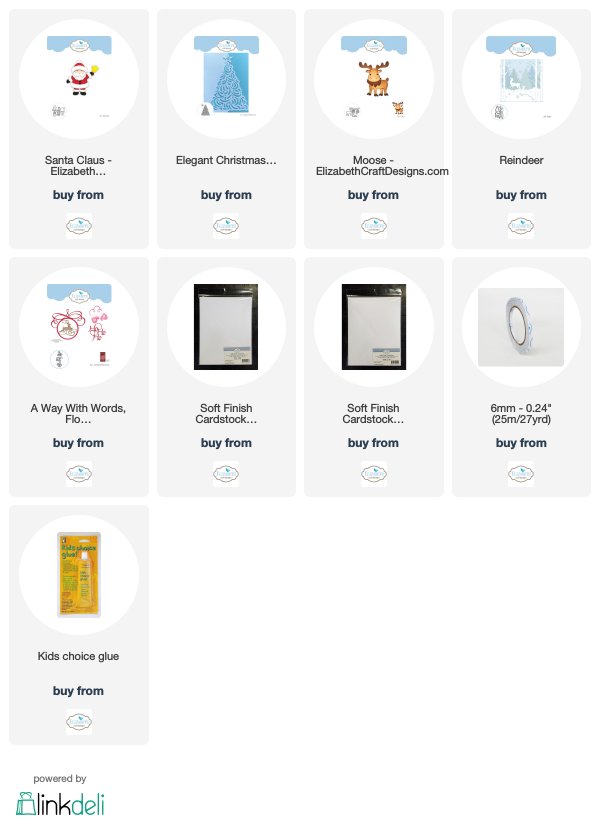
Use the A Way With Words Flourished Christmas Minis die set and die cut the sentiment, using glossy black card stock.  

Use the Joset Designs Santa Clause die set and assemble the Santa.  

Use the Elegant Christmas Tree die set and die cut one white elegant tree - use both dies in this set to die cut the tree.  Use only the back (solid tree) and die cut 3 white trees.  Use the same solid tree die and die cut one green tree, using green mirror (metallic) tree.  Glue the 3 solid white trees together.  Glue the green metallic tree on top, then the elegant tree die cut on top.  Gluing all these pieces together creates a dimensional tree.

Use the Elegant Christmas Tree die set and die cut one silver star.

Use Joset's Moose die set and die cut the red metallic Christmas Ornaments.

Place several pieces of 6mm Clear Double Sided Adhesive to the back of the Christmas tree.  Pull off the adhesive covering and wind a thin metallic silver cord around the tree.  Having the long strips of adhesive on the back will hold the cord in place on the back of the card.  Use Kids Choice glue and attach the red ornaments so they hang from the silver cord.

Use the Reindeer die set and die cut two snow banks.  Also use this die set to die cut the small snowflakes two times (6 snowflakes in total.

Attach the snowbanks at the bottom of the card, alternating the mounds and trimming off the ends to fit.  Attach the tree to the right side of the card, as shown.  

Attach the sentiment at the top of the card, next to the top of the tree.

Attach Santa Clause, using dimensional tape to the left of the tree, just below the sentiment.  

Glue the small snowflakes around on the top portion of the card.


On the inside of the card, glue a piece of card stock along three sides to hold either a gift card, money, or a check. (Adjust the size of the pocket according to what you want to insert.) Use one of the A Way With Words Merry Christmas die sets for the greeting inside the card.

This card will fit into a regular 6 inch square envelope.

The products used are linked below.


Monday, September 24, 2018

Let It Snow


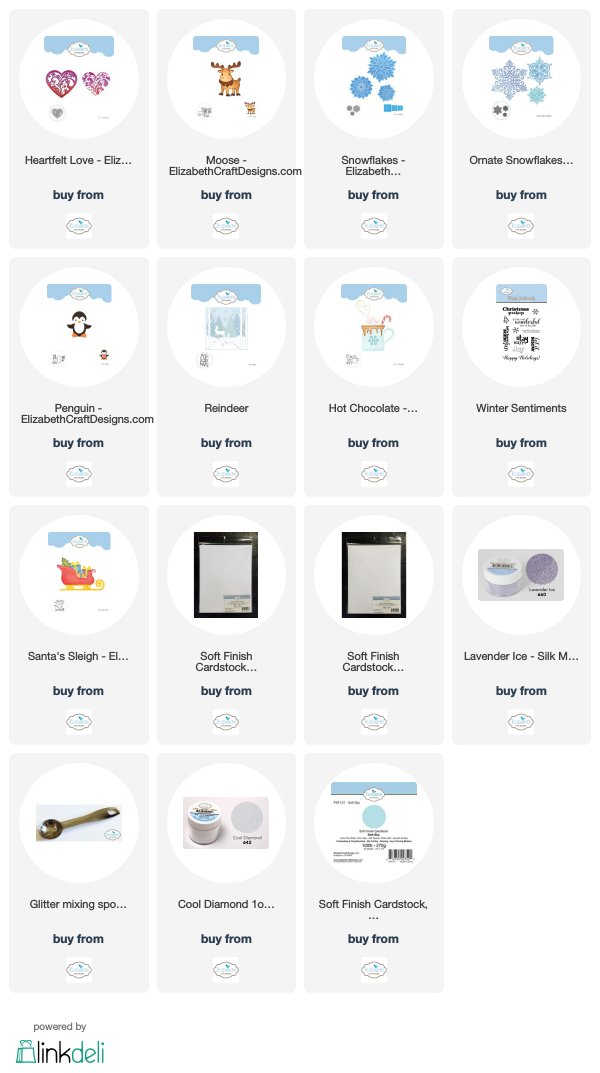
I did something a little different today.  I created a Christmas card using a heart die cut background.

Heartfelt Love

For the heart, I used the Heartfelt Love die set.  This heart has die cut swirls and flowers in it.  To use it for a winter scene, it was die cut using glitter card stock.  A piece of Soft Sky Soft Finish Cardstock was used to die cut the backing.

There are different size flowers in the heart die cut.  Snowflakes from five different die sets were used to cover the flowers.  A large snowflake was added in the center.   The die sets used for snowflakes include:  Snowflakes, Ornate Snowflakes, Penguin, Reindeer, and Hot Chocolate die sets.  The larger snowflakes include two different size die cuts for dimension.  In the center of the snowflakes, a light blue rhinestone was added.  The heart was attached to the front of the card.

The Moose die set was used to die cut the cute moose.  It was attached with dimensional tape.

The Santa's Sleigh die set was used for the gift.  The package and bow were die cut using white card stock with Clear Double Sided Adhesive on top.  Lavender Ice Silk Microfine Glitter was added to the package and Cool Diamond glitter added to the bow.

The Winter Sentiments stamp set was used for the sentiment.  It was stamped using VersaMark Ink and Silver embossed.

Three small snowflakes were added above the sentiment.

Product links are provided below.


Tuesday, September 18, 2018

Let It Snow - Challenge Card

The challenge theme for the design team this month is Classic Christmas.  We are to create a card with things or traditions which always come to mind when we talk about Christmas, such as snowflakes, ornaments, Christmas Trees, etc.  You can view all the cards by the design team on the Elizabeth Craft Designs Blog at this LINK.


*******************
For today's challenge Elizabeth Craft Designs is giving away a $20 Gift Card to use on their website to 3 winners

To enter simply leave a comment on the Elizabeth Craft Designs Facebook Giveaway Blog Post, or the Elizabeth Craft Designs Challenge post, and tell us:  What Elizabeth Craft Designs die or stamp set would you select if making a  Christmas card.

Three lucky winners will be selected in a random drawing. 

The winners will be announced on Friday, September 21 on the Elizabeth Craft Designs Blog and Facebook page.

*****************

I chose to create two cards for the challenge using Joset's new Snowflake die sets.  There is a second post for this challenge.

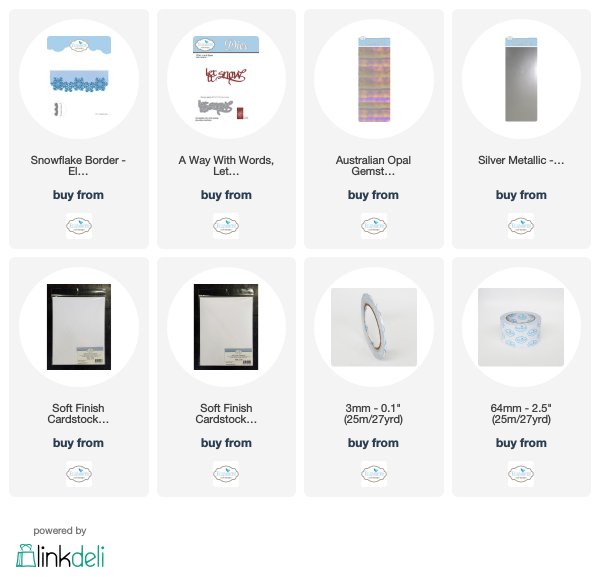
This card was designed using the new Snowflake Border and A Way With Words Sentiment.

1.  Begin with a 6-inch square card.

2.  Use a piece of white card stock cut 5 x 6 inches.  Use the Snowflake Border die and die cut the border on both the top (along the 6 inch width) and bottom, with the solid portion of the die along the cut edge. Run through the die cutting machine.  The inside side edge of the border will be cut around, leaving the straight edge along the outside edge.

3.  Cut a piece of white card stock 6 by 1 1/2 inches.  Score around the edges of this piece.  Attach to the center of the 5 x 6 inch piece, between the snowflake borders.  

4.  Use the A Way With Words 'Let It Snow' die cut for the sentiment.  Die cut it using silver metallic Shimmer Sheetz or cardstock.  Glue the sentiment to the middle of card.

Australian Opal Gemstone - 3 Pack - ElizabethCraftDesigns.com

5.  Use a piece of the Australian Opal Gemstone Shimmer Sheetz to attach behind the two die cut snowflake borders.  The shimmer sheets create beautiful pastel colors behind the snowflakes when moved side to side.  I did not glue the inside edge of the snow border down.  Attach the snowflake border panel to the front of the card.

  The products used can be purchased from the links below.


Winter Blessings - Challenge


The theme for the design team this month is Classic Christmas.  We are to create a card with things or traditions which always come to mind when we talk about Christmas such as snowflakes, ornaments, Christmas Trees, etc.  You can view all the cards in this challenge on the Elizabeth Craft Designs Blog at this LINK.


*******************
For today's challenge Elizabeth Craft Designs is giving away a $20 Gift Card to use on their website to 3 winners

To enter simply leave a comment on the Elizabeth Craft Designs Facebook Giveaway Blog Post, or the Elizabeth Craft Designs Challenge post, and tell us:  What Elizabeth Craft Designs die or stamp set would you select if making a  Christmas card.

Three lucky winners will be selected in a random drawing. 

The winners will be announced on Friday, September 21 on the Elizabeth Craft Designs Blog and Facebook page.

*****************

I chose to create two cards for the challenge using Joset's new Snowflake die sets.  There is a second post for this challenge.

1.  This is a 6-inch square card.

2.  Cut a piece of Gold or Silver Metallic card stock six inches square. 

3.  Use the largest snowflake die in the Snowflakes die set.  Center the die in the center of the metallic card stock and die cut. 

4.  Use a piece of white card stock 4 1/2 inch square with a piece of Clear Double Sided Adhesive attached to one side.  Remove the protective covering and sprinkle with Cool Diamond Microfine Glitter.  Polish the glitter with your fingers.  Attach to the back of the die cut snowflake.  Attach this piece to the front of the card.


To create the frame:

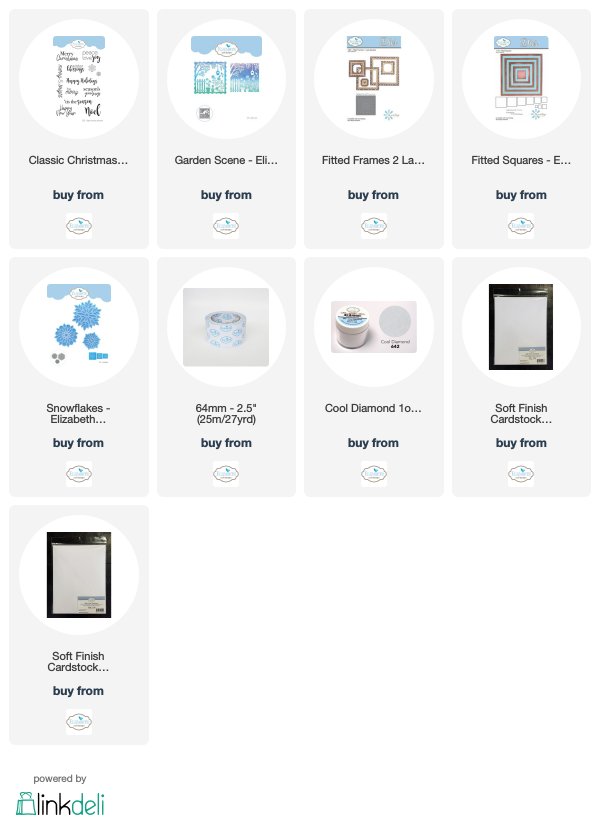
5.  Use Becky Sneddon's Garden Scene die set and the Fitted Frames Square die set, using largest Fitted Frame die and die cut a frame, using white card stock.  Place the Fitted Frame die inside the Garden Scene frame die and run through the die cutting machine.

6.  Use the frame die from the Garden Scene die set and die cut one solid piece of white card stock.  

7.  Use the Garden Scene piece die cut in step 6 and place the Fitted Frames 2-Lace die in the center and die cut.  This will cut an opening in the larger piece.  Use only the two largest frames in the Fitted Frames die cut.

8.  Cut a piece of white Fun Foam 5 1/4 inches square.    Use the Fitted Squares die set to die cut an opening in the  center of the Fun Foam.  Attach the frames to the Fun Foam using Clear Double Sided Adhesive.  The foam will add dimension to the card.  Attach the Frame over the Metallic die cut snowflake.    In the corner of the frame, add one of the metallic ovals from the die cut snowflake. 

9.  Use the Classic Christmas stamp set for the sentiment. Emboss the sentiment on white card stock, cut around it and attach to the bottom of the frame.

The products used are linked below. 


Friday, September 14, 2018

Merry Christmas


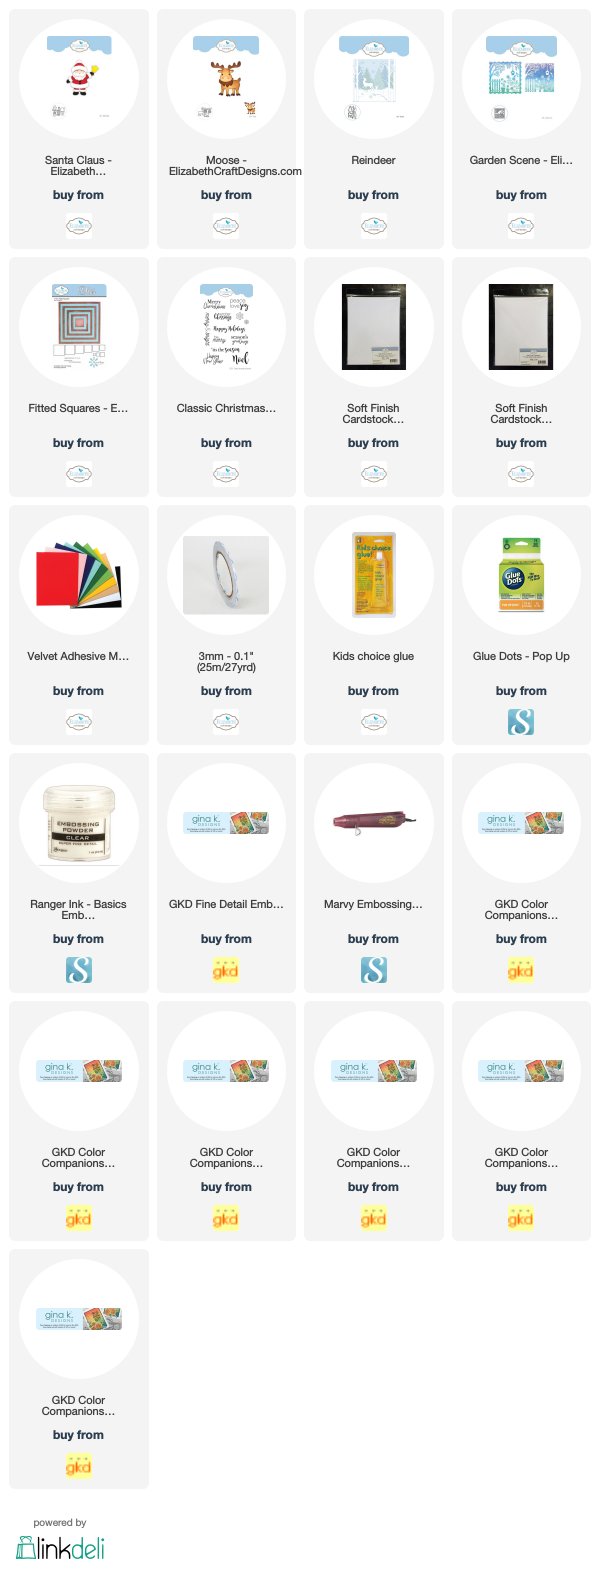
Joset's new Christmas die set are so fun to work with to create Christmas cards.  For this card I used her new Santa Clause and Moose die sets.

This is a 6-inch card.  

The Becky Sneddon's Garden Scene frame die and the largest Fitted Square die set were used to die cut a frame using white card stock.  To create, tape the Fitted Square die inside the Garden Scene frame die and run through the die cutting machine.

The largest Fitted Square die was used to cut a square to fit inside the die cut frame.  The upper portion of this die cut square was sponged using blue ink.  

Use the Reindeer die set and die cut two snowbanks.  Attach at the bottom of the Fitted Frame Square, alternating  the snow banks for different levels of snow.  Attach this piece to the front of the card, inside the white frame.

Use the Reindeer die set and die cut one tree.  Attach as shown.
  
Use the Santa Clause die set for Santa.  Use Red Velvet card stock to die cut the hat, coat and pants of Santa.  Use White Velvet card stock to die cut the fur, beard and mustache.  Use black card stock for the gloves and boots.  Use gold metallic card stock for the bell.  Assemble Santa.  Attach to the lower left side of the card, using dimensional tape.

Use the Moose die set  for the moose.  Color and assemble.  Attach to the lower right corner.
  
Use the Classic Christmas stamp set for the sentiment.  Stamp the sentiment using VersaFine Black ink and clear emboss.


Thursday, September 13, 2018

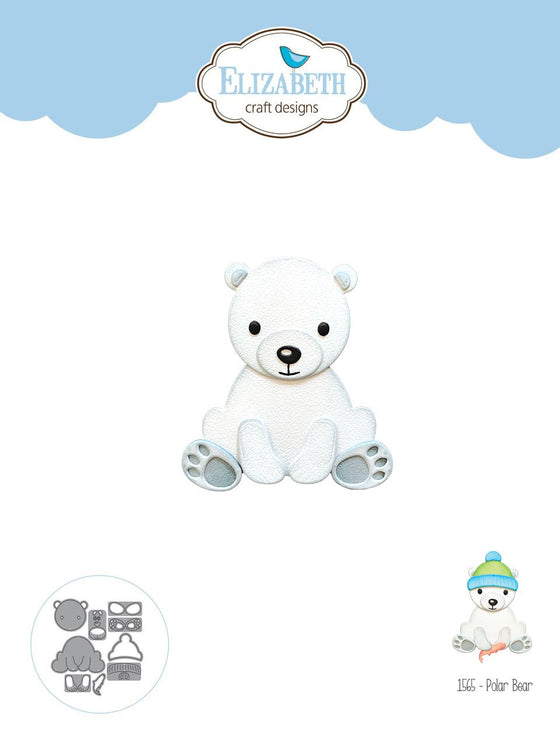
Fishing Polar Bear


I have another cute Christmas card created using three of Joset's new Christmas die sets, from Elizabeth Craft Designs.

This is a 6-inch card.

Use a piece of the ModaScrap White Christmas design paper for the front of the card.

Use the Snowflake Border die set for the border along the top of the card.  

Cut two snowbanks, using scissors, to fit across the lower portion of the card.

Igloo

Use the Igloo die set for the fishing pond; use the ice die.  Color the center using light blue ink to represent water.  Use marker to create splashing water in the center.  Shade around the edges of the ice with light grey.

Use the Igloo die set for the sign.  Die cut using a piece of the ModaScrap Wood Effects design paper.  Use the Cute Winter Sentiments stamp sent for the words on the sign.  Attach the sign behind the snowbank.

Polar Bear

Use the Polar Bear die set for the bear and the fish.  Cut the head off one fish and place it in the splashing water.  Attach one fish so it looks like it is jumping out of the water.  Attach two more fish in the water and one on the polar bears arm.

It is fun to combine different die sets to create a scene.  

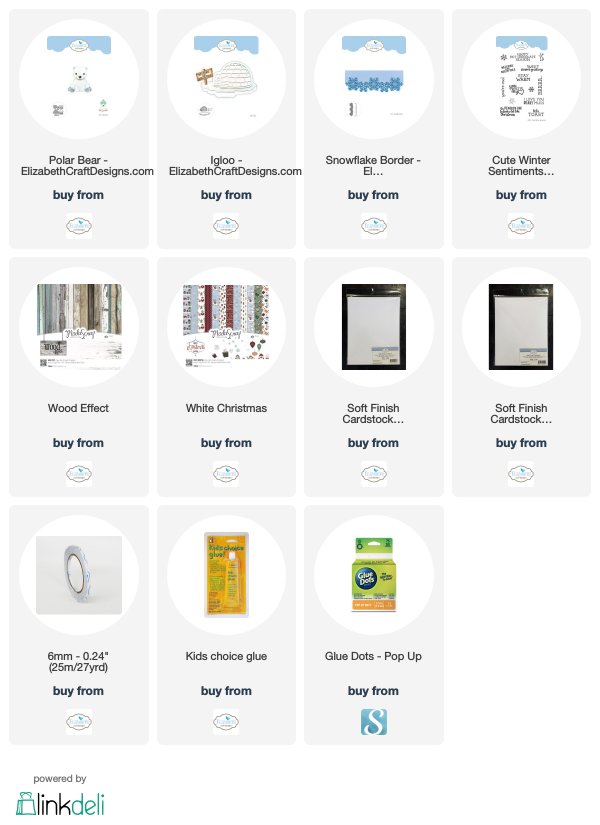
You can shop for the products used by clicking on the links below.


Monday, August 27, 2018

Hot Chocolate


Today I have a card designed using two new Joset Designs Christmas die sets -- the Polar Bear and Hot Chocolate.

This is a 6-inch square card.  A piece of the ModaScrap, Let It Snow, design paper was added to the front of the card.  

Use the Lake Scene and Garden Notes Frame It/Stitched Square die sets to die cut the frame for the front of the card.

Use the Fitted Ovals die set and die cut one white oval to go on the center of the card.  Cut the lower portion of the oval off and sponge the edge with light blue ink.  Attach inside the frame.  Use the snowflake stamps from the Cute Winter Sentiments stamp set to stamp the snowflakes, using blue ink, randomly on the oval.  


Polar Bear


Use the Polar Bear die set and die cut the pieces for the bear.  Assemble.

Hot Chocolate

Use the Hot Chocolate die set and die cut the pieces for the cup, the whipped cream,  the foamy drip, marshmallows, and the steam, using white card stock.  Sponge blue ink on the cup.  

Cute Winter Sentiments

Use the stamp from the Cute Winter Sentiments to stamp the design on the cup, using blue ink.  Use VersaMark Ink and white embossing powder and the sentiment from the Cute Winter Sentiments stamp set, to stamp the sentiment on the cup.
  
Attach the cup, and other pieces die cut for the cup, onto the oval.  Attach the bear in the lower left corner.
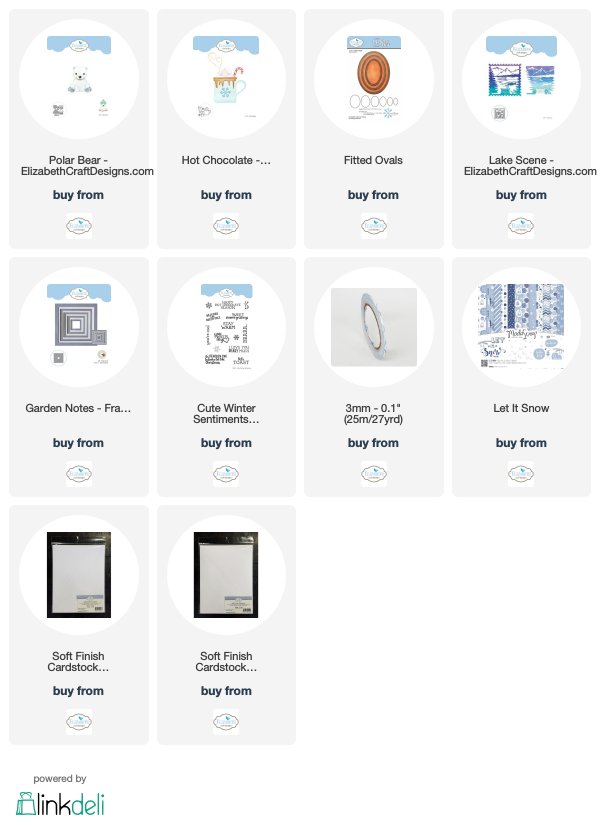
Links to the products used are shown below.


Sunday, August 26, 2018

Let's Toast


What a fun die set to work with!  This card was designed using Joset's Toasted Marshmallows die set.  This set could be used for camping cards if you used the back of the marshmallows so you don't have the snowmen faces, but I love the marshmallows with the cute snowman faces!

This is a 5 1/2 x 4 1/4 inch card.  A piece of 5 1/4 x 4 inch card stock was cut to create the background.  The edges were masked so the background could be sponged on.  Blue Distress Ink was sponged on the top, brown Distress Ink on the bottom to represent the ground, and yellow/orange sponged in the center to represent light from the fire.  When the mask is pulled off, there will be a nice edge around the sponged inked.  A Score Board was used to draw lines around the edge of this piece.

The Cute Winter Sentiments stamp set was used to stamp the sentiment at the top of the blue sponged area.

Toasted Marshmallows

The Toasted Marshmallow die set was used to die cut all the pieces, using white card stock.  Color was sponged on each piece.  A second die cut was made for each of the sticks.  Only the tops of the sticks were used to be glued in the center of the top of the marshmallows.  A fine point marker was used to add the eyes and mouth.  The nose was glued on.  

The fire and logs were colored and attached to the bottom of the brown sponged area.  The Sticks and marshmallows were attached.  

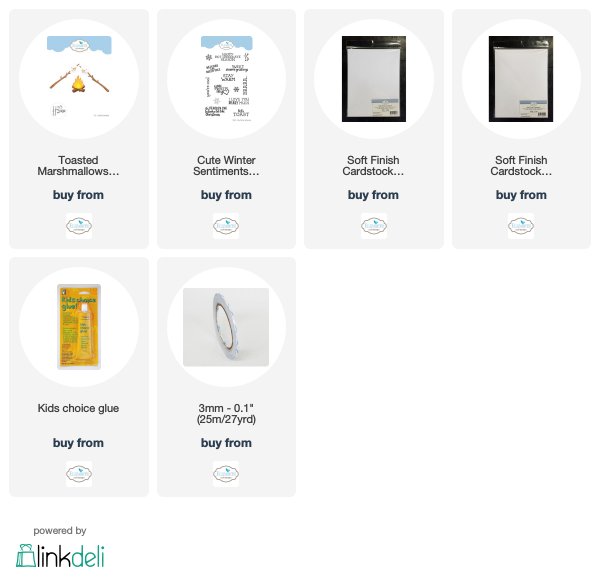
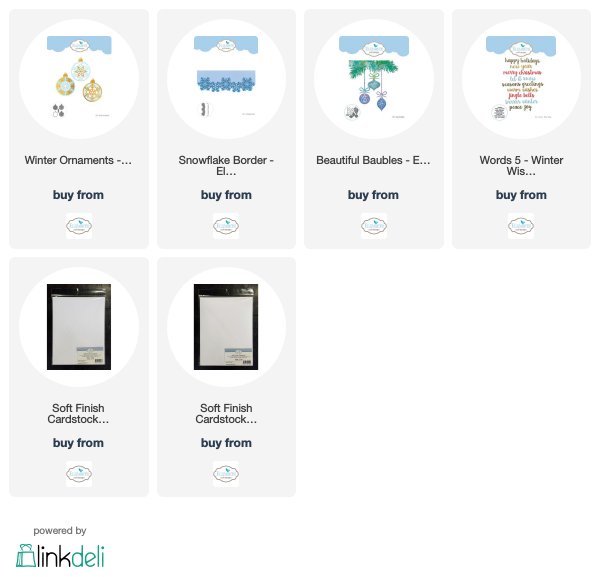
The products used are link below.


Saturday, August 25, 2018

Elegant Christmas Tree


This is a beautiful, quick and easy, Christmas card designed using the new Joset Designs Elegant Christmas Tree die set from Elizabeth Craft Designs.

The detailed tree die from the Elegant Christmas Tree die set was centered on a piece of white Soft Finish Cardstock that measures 5 1/2 inches square, and run through the die cutting machine. (The outside tree die was not used.)   A piece of silver prism card stock was attached behind the die cut. This piece of card stock was purchased from Michael's Craft Store.  A piece of Fun Foam was attached behind the die cut square and attached to a 6 inch square card.  Adding the Fun Foam gives the card a little dimension.

When moved in the light, the tree seems to change colors, as shown in the photos above.

The stars in the same die set were used to die cut both using the same glittered silver metallic card stock.  They were each attached to the top of the tree, using dimensional tape.

Silver Peel Off Corners were used on the raised panel and Line Peel Off Stickers used around the card, on the edges of the 6-inch card front.

This card is beautiful and a silver embossed sentiment on the inside will complete it.

Have you started your Christmas cards yet?


Friday, August 24, 2018

Joy


Three new die sets from the Joset Design Christmas collection were used to complete this Christmas card - Winter Ornaments, Snowflake Border, and Words 5 - Winter Sentiments.

This is a 6-inch square card.  A piece of white card stock was cut 5 3/4 inch square to be used on top.  Use the Snowflake Border die to die cut the design on the left side of this piece.  Use a piece of silver metallic card stock to attach under the die cut snowflake design.  Use a narrow piece of the silver card stock to attach to the edge next to the die cut design.  Cut a piece of Fun Foam slightly smaller and attach under this piece, to give it some dimension.  Attach to the front of the card.  Use Silver Line Peel Off Stickers to go around the edges of the 6-inch card front.

Use the Beautiful Baubles die set and die cut two pine branches.  Attach them at the top of the card as shown.

Use the Winter Ornaments die set and die cut one white ornament.  Use the solid die for the solid ornament and red metallic card stock to die cut the backing for the detailed ornament.  Use silver metallic card stock for the top of the ornament die cut.  Use silver metallic cord to string the ornament and hang it from the pine branch.

Use the Words 5 - Winter Wishes die set and die cut 'Joy' using silver metallic card stock.  Add the sentiment at the bottom of the card.

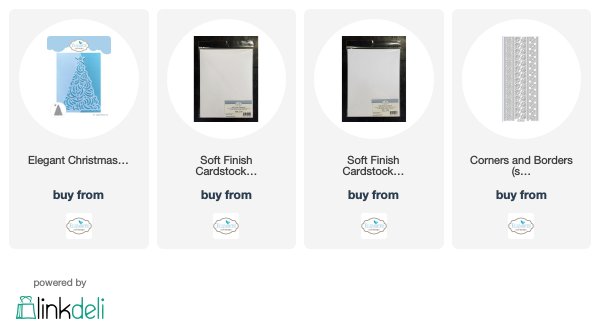
You can shop for the products used by clicking on the links below.


LinkWithin

Related Posts with Thumbnails