Showing posts with label Elizabeth Craft Designs. Show all posts

Tuesday, November 19, 2024

Flying Seagull Fun Card


Good Morning Paper Crafters.   Today I have a fun card to create.  It is called a Flying Seagull Fun Card.  You can search on YouTube for instructions.  When folded up it is a 6x6 inch card but opens up to an 18 inch card.  It is very easy to create.  I decorated this card using Elizabeth Craft Designs Joyous Christmas products plus some products from my stash.


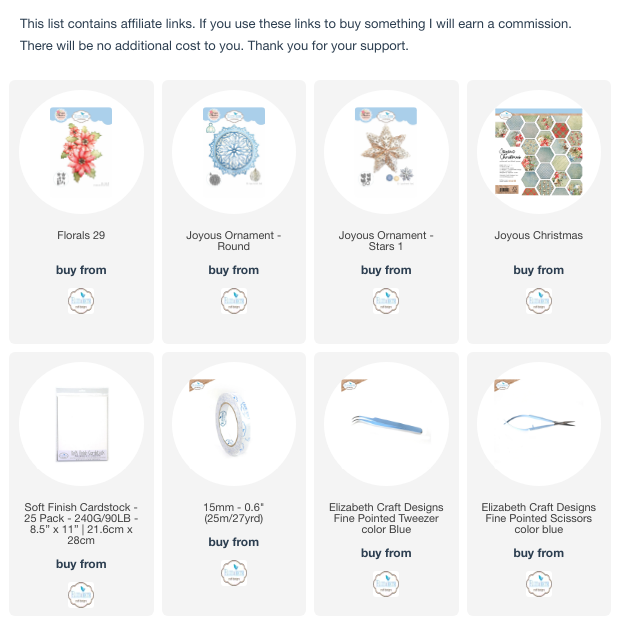
For the background, I used a piece of 6x6 inch tan cardstock and embossed it using a snowflake embossing folder.  The doily was die cut using the Elizabeth  Craft Designs Joyous Ornament-Round die set.  It was die cut using both a brushed gold and a shiny gold cardstock.  The points on the doily were alternated and attached to each other with dimensional tape between them.  The bottom doily was glued to the background.  The Elizabeth Craft Designs Joyous Ornament-Stars 1 die set was used to create the beautiful white ornament.  The Florals 29 die set was used to create the Poinsettia.  It was die cut using the Elizabeth Craft Designs Soft Finish Cardstock and colored with tan ink.  Gold elements were added to the center.  Both the ornament and poinsettia were attached to the card using Elizabeth Craft Designs Double Sided tape.


This is the card when fully laying flat.  The two side panels are scored down the middle and each decorated differently.  I used a pinecone embossing folder for the two outside panels and used pieces of design paper from the Elizabeth Craft Designs Joyous Christmas Patterned Cardstock Paper.


When the card is standing up, this is what it looks like looking down on it.  The two side panels folder under the front of the card.

This type of card would be easy to create in any side.   It was easy and fun to create. 

Thank you for visiting my blog.   Below are links to the Elizabeth Craft Design products I used to create this card,  


Wednesday, October 30, 2024

Autumn Flowers


Hello Paper Crafters.  Today I designed a card using one of the new flower die sets in the Elizabeth Craft Designs Autumn Harvest Collection.

This is a 5x7 inch card.  For the background, I used a piece of the design paper from the Autumn Forest  Cardstock.  

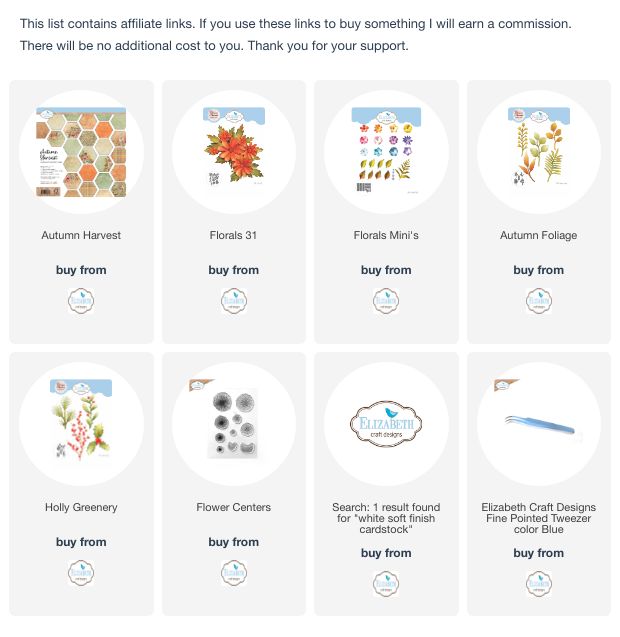
The Flowers were created with the new Florals 31 die set.  Stamens from the Floral 27 die set were die cut for these flowers.  The Elizabeth Craft Designs Soft Finish Cardstock was used for all die cuts.  Several shades of orange ink was brushed on the petals.  One of the stamps from the Flower Centers stamp set was used to stamp the dots at the base of the flower petals.  The flowers were shaped and glued together using Kid's Choice Glue.  Florals Mini's Die Set was used for the small white flowers.  The smallest stamp in the Flower Centers Stamp set was used to stamp in the center of each flower.  A rhinestone was added to the center of the little flowers.

The Holly Greenery Die Set was used to die cut the Berry Branches.  Small white Styrofoam balls were colored using Alcohol Ink and glued to the Berry Branches.  

The Autumn Foliage Die Set was used to die cut the two different foliage branches, which are glued under the arrangement.

Thin gold cording was used to create a bow to finish off the card.  


I appreciate you visiting my blog.  I hope I gave you some inspiration.  Below are links to products used.  


Sunday, October 13, 2024

Metallic Poinsettia


Good Morning.  Today I wanted to try something different.  I created this card using only metallic cardstock an die sets from Elizabeth Craft Designs.

This is a 6x6 inch card.  

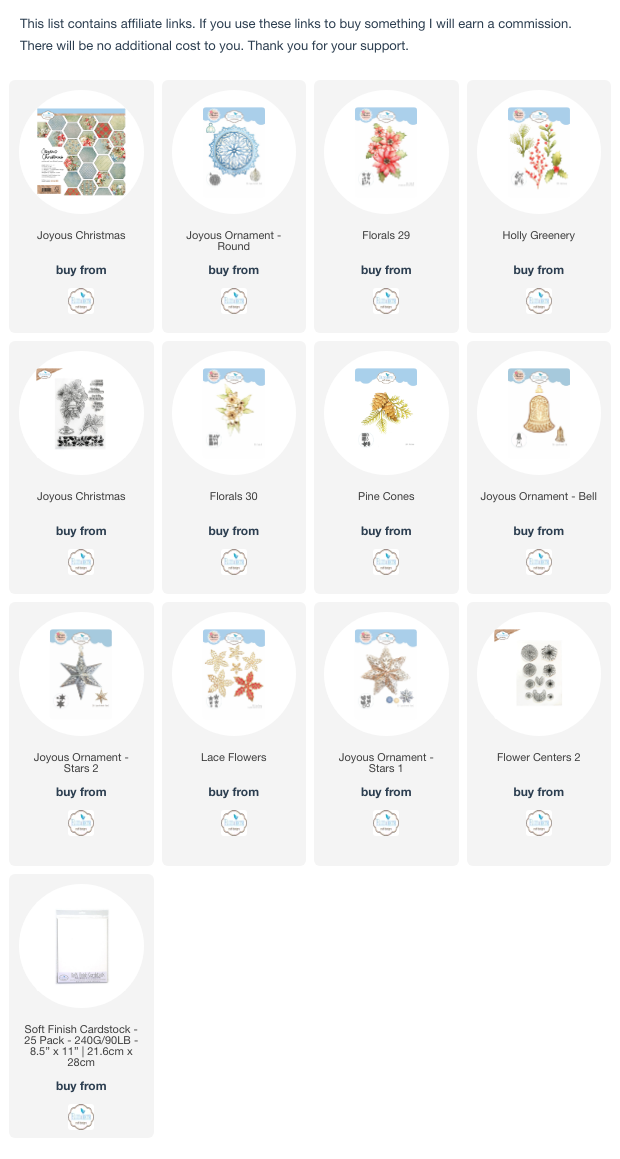
The Florals 29 die set was used to die cut the poinsettia using red metallic cardstock.  The leaves were die cut using green metallic cardstock and the largest die of the poinsettia.  The poinsettia was shaped and glue together with Kids Choice Glue.  The green leaves were cut apart and individually glued under the poinsettia.

The Lacy Leaves die set was used to die cut four sets of leaves using gold metallic cardstock.  One set was cut into individual leaves.  They were arranged in a circular pattern on the front of the card.  The poinsettia was attached in the middle.  Gold embellishments were used for the center of the poinsettia.  

The Holly Greenery die set was used to die cut four pine branches.  The branches were cut apart and attached around the arrangement.  

The Elizabeth Craft Designs Joyous Christmas Stamp Set was used to gold emboss the sentiment.  It was die cut using an oval die.  A slightly larger red metallic oval was die cut and attached under the sentiment.  Gold metallic elements were attached around the arrangement and on the oval sentiment.

Working with all metallic cardstock turned out to be very easy to work with to create this card.  

Below I have links to the Elizabeth Craft Designs Holiday collection.


Monday, October 7, 2024

Autumn Leaves


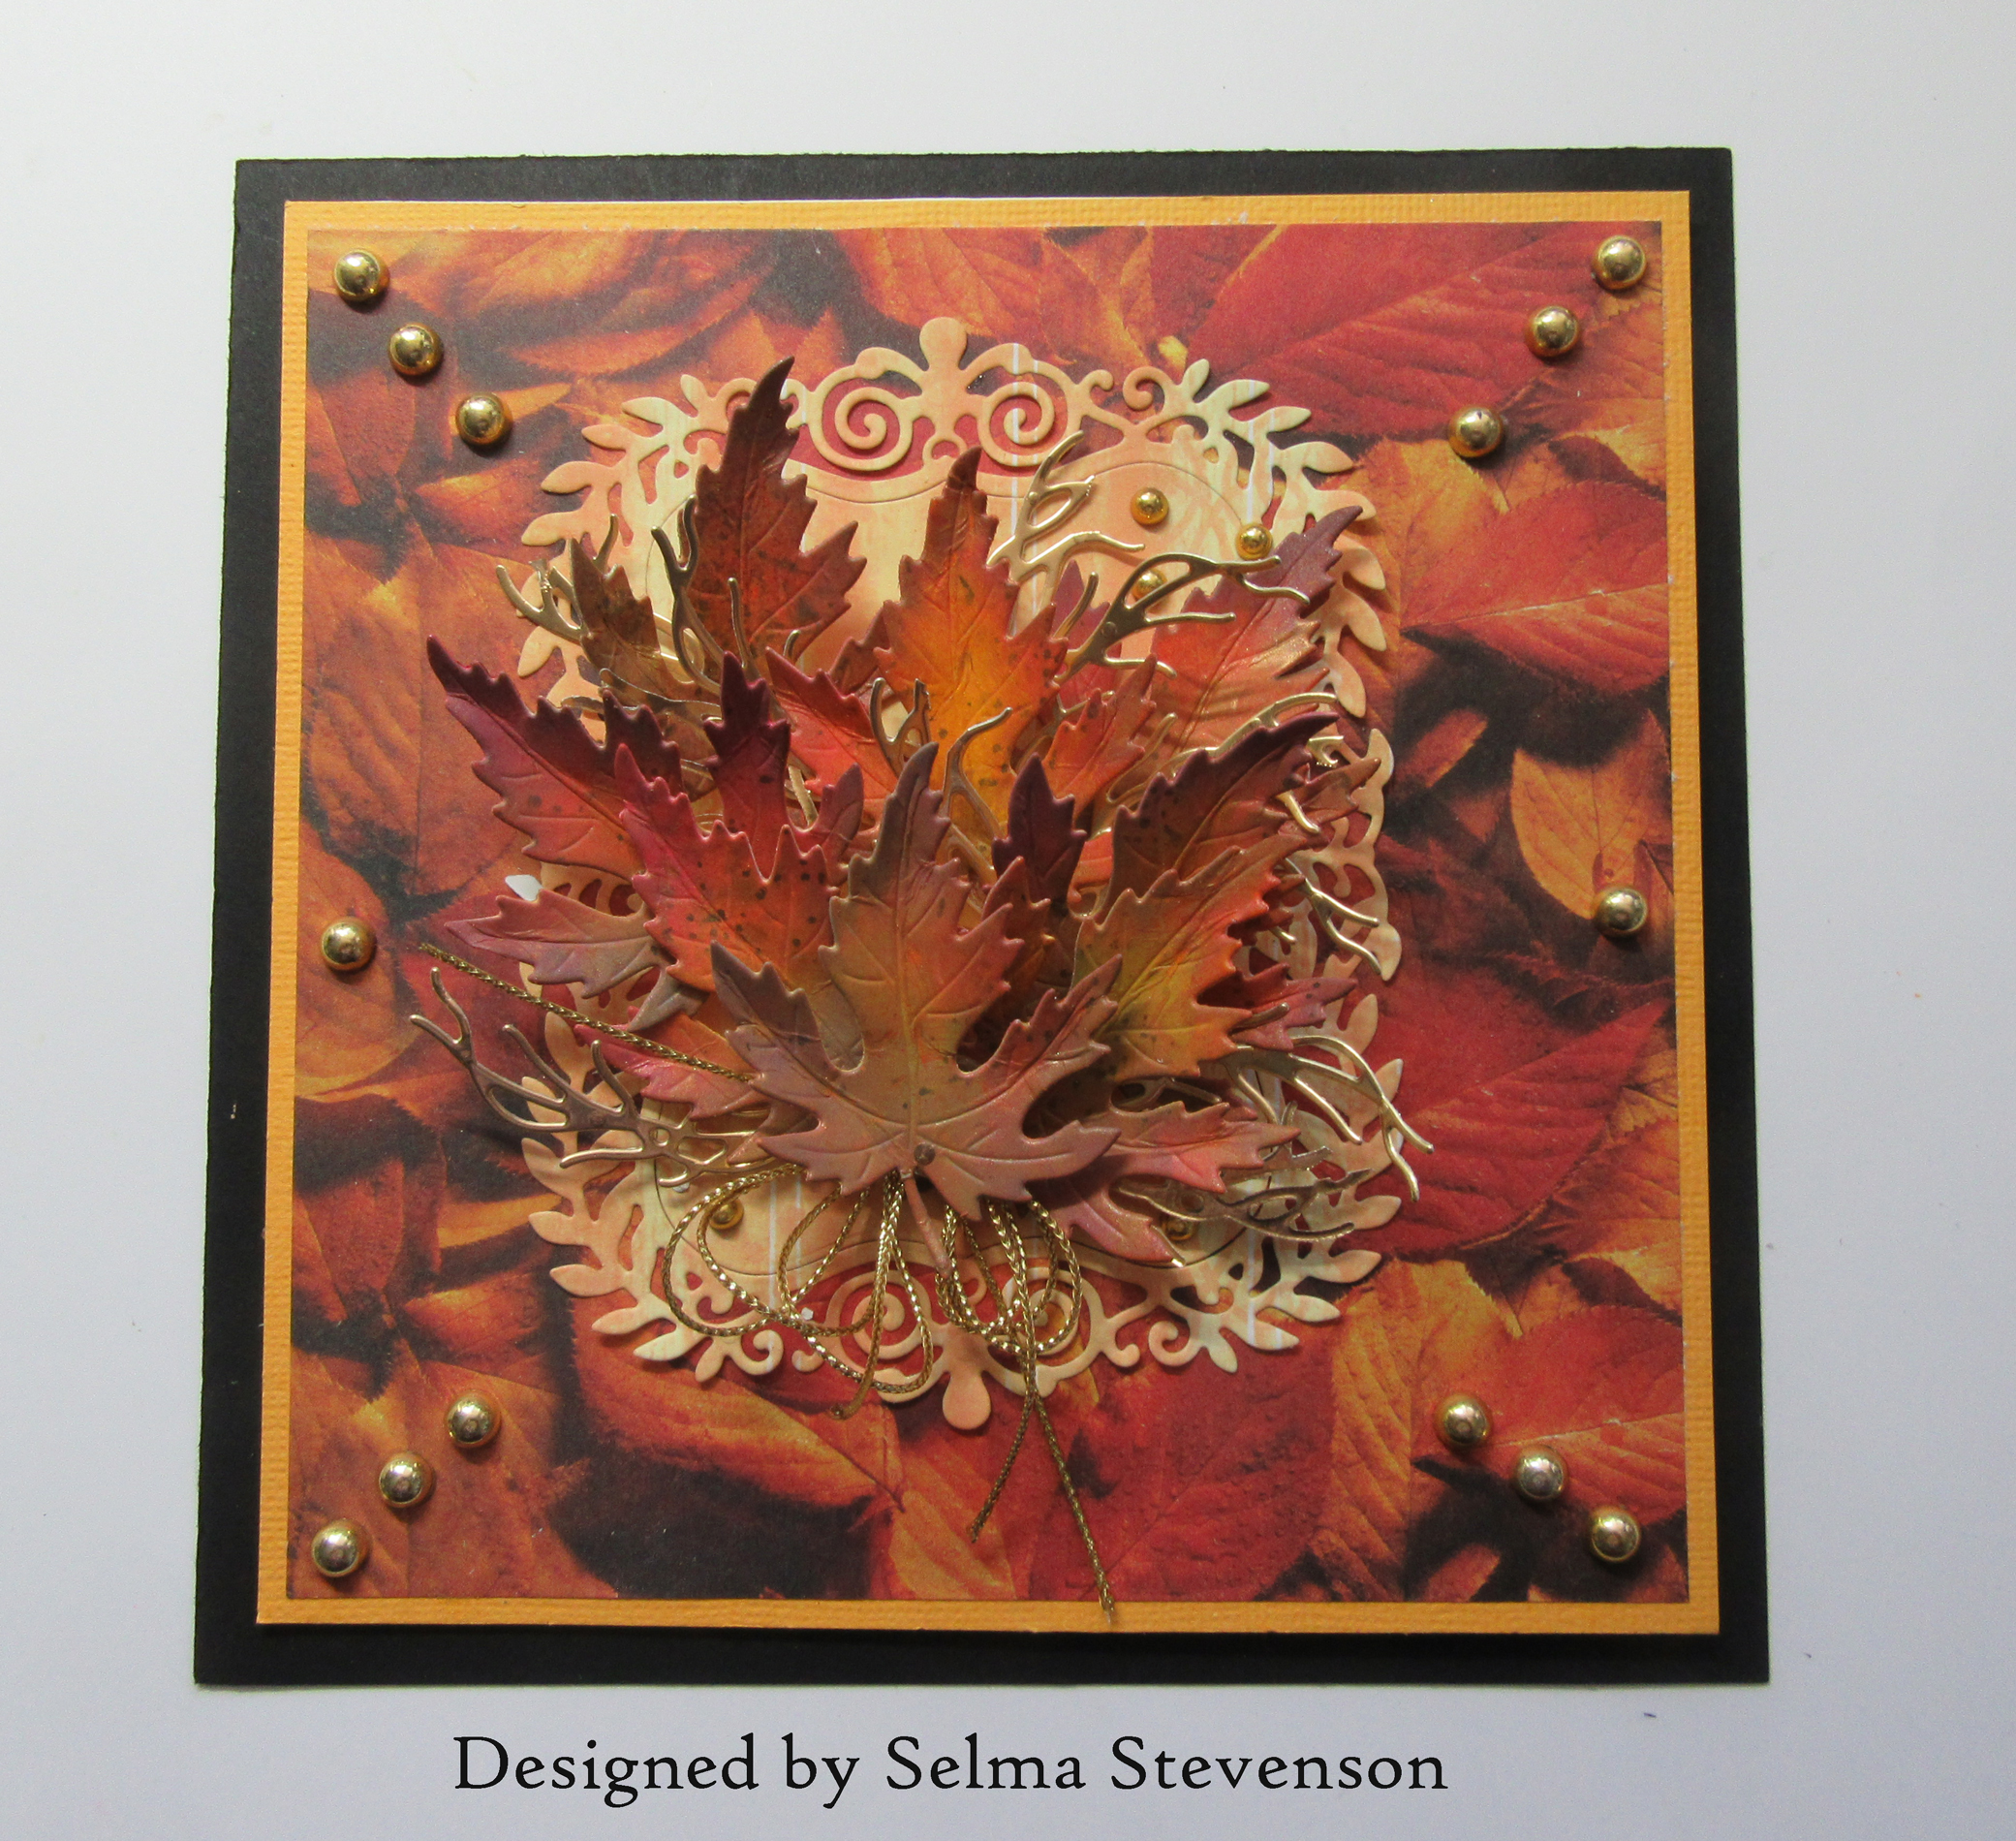
Good Morning.  The leaves are starting to change colors and I decided to create a card using the Elizabeth Craft Designs Floral Foliage 1 die set.  The leaves I created show up much better on the actual card than they do in these photos.

This is a 6x6 inch card.  I used a piece of design paper from my stash for the background. Using another piece of design paper, I used the Frames and Elements die set for the yellow die cut frame.

The leaves were die cut using the Floral Foliage die set and colored with a variety of inks.  The branches were die cut using the same die set and gold metallic cardstock.   Gold Cording was tied in a bow and added to the bottom of the stacked leaves.  Gold embellishments were added to complete the card. 


Sunday, October 6, 2024

Sending my Love


Good Morning.  Today I designed a card using the Elizabeth Craft Designs Florals 27 die set.

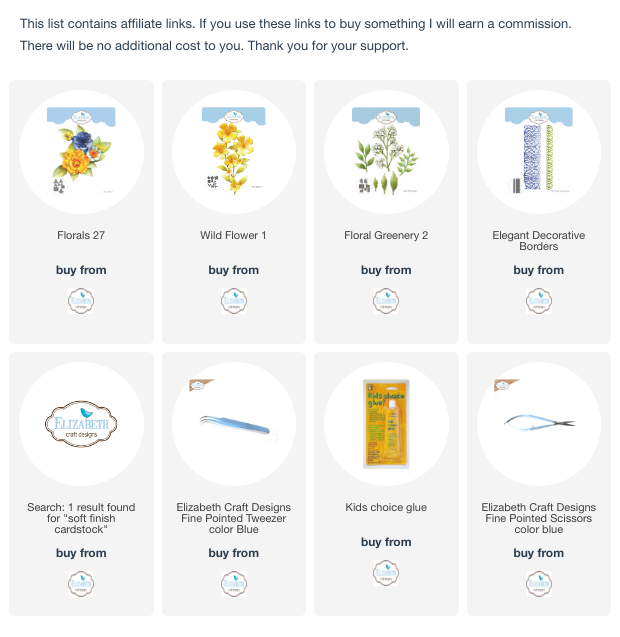
This is a 5x7 inch card.  For the background I used the Elegant Decorative Borders die set and die cut the larger border twice using white cardstock.  The two borders were glued to the center of the pink card.

For the flowers, I used the Florals 27 die set and die cut the next to largest petals to create five flowers. To color the petals, I used Altenew Blush ink to lightly color the petals then used Altenew Fuchsia ink to add the bright ink spot on each petal.  An Arteza magenta pen was used to draw on the lines on only the top petals of each flower.  On the bottom petals, I used the Derwent Intense Fuchsia Pencil to lightly draw on the lines.  These lines are much lighter than lines on top layer. On the very center tip of each petals, I used the OLO marker YG 8.3 to add light green.  The same green was used at the base of all the petals.   The petals were glued together and shaped before adding the stamens.  The stamens are yellow with black tips.  

 The Leaves were die cut using white cardstock. The die set used is Wild Flower 1.   All the cardstock used is the Elizabeth Craft Designs Soft Finish Cardstock.  The leaves were colored using OLO markers YG 8.7, YG 8.5, and YG 2.5.  They were shaped and glued to the lacy border design.  The Flowers were added to the stems then additional leaves cut from stems were added to make them fuller.

The Floral Greenery 2 die set was used for the Baby's Breath.  The stems were die cut using white cardstock and colored with a light green marker.  The die for the tiny flowers in this set were die cut, shaped an glued to the Baby's Breath Stem.  A dark Green fine tip pen was used to dot the center of each little flower.  

Embellishments from my stash were added along with a sentiment.

It was nice to take a break from Christmas cards and design a card using the Florals 27 die set.  The products used are linked below.  Thanks for stopping by.


Wednesday, October 2, 2024

Poinsettia Arrangement


Good Morning,

I recently posted an Autumn card using the Elizabeth Craft Designs Barrel  from the Floral Foliage 1 die set.  Today I used this die set to create a holiday arrangement.

The barrel was die cut using a piece of woodgrain design paper and attached to a heavier piece of white cardstock.  The woodgrain was emphasized by using a fine line brown pen in the debossed creases, then brown distress ink was sponged around the edges.  The bands were die cut using bronze metallic cardstock and small gold beads glued across the bands.

The poinsettias were die cut, using the Elizabeth Craft Soft Finish Cardstock, and Florals 29 die set.  Distress Inks were used to color them.  For the bracts, I used small styrofoam balls colored with alcohol ink and tiny bits of yellow Flower Soft added.  The largest poinsettia die was used to die cut leaves that were colored green using OLO markers.  

The Holly Greenery die set was used to die cut the Berry Branch and Pine Branches.  The berries were created using small styrofoam balls colored red with Alcohol Ink.  When dry, they were glued to the Berry Branch and a black fine tip pen pressed on the end of each one.  

The brown branches were die cut using the Floral Foliage 1 die set.  They were cut into small pieces and glued under the arrangement.

The Elizabeth Craft Designs Joyous Christmas Stamp Set was used for the sentiment.  It was gold embossed, fussy cut and glued in the lower corner.

The Elegant Decorative Borders die set was used for the narrow border on the bottom of the card.  It was die cut using gold metallic cardstock.  


Friday, September 20, 2024

Autumn Card


Good Morning.  Our weather has turned to perfect Autumn temperatures which inspired me to create an Autumn card.

I used the Elizabeth Craft Designs Floral Foliage 1 die set which includes the wooden barrel, birdhouse, birds, bare branches and large leaves.  I also used the Floral Greenery 2 and Wild Flower 4 die sets.  

Using a piece of woodgrain design paper the barrel and birdhouse were die cut.  They were layered onto another die white die cut for strength because they were attached with dimensional tape.  Elizabeth Craft Design Soft Finish Cardstock was used for all the die cuts.  Before assembling the barrel, I used a pencil to emphasize the slats.  Then using distress ink, highlighted around each slat.  Tiny black embellishments were glued over the die cut holes in the barrel bands.  The birds were die cut and color sponged on them and attached to the birdhouse.  

The branches were die cut from the Floral Foliage 1 die set and colored using Ranger Mica Spray.  The large Maple Leaves from the same die set were also colored using Mica Sprays.  

The foliage (leafy branches) were die cut using the Floral Greenery 2 die set and colored using Distress Inks. 

The flowers were die cut using the Wild Flower 4 die set.  They were colored with Distress Inks.  I use three of the smallest flower die cuts for each flower.  

The Floral Foliage 1 Die Set is perfect for creating beautiful Autumn Themed cards.


Sunday, August 18, 2019

Basket of Anemone


Today I have a basket of Anemone created with Susan's Garden Notes die sets.  For instructions on how to create the anemone, go to Susan's Garden Club FaceBook page at this Link.

This is a six-inch square card.  A piece of embossed white card stock was scored around the edges with a Scor-Pal, and added to the front of the card.  

Use Susan's Frame-It/Rectangle die set to create a frame out of white card stock.  Use the largest and the 4th largest dies.  Place the smaller die, centered, inside the larger die and die cut.  Score around the edges of the the frame and attach at the top portion of the card.  

Use the Garden Notes Bushel Basket die and die cut two baskets.  Glue the two baskets together for strength.  Color the basket, shape, and attached to the bottom of the card using dimensional tape in the center, and glue around the sides and bottom.  On my basket, I used Nuvo Silver Lining Crystal Drops across the band in the middle of the basket, for a dimensional effect.

Use the Garden Notes Anemone die set and create a variety of colors of flowers.  For some reason in the photo it looks like I have blue anemone, but they really are purple.  The flowers were die cut using white card stock and colored using markers.  Shape the flowers and leaves, using the Flower Tool Kit.  Add black pollen to the ends of the stamens.

Use the Garden Notes Maidenhair Fern die set and die cut 2 each of the ferns.  I used green card stock and shaded the leaves with a darker green ink.  The leaves were scored using the leaf tool and shaped using tweezers.  

Add the fern in the basket, being sure it is placed high enough that it will show above the flowers.  Attach the Anemone in the basket and add the leaves.

At the bottom of the card, I use sentiment dies from the Tonic Craft Kit 24.  

This card can be mailed in one of the clear acrylic boxes, linked below.


Saturday, August 17, 2019

Purple Dahlias


Today I used some extra purple dahlias, I created a days ago, for a another card and did not use.  

This is a 6-inch square card.  A piece of lavender embossed card stock from my stash was used for the front of the card.  I sponged on Nuvo Mother of Pearl Embellishment Mousse across the raised parts of the embossing to give the card some shimmer.  The edges of this piece were then distressed and attached to the front of the card.

Suzanne Cannon's, A Way With Words, Congratulations die set was used for the sentiment.  It was die cut three times using purple card stock and once using white card stock.  The four die cuts were glued together with the white die cut on the bottom.  This gives a nice dimensional to the sentiment.  It was attached at the bottom of the card.

Two oval die cuts were glued together and attached to the upper portion of the card.  

Susan's Garden Notes Dahlia 2 die set was used to create the two large flowers.  

The Garden Notes Ivy die set was used to die cut two large ivy, using white card stock.  They were colored then shaped using the Flower Tool Kit.  

The Garden Notes Hydrangea die set was used to die cut 8 hydrangea flowers.  Nuvo Violet Galaxy Crystal Drops were added to the center of each of these flowers.

The Dahlias with the dahlia leaves, ivy, and the small white flowers were arranged in the oval.

On the upper corners, lavender sticky back pearls were added.

This card can be mailed out in one of the clear acrylic boxes which are linked below.


Tuesday, August 13, 2019

Potted Plants


On Susan's Garden Club FaceBook page, she recently did a video on how to create the Mother-in-laws Tongue plant using dies from her Garden Notes Day Lily die set.  I loved how realistic these looked so had to give it a try today.  

I went one step further than Susan and used her Garden Notes Day Lily die set for for some of the leaves, and for an additional shape, I used the leaves from the Garden Notes Cymbidium Orchid die set.  I followed her instructions for coloring and shaping.  The leaves of this plant are thick and shiny so I added Nuvo Crystal Glaze on all the leaves to make them look realistic.

This is a 6 3/4 x 5 1/2 inch card created with ivory card stock.  A piece of light brown card stock was cut slightly smaller than the card front.   The largest Garden Notes Frame It - Rectangle  die centered in the middle, then run through the die cutting machine to create a frame.    A piece of cream colored card stock was cut the same size as the frame (to be attached to the back of the die cut frame).  The edges were sponged with tan and brown inks.  The  GinaK Designs Tiny Textures stamp was used to stamp the textured design twice on the top of this piece --  (only one of the stamped designs shows on my card because I ended up covering the one on the left with the flowers.).  Double Sided dimensional tape was attached to the back of the frame. The covering on the dimensional tape was removed from the back of the frame and was centered on top of the ivory card stock.  This piece was then glued to the front of the card.  

The Garden Notes Chrysanthemum die set was used to create three different colored flowers.  The flowers, leaves and stems were shaped with Susan's Flower Tool Kit and assembled using Kid Choice Glue.

 The Garden Notes Potted die set was used to die cut two pots out of white card stock.  Distress Rusty Hinge, Gathered Twigs, and Walnut Stain inks were sponged onto the pots.  

The Garden Notes Leafy Berry Branch was die cut and colored with green ink.  Nuvo Autumn Red Crystal Drops were used to create the berries.This branch was cut apart to arrange around the flowers.

The flower pots were attached to the bottom of the card, inside the frame.  There is double sided dimensional tape in the center of the back of each pot and glue around the sides and bottom.  This will give the pots dimension.  The chrysanthemums were arranged on the stems inside the pot.  Extra leaves were glued around the top of the pot.  The Leafy Berry Branch was cut apart and arranged around the flowers. 

In the second pot, the Mother-in-law Tongue was arrange in the pot.  There were some gaps inside the top of the pot around the leaves, so a tiny bit of Spanish moss was glued in those areas.  

Susan's Woodland Leaves die set was used to die cut fall leaves.  They were die cut using white card stock and fall colors sponged on them.  They were arranged at the base of the flower pots.

You can go to Susan's Garden Club FaceBook page and find instructions on how to assemble her flowers plus a lot of other helpful information on creating realistic flower arrangements.


Monday, August 12, 2019

Rusty Bucket Autumn Arrangement


In my last post, August 10th, I posted a card with the Garden Notes Vintage Milk Can that I used Rust Effects Paste on.  At the same time, I used the rusty pastes on Susan's Garden Notes Galvanized Bucket.  This is such a fun technique.  Here is the link to the YouTube video by Joyce Schmidt showing how to use the rust effects paste.  

Today I filled the rusty bucket with Susan's Garden Notes Black-Eyed Susan, Wheat Sheath, and Leafy Berry Branch.  

Use the Garden Notes Black-Eyed Susan die set and create three flowers.  For instructions on how to create these beautiful flowers,  you can go to her FaceBook Page - Susan's Garden Club  for detailed instructions.  I did a little addition to the center of the flowers -- I added a few brown Prills.  The flowers were shaped using Susan's Flower Tool Kit and assembled using Kid's Choice Glue.

Use the Garden Notes Wheat Sheath die set and die cut 6 sheaths. After die cutting, run the die cut, still on the die, through the die cutting machine to emboss.  This will bring out each of the scored lines showing the wheat grain.   I like to use white card stock to die cut so I can sponge on different shades of colors to give depth of color.  For the wheat, I used Altenew Inks:  Chamomile, Snapdragon and Almond Butter.  For highlights I used the Copic marker YR23.  Distress Gathered Twigs ink was sponged down the stem and up the middle of the sheath.  Each of the wheat spikes were cut in half to make them very thin.

Use the Garden Notes Leafy Berry Branch die set and die cut two.  Color the leaves dark green and use the Nuvo Autumn Red Crystal Drops for the berries.  Let the berries dry before arranging in the bucket.

Die cut one pumpkin and leaves.  Use the Spring Basket die set and die cut four grass.  Color the grass and glue two together for fullness.  

This is a 7 x 5 1/2 inch card.  The base card is Kraft card stock.  A piece of ivory card stock was layered on black card stock.  The edges of the ivory card stock was scored around the edges using the Scor-Pal.  Tim Holtz Slight Alterations stamp was used to stamp the design on the left side.  Distress Ink, Gathered Twigs, was sponged around the edges of the ivory card stock.

Attach the bucket to the lower right corner of the card.  Add the wheat sheaths, leafy berry branches and the black-eyed Susan's in the bucket.  Add the pumpkin, leaves and grass at the bottom of the card.


Saturday, August 10, 2019

Rusty Vintage Milk Can Arrangement


Susan Tierney-Cockburn has dies for great containers to create rusty effects on.  I watched Joyce Schmidt's YouTube Rusty Vintage Milk Can video to learn how to use Rust Effects Paste to achieve a very realistic rusty look.   In Joyce's video she painted white card stock with silver paint.  I did not have silver paint so I used a piece of dull silver metallic card stock.  I followed Joyce's instructions on the video for adding the Rust Effects Paste.  


I had so much fun creating the rust effects, I did it on both Susan's Garden Notes Vintage Milk Can and the Garden Notes Bucket (which I will use on another card).  Since I did this technique over silver card stock, I needed to add additional strength to the containers.  I used another piece of heavy weight card stock and put double sided adhesive on the front of the card stock before die cutting additional pieces.  The covering was removed from the double sided tape and attached to the back of the rusty containers.  It was very easy to shape these pieces with the additional layer of card stock on the back.  Two pieces of dimensional tapes were placed on top of each other, down the length (in the center) of the vintage milk can when placed on the card.

To fill the can with Autumn Foilage,  I used a variety of die sets.  

Use the Garden Notes Berry Branch and die cut 3 or 4 branches, using a light brown card stock.  Use the Nuvo Orange Crystal Drops to create the berries.  Set aside for the  berries to dry before arranging the foliage in the can.

Use the Garden Notes Lavender die set and die cut one branch.  Use yellow card stock for the flowers.  (This is a piece I had left over from my post yesterday.)

Use the Garden Notes Maidenhair Fern die set and die cut two large and two small ferns.  I like to die cut these with white card stock and sponge on color.  The ferns were sponged with green link then lightly sponged around the edges of the leaves with a rust ink.  The leaves were shaped using the flower tool kit.  The leaf tool was used to draw a line down the center of each leaf, then each leaf was pinched in half over the point of the tweezers, to give them shape.

Use the leafy branch die set and die cut the branches using rust card stock.  Shape the leaves with the flower tool kit.  For the tiny berries, glue red Prills in groups on the branch.

This is a 6-inch card.  Rust card stock was used for the card base and a piece of ModaScrap Wood Effects card stock attached on top.

The Vintage Milk Can was attached at the bottom left of the card.  Once the berries were dry, all the foliage was arranged in the can.  

Use the Garden Notes Woodland Leaves die set and die cut a few leaves to arrange around the bottom of the Vintage Milk Can.

I hope you will watch Joyce's video on how to do this cool technique with the Rust Effects Paste. The technique is very easy to do and really gives realistic results.   I ordered my Rust Effects Paste from Amazon.


Friday, August 9, 2019

Fall Bouquet


A bouquet showcased in a large pumpkin is so beautiful.  Today I created a card using a variety of the Susan's Garden Notes die sets.

This is a 6x6 inch card.  The base card is a dark purple.  On top is a slightly smaller ivory card stock that has been sprayed with Distress Oxide Vintage Photo Spray.

The Garden Notes French Pumpkin die set was used to die cut the pumpkin out of white card stock.  Different shades of orange and yellow inks were used to sponge on color.  The pumpkin was attach to the bottom of the card.  Dimensional foam tape was used in the center of the pumpkin and the edges glued down.

 I created two dinner plate dahlias using the Garden Notes Dahlia 2 die set.  The petals were die cut using a pretty purple card stock.  The tips of each petal was colored white by swiping the tips along the edge a white pigment ink pad.  A heat tool was used to to dry the ink before shaping the petals.  The Flower Tool Kit was used to shape the petals.  Two layers of each size petals were used to create each flower.  

The white flowers were created using the Garden Notes Shasta Daisy die set.   I created these flowers differently than the Shasta Daisy because I wanted a smaller flower.  Only the smallest petal die was used.  There are two layers to each flower.  The center was sponged using the light green PanPastel before shaping.  The two layers were glued together.  For the center of the daisy, a small circle was cut and cupped to fit in the center.  The edges were glued and attached in the center of the flower.  Yellow Pollen was added around the edges of this circle.  A mixture of orange, yellow, and a tiny bit of green pollen was added in the very center.  

The Garden Notes Lavender die set was used to die cut one branch.  Instead of using purple for the little flowers, yellow card stock was used.  After shaping the flowers, they were glued to the stem.  I used Bottle Green Nuvo Crystal drops to drop one tiny dot in the center of most of the yellow flowers.  

The Garden Notes Leafy Berry Branch die set was used to die cut two branches.  A marker was used to color the leaves and stems.  Nuvo Violet Galaxy Crystal Drops were used to create the berries.  These branches were cut a part to go behind the arrangement.

The Garden Notes Ladder Fern die set was used to die cut two ferns out of green card stock.  They are hard to see, but they are tucked in at the back of the arrangement.

All the die cut elements were arranged in the pumpkin. 

Gold butterfly and sentiment stickers were used to complete the card.

This card can be mailed in one of the clear acrylic boxes, which are listed below.


Sunday, August 4, 2019

Black-eyed Susan Fall Arrangement


Black-eyed Susan flowers are blooming everywhere and inspired me to create a card with them.  

This is a 6-inch card.  The background is a piece of the ModaScrap Rainbow Bark card stock.

Three flowers were created using the Garden Notes Black-eyed Susan die set.  The Flower tool kit was used to shape the flowers and assembled using Kids Choice Glue.

The Garden Notes Hawthorne Berries die set was used to die cut four branches, using white card stock.  To color the leaves, green, orange and brown inks were sponged on leaves.  To create the berries, Glass Red Berries Nuvo Crystal Drops were used.  Once the berries were dry, a black permanent pen was used to created the black dot on each berry.  The leaves were shaped with the flower tool kit.

Four Garden Notes Ladder Ferns were die cut using white card stock.  Green and Brown inks were sponged on the die cuts.

The Garden Notes Wooden Fruit Crate was die cut and colored.  The words in the die cut were darkened with a pencil.

The Impression Obsession Grass die (038J) was used to die cut four grasses out of white card stock and were sponged, using green ink.

The Elizabeth Craft Designs Pumpkin die set was used to die cut the three pumpkins out of white card stock.  Yellow, orange, brown and green inks were sponged on the pumpkins to color them.  A brown marker was used to color the stems.  The leaves were also sponged with fall colors.  

The Wooden Fruit Crate was attached at the bottom of the card.  The Ladder Ferns, and Hawthorne Berry branches were attached, then the three Black-eyed Susans were attached with dimensional glue dots. 

The tall grasses were attached on each side of the Fruit Crate then the three pumpkins added with a piece of dimensional tape in the center, to give them dimension.  The leaves were glued in around the pumpkins.  

This card can be mailed out in one of the clear acrylic boxes, linked below.


Monday, July 29, 2019

Pink Poinsettias


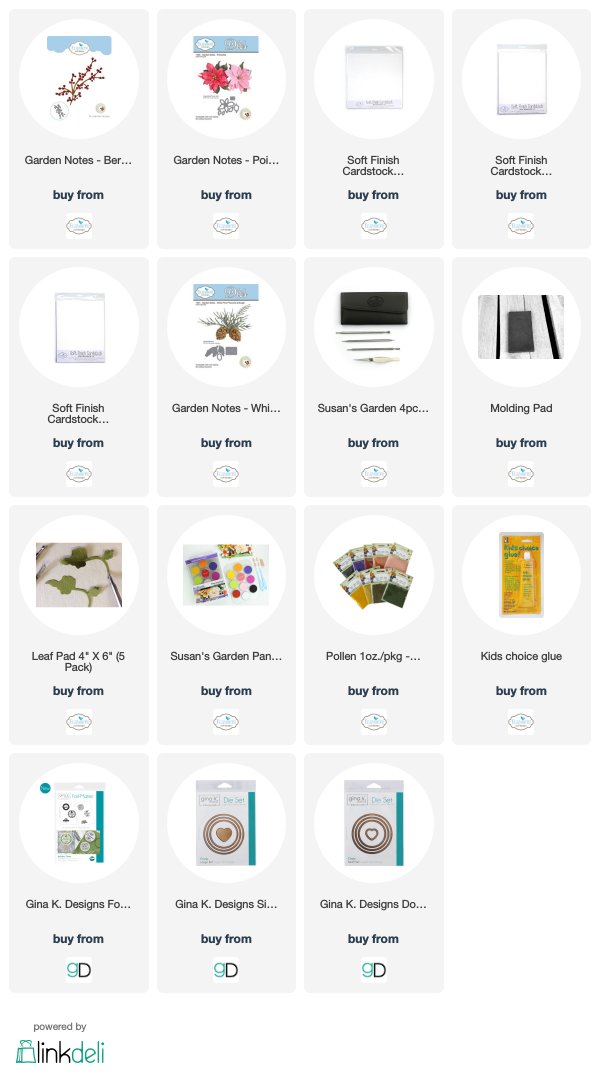
Today I have a Christmas card created with Susan's Garden Notes Poinsettia die set and Berry Spray.

This is a 6-inch card.  A piece of card stock from my stash, that has a pearled design in it, was used for the background.  The edges were scored, using the Scor-Pal, then attached to the front of the card.  

Three poinsettias were created with the Garden Notes Poinsettia die set.  They were die cut using white card stock then colored using the light pink PanPastel.  They were shaped using the flower tool kit and assembled using Kids Choice Glue.  For the bracts of the poinsettia, dots of Nuvo, Bottle Green, Crystal Drops were used to create each dot down on a craft mat.  While still wet, yellow pollen was put on top.  Once they were dry, the green bracts were glued to the center of each poinsettia.

One branch was die cut using the Garden Notes Berry Spray die set.  It was die cut using white card stock and the branch was colored with a brown marker, leaving the berries white.  Nuvo Ivory Seashell Crystal Drops were used to create the berries.  Once the berries were dry, the branch was cut apart in smaller pieces to be glued behind the poinsettias.

A Marianne Designs Pine Branch die set was used to die cut the pine branches.  I have had this die a long time.  I do not know the number of the die set.

For the sentiment, I used one of the GinaK Design Foil Mates, from the Holiday Cheer Foil Mates package.  It was die cut using the GinaK Double Stitched Circle die set, then foiled using a piece of the DecoFoil Emerald Watercolor foil.  A larger GinaK Designs Stitched Circle die was used to die cut a piece of green metallic card stock. I used an old embossing folder to give this circle some dimension. The two circles were attached using double sided foam tape, to give dimension between the two circles, then attached to the card front.

The pine bough, berry branch pieces, and poinsettias were attached on the left side of the sentiment.

This card can be mailed in the clear acrylic box, which is linked below.


LinkWithin

Related Posts with Thumbnails