Showing posts with label Frames. Show all posts

Sunday, August 26, 2018

Framed Autumn Arrangement


I had so much fun creating today's project.  It feels like Autumn these past few days with cooler temperatures and I was inspired to create an Autumn framed arrangement.  This piece took several days to create, but was well worth it.

For the frame for the project, use the Happy Frame XL die set and die cut the frame pieces using the ModaScrape Wood Effects card stock.  For the background, use a piece of the ModaScrap Manly Man Cardstock.  On the back, a heavy weight (100 lb) card stock was attached.

For the container for the arrangement, use the Garden Notes Wooden Fruit Crate.  Die cut it using a piece of the Through The Lens Wood Cardstock.  Back the crate with a piece of dark brown card stock.  Attach the crate to the bottom of the frame using dimensional tape.

Use the Festive Glow die set and die cut the solid candle, using white card stock and color with markers.  Die cut the flame using gold metallic card stock; attach it to the candle.  Attach the candle at the top of the Crate, using dimensional double sided tape.  Use a double layer of tape only on the bottom of the candle.  Leave the area unattached at the top so foliage can be added.

Use the CountryScapes Floral 1 die set and die cut all the cattails 3 times.  Color with markers.  Cut the larger group of cattails in half.  Arrange them from behind the candle.

Use the Garden Notes  Maidenhair Fern die set and die cut both sizes twice, using green card stock.  Shape the leaves with the Flower Tool Kit.  Arrange the ferns on the upper left corner,  and both sides of the crate.  I arranged ferns around the base of the candle, but they do not show very much after the flowers were added

Use the Garden Notes Lavender die set and die cut two Lavender pieces to create the yellow Goldenrod, which is on the left of the candle.  Die cut the little flowers using light yellow card stock and attach to the Lavender stems.  Cut apart and arrange on the left side of the candle.

Use the Garden Notes Leafy Berry Branch to create the Bittersweet berry branches.  On Susan's Garden Club Facebook Video entitled Colour and Composition, she shows how to create some of the items I have created for this project.  You can view that video at this LINK.  Susan has a lot of videos that are so helpful in learning how to create flowers with her dies and also has many other very helpful hints.   Add Orange Nuvo Crystal Drops on the Berry Branch to create the berries.  Once dry, use a red Copic marker to add a dot of red on each berry.  Cut the branch apart and attach some pieces on the upper left side and a few on the lower right side.  

Use the Garden Notes Chrysanthemum die set and create two deep red flowers.  Shape the flowers and leaves using the Flower Tool Kit.  Arrange the flowers beside the base of the candle.  Be sure to add the Chrysanthemum leaves.

Use the Garden Notes Lily 2 die set and create three Day Lilies.  

When creating the lilies, you want the petals to stand up and I found a perfect item to place them in while they dry.  I stopped by a garage sale one day and I saw the metal piece shown in the picture.  It was marked 50 cents.  I picked it up and the lady started explaining it was to bake stuffed jalapenos.  I told her she would laugh, but I didn't want it for that reason -- I wanted it to use in creating flowers out of card stock.  I was sure it would work great and it does!  Sometimes you can find something totally unrelated for what it is intended for our crafting needs!

Create three lilies.  Shape with the Flower Tool Kit.  Add red pollen to the end of the stamens.  Let dry and arrange around the base of the candle, as shown.

Use the Susan's Garden Woodland Leaves die set and create 7 or 8 small leaves to place around the edges of the arrangement.

Use a piece of natural twine for a bow.

I love that Elizabeth Craft Designs has the Happy Frame die sets - there are two different sets.  The Happy Frame XL was perfect for framing this Autumn Arrangement.

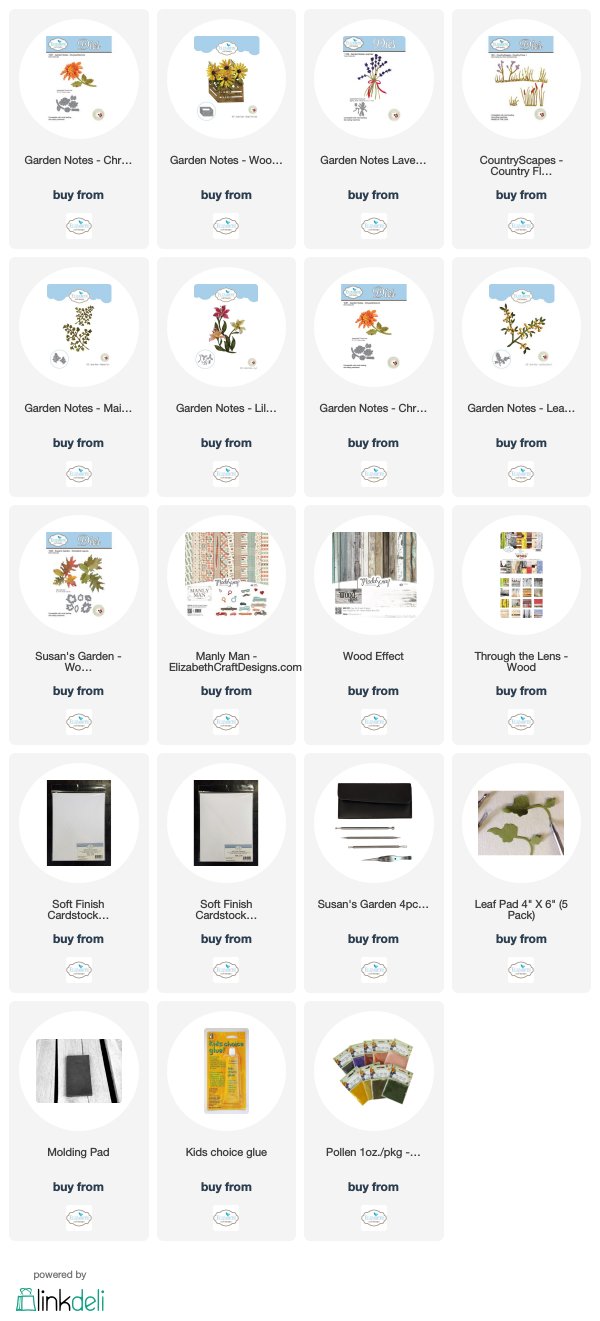
You can shop for the products used by clicking on the links below.


Monday, January 8, 2018

ModaScrap Happy Frame


Elizabeth Craft Designs now has a new 2018 Design Team and exciting new products that will be released very soon.  You can go to the Elizabeth Craft Designs Blog at this LINK to see all the projects designed by the team using the new ModaScrap products.  

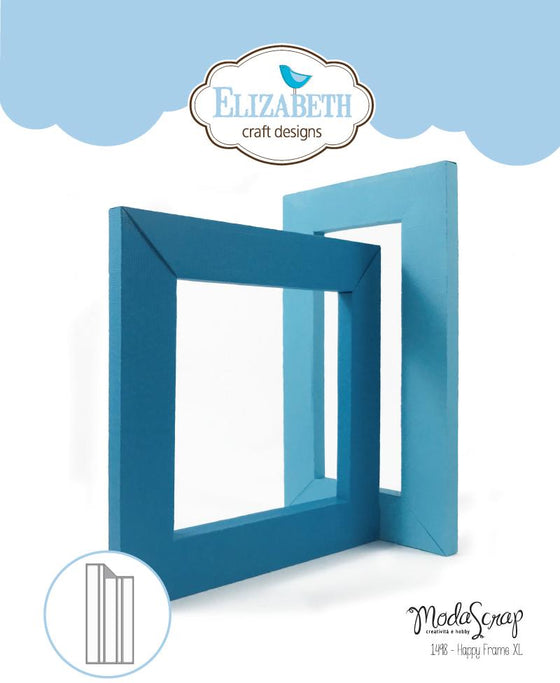
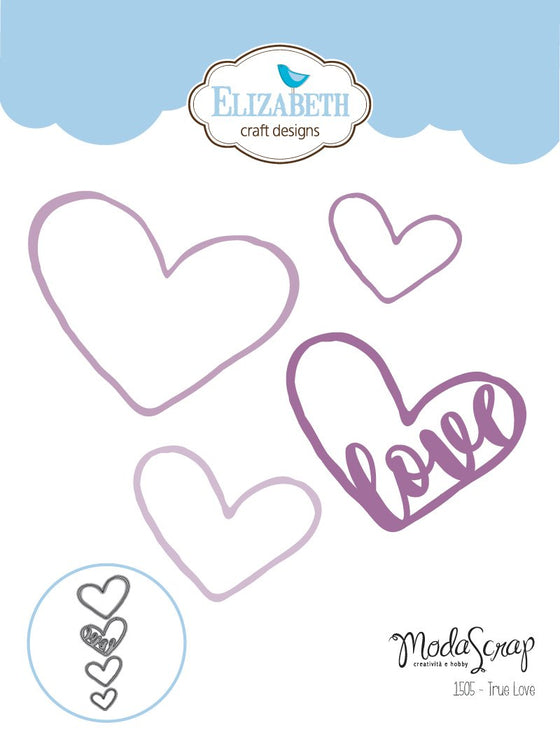
The new ModaScrap dies I used for my project are the Happy Frame XL, Flowers Lace Frame, and True Love die sets.

Here is how I created my project:

1.  Use White Soft Finish Cardstock and the Happy Frame XL die to die cut four pieces to create the frame. 

Happy Frame XL


 The die cut has score lines.  Fold along the scored lines and press with a bone folder for a crisp folded edge.  Assemble all four pieces by adding a strip of 6mm Clear Double Sided Adhesive to one long side, fold and create the first side of the four sided frame.  Lay the pieces out on your work space to understand how to assemble.  The angled edge fits over the flat end.  Use Clear Double Sided Adhesive, or Kids Glue, to connect each of the corners to create the frame.

2.  The finished frame is 8 inches square.  Cut a piece of pink card stock and two pieces of 100lb white card stock to use as backing for the frame. Glue the three pieces together with the pink card stock on top.  The three layers will give strength to the frame.  Attach the three layered pieces, to the back of the frame, using  6mm Clear Double Sided Adhesive.

Flowers Lace Frame


3.  Use the ModaScrap Flowers Lace Frame and die cut one white frame.  You can use Clear Double Sided Adhesive on the back of the card stock before die cutting for easy attachment inside the frame, or use glue to attach it.  Center this frame inside the dimensional frame.


True Love

4.  Use the ModaScrape True Love die set and die cut the heart with the 'love' sentiment.  Again, for easy attachment, use card stock with Clear Double Sided Adhesive on the back of the card stock before die cutting, or you can glue the heart to the center of the Flowers Lace Frame.

5.  Use the Romantic Corner die set and die cut four small corners.  Attach them to the corners of the Happy Frame.

6.  The butterflies were cut out, using scissors, from of one of the sheets of design paper in the Butterfly Dream design paper pack.    

Be sure to go over to the Elizabeth Craft Designs Blog to view more projects/cards created with the new ModaScrap products. 


Friday, August 23, 2013

Framed Susan's Garden Flowers


My friend Pat and I found these laser cut frames in the clearance bin at Michael's and thought we could probably do something really pretty with them.    We have been working on this project for a few weeks now,  creating a variety of flowers to create a flower garden in a frame.  All the flowers created in this shadow box were created using a variety of flower dies in the "Susan's Garden"  flower collection.  The flowers were all shaped with the Sizzix, Susan's Garden Flower Tool Kit, and colored using the Susan's Garden Pan Pastels.

This is a close up of the flowers in my Shadow Box. I used 9 different sets of Susan's Garden flower dies.  The flowers are not necessarily a true color of the type of flower -- instead of yellow forsythia, they are pink, and the sunflowers are purple instead of yellow.  It is fun to be creative.


This is the shadow box frame Pat completed.  We worked on the same types of flowers, but she did not use as many as I did because she wanted to place a photograph behind the small laser cut frame in the center of the shadow box. Like I said, these frames were in the clearance bin for I think 80% off.   We used a little sample jar of Valspar purple paint, from Lowe's (which was free with a coupon) to add color to the frames,  and a piece of a wall paper sample on the back of the Shadow Box. This project just cost just a few dollars, but ended up being something we are both very proud of. Hope this gives you some ideas for creating something a little different. 

Thanks for stopping by.  Have a great weekend.

1008004

Wednesday, June 19, 2013

A Thank You Gift for Susan Tierney-Cockburn


Today I am sharing with you a gift created for Susan Tierney-Cockburn.   I posted earlier that my friend Pat and I drove over to Seattle and had a wonderful day with Susan.  We wanted to create something for her, as a small token of our appreciation.  As I have stated many times before, I first learned how to create beautiful flowers using Susan's instruction book and her Punch Bunch punches, so it was a real honor to be able to meet her.   Thanks again Susan.

The above picture, on the left is the  thank you card created using her "Susan's Garden "Bird & Wreath" embossing folder and her "Mini Petals Flower dies.  On the right is the  piece that was placed in a deep black framed shadow box.  We used the Susan's Garden Rose Flower dies to create the pretty rose and rose buds.   

This is a picture of the framed piece.  It was very hard to get a good picture because of the reflection in the glass.

 This is a picture of the piece before it was placed inside the frame.


 Here you can see the dimension of the Rose.

I have created many flowers, but there are no punches or dies that create more realistic flowers than those in the new  Sizzix "Susan's Garden" flower collection dies.  Susan has thought of everything to create the most beautiful,  realistic flowers in each set of flower dies, plus the new Flower Tool Kit, the Pan Pastels for coloring, and new "Pollen" to create realistic stamens.  

Products used:
 Susan's Garden Products used:
Sizzix, Susan's Gardens products used:
Susan's Garden's "Rose"  (658411)
Susan's Garden's "Mini Petals" (658409)
Susan's Garden Flower Tool Kit
Susan's Garden "Bird & Wreath" embossing folder (658428)

967440

Thursday, March 21, 2013

Joan's Gardens Weekly Challenge


It is time for a new challenge over at Joan's Gardens.  Here are the requirements:
  • Use a square
  • Alter something...even if it is a card
  • Use flowered paper...you can make it
I have been having fun decorating those $1.00 wood frames from Michael's.  The flower design paper I used is from the Graphic 45 "Secret Garden" 8x8 pad.  I started by cutting the center out of the design paper where the photo can be placed.  I used the Tim Holtz Craft Knife and a ruler to do this.  The design paper was attached to the frame with Modge Podge.  Narrow strips of black card stock were cut and attached to the inside square and also on the outside of the frame with Modge Podge.  The center piece that was cut out was attached to a piece of black card stock and placed back in the opening.

You know how I love to duplicate flowers I see in design paper and that is what I did for this frame.  I die cut a bunch of the Memory Box "Fabulous Phlox" flowers and sponged them with peach ink before shaping them. Stamens from the Build A Flower #1 Embellishments" were die cut. I used a marker to create a darker tip, shaped and placed two in the center of each flower. Several Memory Box "Fresh Foliage" pieces were die cut that were placed behind the flowers.  The two little Impression Obsession birds were sponged and attached around the flowers with dimensional tape.  A few pearls were added to complete this frame.

Graphic 45 "Secret Garden" 8x8" design paper pad
Memory Box "Fabulous Phlox" 98511
Memory Box "Fresh Foliage" 98502
Cheery Lynn Build A Flower #1 (B181)
Impression Obsession 'Birds' 003-A  

898551

Friday, March 15, 2013

Another Frame


I have a very busy day and don't have time to create something new,  so I am going to post a gift I made for one of the people who is helping me, so much, to recover from injuries from our car accident. She has spent so much time helping me feel better and even calls me at home to make sure I am doing ok.   This was just a small token of my appreciation.

I used a wooden frame and some stencils to create the background with "Modeling Paste".   Distress Inks were used to add color to the stenciled designs.  I bet you know where the large Iris is from.  I used the gorgeous Heartfelt Creations "Dutch Iris Oval" and "Dutch Iris Medley" Precut sets.  The pieces were black embossed and colored with colored pencils and OMS.  All the layers were put together with dimensional glue dots.  A Memory Box Butterfly and Cheery Lynn grass border were added to complete this frame.

Thank you Janelle for all you are doing to help me recover. 
  

Tuesday, January 29, 2013

Heartfelt Creations Floral Frame


It is time for the January Heartfelt Creations Alumni Design Team Blog Hop.  There are eight alumni designers participating this month.  If you came from Emilia van den Heuvel's blog, then you are probably going in order.  The next blog to visit from here is Sarah Miller.  We hope to give you a lot of inspiration using your Heartfelt Creations stamps and dies.    Be sure to visit all eight blogs in this hop, leaving a comment on each, for a chance to win a $25 Gift Certificate from Heartfelt Creations.

I always love to work with my stamps and dies from Heartfelt Creations.  This month I decided to create a home decorating piece.  I used a wood frame I purchased from Michael's and one of the new Heartfelt Creations "Decorative Blossom Corners" to decorate the top the of this frame.  I did not paint the frame because it has a nice ivory color finish to it.  To create the "raised" corners, I die cut two of the Decorative Blossom Corners, out of card stock,  and just laid them on the upper corners,  then using a small spatula spread "Liquitex Light Modeling Paste" over the die cuts, being careful not lift the die cut or to get any of it below the die. I scraped it off evenly across the top of the die cut.  I did this to both corners, letting them sit for a short time before pulling the die cut off.  This created the pretty raised design on the corners.   The frame was set aside for about an hour to allow the Modeling Paste to dry.  Meantime I worked on the flowers.   I read about this technique on Sherry Cheever's blog. 

To decorate the frame I chose to use the Heartfelt Creations "Botanical Florals" stamps and matching dies.  I clear embossed the flowers on watercolor paper then colored each flower with the Tim Holtz "Spun Sugar" Distress Stain.  The reason I stamped in VersaMark and clear embossed was because I wanted the outline and lines in the Botanical Florals stamp to stay white for a variation of color in the petals of the flowers - it worked as a "resist".  I think it made it look more realistic than stamping the flower in black.  Both sides of the flowers were stained then shaped.  I used all the flowers in both sets of the Botanical Florals to create the different size flowers.  Once they were colored on the front, I was able to see where to place the die to die cut them with the matching dies then the back was stained.  The leaves and Flourish were created the same way, using Peeled Paint Distress Stain.  

The swirls behind the flowers is the Heartfelt Creations "Bella Rose Flourish".  I use this stamp, and matching die, for a background for many of my floral pieces.  It always make an arrangement very elegant. All the flowers and leaves were attached with dimensional glue dots or regular glue dots.  

For the opening in the frame, I stamped the bird from the Heartfelt Creations "Melodious Songbird PreCut Set" on watercolor paper and colored it with Distress Inks.  The background behind the stamped image was sponged with "Weathered Wood" Distress Ink".  The bird was stamped again, colored and attached with dimensional glue dots.

Be sure to visit all eight blogs and leave a comment on each blog because one of you will be chosen, in a random drawing,  to win a $25 Gift Certificate to shop at Heartfelt Creations.  This blog hop closes Fri. Feb. 1st at midnight and the winner will be announced at noon Sat, Feb 2. 

I am entering this frame in the challenge at the Papercraft Star blog.


Heartfelt Creations Botanical Floral 1 PreCut Set HCPC 3406
Heartfelt Creations Botanical Floral 2 Pre Cut Set HCPC 3407
Heartfelt Creations  Botanical Floral matching Dies
Heartfelt Creations Decorative Blossom Corner HCD729
Heartfelt Creations  Bella Rose Flourish HCD712
Heartfelt Creations  Melodious Songbird PreCut Set HCPC 3511
Liquitex Light Modeling Paste
Distress Inks "Peeled Paint" and "Spun Sugar"
Ranger Blending Tool
Ranger Detail Clear Embossing Powder
VersaMark
Watercolor paper
Distress Markers to color bird
Weathered Wood Distress Ink Pad for background behind bird
Pop Dots

856746

LinkWithin

Related Posts with Thumbnails