Monday, February 13, 2017

Lacy Heart


Today I have a red and white Valentine to show you.  I used the new Els van de Burgt Studio Lace Heart and Stitched Hearts die sets along with Susan's Garden Rose 1 die set.  

Use a 6-inch square card.  Cut a piece of white card stock 5 1/2 inches square and score around the edges, using a scoreboard for neat edges.  Attach to the front of the card.  Use Red Metallic Shimmer Sheetz and the Stitched Hearts die set to die cut the large red heart.  Die cut the white heart using the Lace Heart die set and White Soft Finish Cardstock.  Attach the white heart in the center of the large heart.

Use the Susan's Garden Rose 1 die set to die cut enough petals to create one large rose.  Shape the petals and shape with the Flower Tool Kit.  Assemble, adding as many petals as you want for fullness.

Use the Leafy Branch 6 - Wheat die set and die cut three branches, using Soft Finish White Cardstock.  

Use the Lovebirds die set to die cut one Lovebird branch, using White Soft Finish Cardstock.

Use Red Metallic Shimmer Sheetz, with Clear Double Sided Adhesive on the back, to die cut the sentiment.  

Attach all the die cuts on the card as shown.  For extra embellishment, I tucked in some pearl picks that have tulle attached.  

The Elizabeth Craft Designs products used are linked below.  Have fun creating your Valentiune!


Saturday, February 11, 2017

Amazing


I love to design cards using Susan's beautiful Rose dies. Today I used Susan's new Garden Notes Rose 3 and Garden Notes Ivy Vine die sets.  I also used the new  A Way With Words - Beautiful Amazing die set.  

For the background I die cut the new ModaScrap Lace Pocket using light peach cardstock. The Lace Pocket was attached to a piece of Els van de Burgt Studio Through The Lens - Wood cardstock.  

The A Way With Words sentiment was die cut using black card stock that had Clear Double Sided  Adhesive on the back.  It makes it so easy to attach delicate die cuts such as the A Way With Words sentiments.

Use Susan's new Garden Notes Ivy Vine die set to die cut 5 vines.  Sponge around the edges of the leaves for dimension.  

Arrange the roses and ivy on the card as shown.

The products used are linked below.  Have a nice weekend.


style="clear: both; text-align: center;">


Friday, February 10, 2017

Dancing Butterflies


Don't you love these beautiful butterflies; they are the new  ModaScrap  Dancing Butterflies from Elizabeth Craft Designs.  

This is a 6 inch square card.  A piece of design paper was attached to a white card front.  The Stitched Fishtail Banners were die cut six times.  Three banners were attached with the middle one slightly shorter than the two out the outside.  You want to leave room to stamp the sentiment at the bottom of the card.  The stamp used is from the new Dream Sentiments stamp set.  Use the other three banners to add just a small portion of the fishtail at the top of each long banner, as shown in picture.

Die cut the Dancing Butterflies using White Soft Finish Cardstock.  Attach them to the three Fishtail Banners.  I find it real easy to attach delicate die cuts like the Dancing Butterflies if I attach Clear Double Sided Adhesive to the back of the card stock before die cutting.

Use Susan's Garden Notes Pansy die set to die cut petals for two pansies. Shape with the tools in Susan's Flower Tool Kit. A few yellow Prills were added to the center of the Pansies.

 Attach the pansies on the lower corners of the card.  

To complete the card, a few purple pearls were added.

Thanks for stopping by.  Links to the products used are below.


Thursday, February 9, 2017

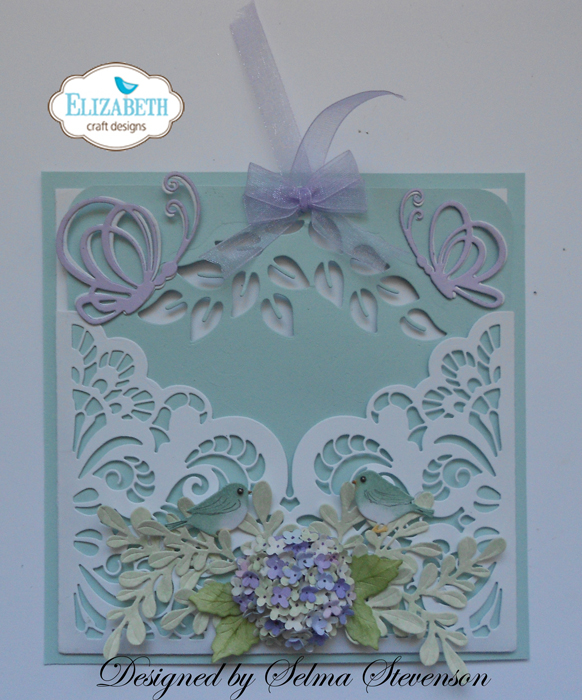
Lace Pocket with Hydrangea


Today I am sharing my  Elizabeth Craft Designs Die Cut  Design Team Designer Challenge Blog Post for February.    You can see all the beautiful projects created by the team at this LINK.

What fun to create a beautiful pocket card.    I love creating feminine cards and it was so easy with the new ModaScraps Lace Pocket.

First I am going to explain how to create the Pocket, which is shown on the left in the photo below.


Lace Pocket

Use the Lace Pocket die set and die cut one pocket using White Soft Finish Cardstock.  Fold back the edges on the score lines.

Cut a piece of white card stock  as wide as the pocket and approximately 3 inches taller than the pocket.  The height will depend on the insert you want to add; this will be explained later.  Use Clear Double Sided Adhesive, or glue, to the folded back edges of the pocket, and attach it to the white card stock.  The tabs will be inside the pocket.  Cut a piece of blue card stock for a backing to the pocket, for a border around the pocket - see photo.

Lovebirds


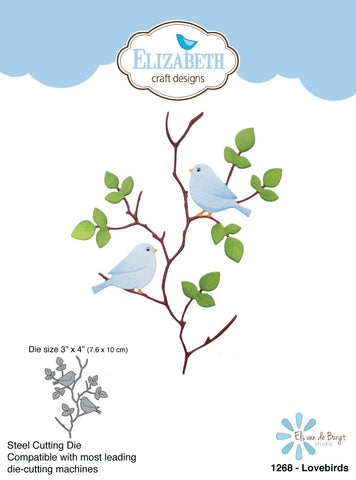
Use the Love Birds die set and White Soft Finish Cards stock to die cut Love Birds.  Cut off the birds from the branches and color them.  I sponged on light blue ink, for a soft finish.  To bring out the definition on the birds, use a sharp pencil to draw in the feathers and color the beak.  Add a black Prill to the eye.


Leafy Branch 5


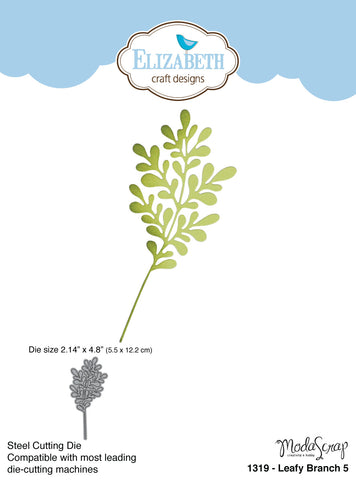
Using light green card stock, die cut two Leafy Branch 5.  These will be cut apart to arrange under the flower.

Susan's Garden - Hydrangea


In the Susan Garden Club  Collection, there are three sizes of Hydrangea die sets.  For this card, I used the largest hydrangea, which is the Susan's Garden Hydrangea.  Create one large hydrangea for the front of this card.  You can use different shades of blue and purple card stock.  I used Susan's PanPastels to add a little purple to the edges of the blue petals.

Use the Tags & More 7 - Vine die set to die cut the design at the top of a piece of Soft Sky cardstock;  this piece will pull out of the pocket.

 Use the Dancing Butterflies die set to die cut the two lavender butterflies and attach them on each side of the Vine die cut, on the pull out card.  Add a lavender ribbon in the center, at the top.


The products used are listed below.  Thanks for stopping by.  Be sure to check out all the other projects created for this Challenge.  


LinkWithin

Related Posts with Thumbnails