Pages

Saturday, March 31, 2018

Unforgettable


Today I saw the above picture of a dahlia, I thought was very pretty, and decided to try and duplicate it by using Susan's Garden Notes Dahlia die set.   I think I came pretty close to the real flower - what do you think?

Use a 6-inch white card.  Cut a piece of white card stock 5 3/4 inches square; use a Score Board and score around edges, for a finished edge.  Attach to the front of the card.

Create a watercolor background piece using Distress Oxide Inks.  Frame with a Stitched Rectangle frame and a Dotted Scallop Rectangle, as shown. 

To create the flower start off with a bright yellow card stock.  Use only the three largest Garden Notes Dahlia petal dies.  Die cut 4 of the largest, 3 of the second largest and 3 of the third largest petals. The two smallest die cuts are not used for this particular flower.   Use a bright orange ink to sponge color on 3/4 of the lower portion of  the tip of each. Use a fine tip orange marker and draw lines from the base of each petal to almost the tip.   Use the Flower Tool Kit and shape the petals.  Using one of the smallest petal die cuts, use the scissors and cut twice down each petal.  This piece will be used to go around the stamen.   Die cut two stamens, using dark brown card stock.  Cut down the center of each leg on both stamen pieces.  Glue the two stamen pieces together, alternating the legs so it appears without gaps.  As soon as the stamen glue has dried, roll up, as usual with the tweezers.  Spread out the narrow stamen legs, dip the tips in glue, then dip in black pollen.  As soon as the glue has dried, place the stamen in the smallest flower petal piece that has the petals cut; add glue to the center and part way up the base of the petals.  Press the flower petals around the sides of the stamen, and glue into the center of the dahlia. 

Use the Dancing Butterfly die set and die cut one black butterfly.

Die cut one Berry Branch.  Color the stems brown and add orange berries with either Nuvo Crystal Drops or pearls.  Cut into several pieces to attach behind the Dahlia.

Use the Ladder Fern Die set and die cut one Fern.  

Use the A Way With Words Unforgettable die set and die cut one white and one black sentiment.  Glue the black sentiment on top of the white.  This will give it some dimension.  Attach the sentiment on the lower portion of the card.

 Attach the Dahlia, Fern and Berry Branch on the lower right side of the Rectangle Frame.  Attach the Butterfly with a small piece of dimensional tape.

It is fun to find a picture of a beautiful flower and try to recreate it using Susan's flower die sets.   

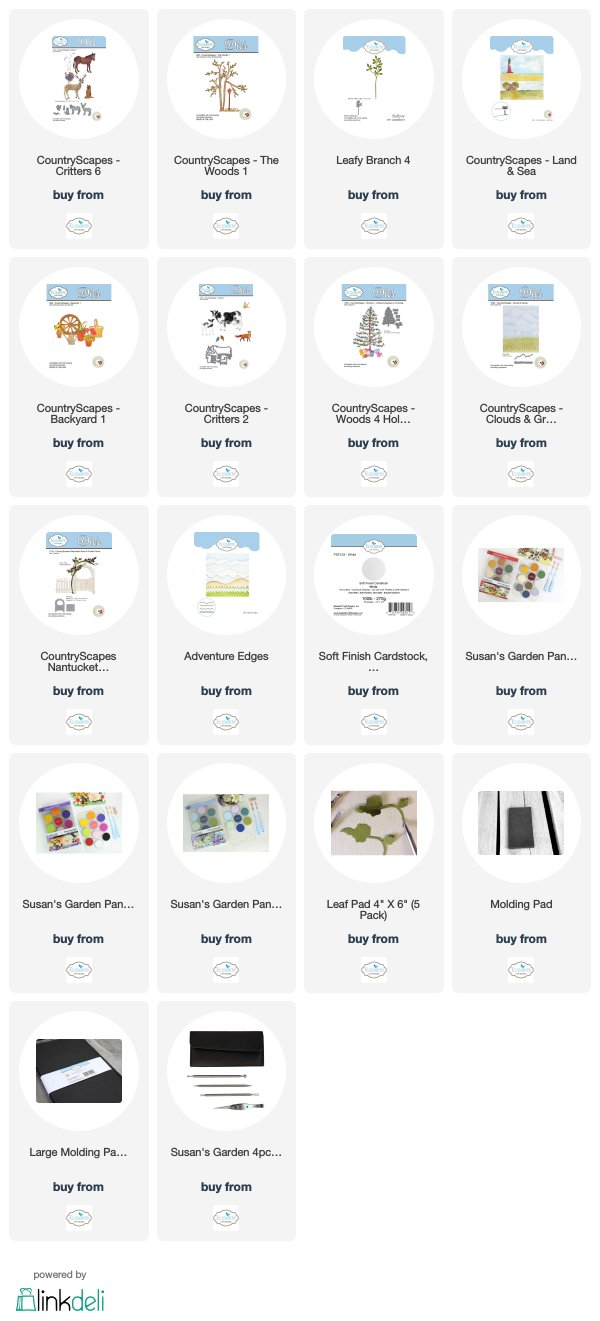
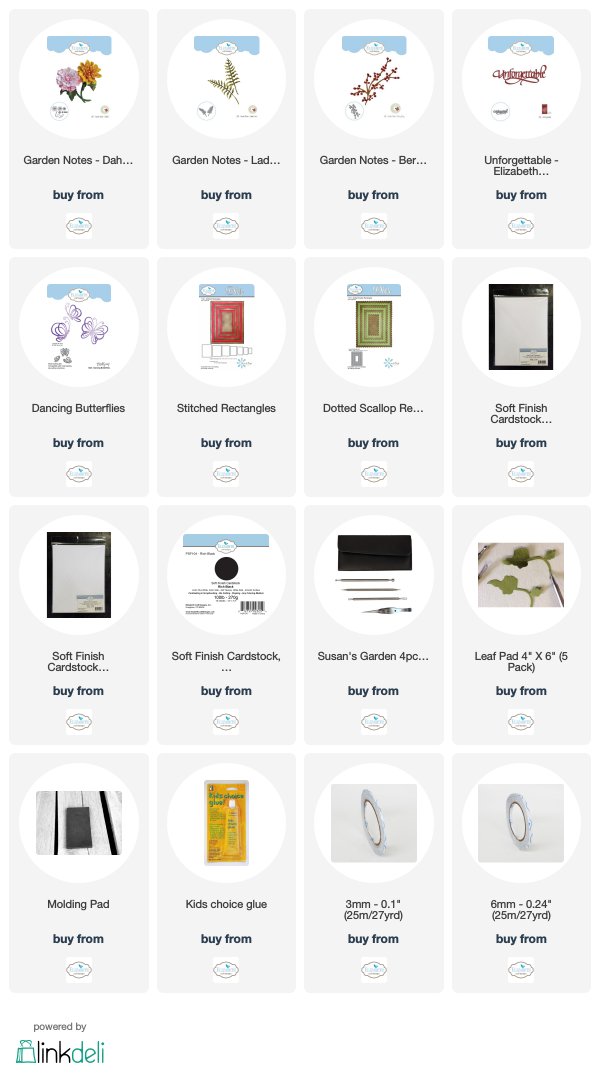
You can shop for the products used from Elizabeth Craft Designs, by clicking on the products shown below.


Thursday, March 29, 2018

Lupine Mountain Scene


It is fun to create different types of cards.  As you know, I love creating floral cards, but today I wanted to work with Susan's Stencils to create a mountain scene.  I still wanted to create a pretty flower for dimension, so I added one Lupine flower, which is commonly found up in the mountains.

The piece stenciled is a rectangle die cut using the largest rectangle from the Dashing  Rectangles die set.  

Using a variety of Distress Inks, Susan's stencils were used for the scene.  First the Earth & Sky stencil was used to create a cloudy sky which comes down about half way.

The Mountain & Split Rail stencil was used to sponge on blue mountains just below the clouds.

The Snowstorm and Mounds stencil was used to create different levels of grass mounds below the mountains.

The Shade Tree Stencil was used to create the shade tree.

The Evergreen Grove Stencil was used to sponge on four evergreens on the right side and one evergreen on the left of the Shade Tree

The Behind the Scenes Stencil was used to sponge on three deer.  The stencil was turned over to create a deer facing the two deer on the right.  A green marker was used to add a few grass blades around the feet of the deer and the base of the Shade Tree.

The lower portion of the piece was sponged with green ink then the grass was sponged on using the Earth &  Sky Stencil.  

The flying Geese were added using the Earth & Sky Stencil.

The Dashing Rectangle used previously, was used again to die cut an opening in a piece of white card stock that is approximately 3/4 inch larger than the die.  This created an open frame to fit around the completed scene that was created on the Dashing Rectangle.  Use a Score Board to score around the edges of the frame, for a finished appearance.  

Susan's Garden Notes Bluebell-Lupine die set was used to create the pink flower.  It was shaded using pale lime green, light and dark pink markers.  The flower and leaves were shaped using Susan's Flower Tool Kit.  

Two Ladder Ferns were die cut using green card stock and placed behind the flower.  

Joset's Spring Basket die set was used to die cut two grass die cuts  These were placed in front of the flower.

Have you tried using the stencils to create a scene.  It is very easy to do and a lot of fun to use your imagination.  I hope you will give it a try.

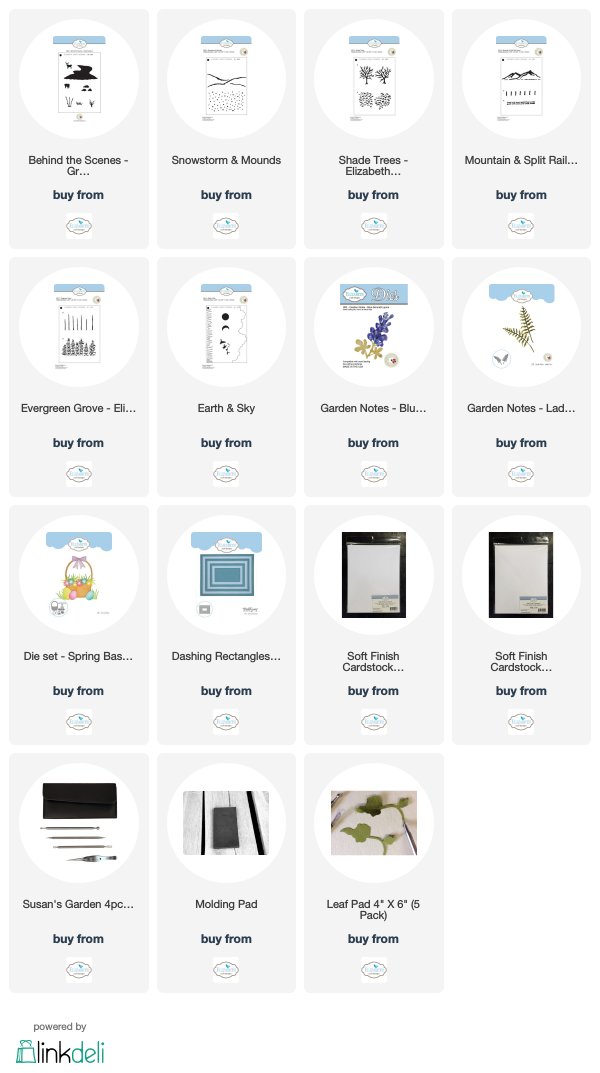
The products used a linked below.   


Wednesday, March 28, 2018

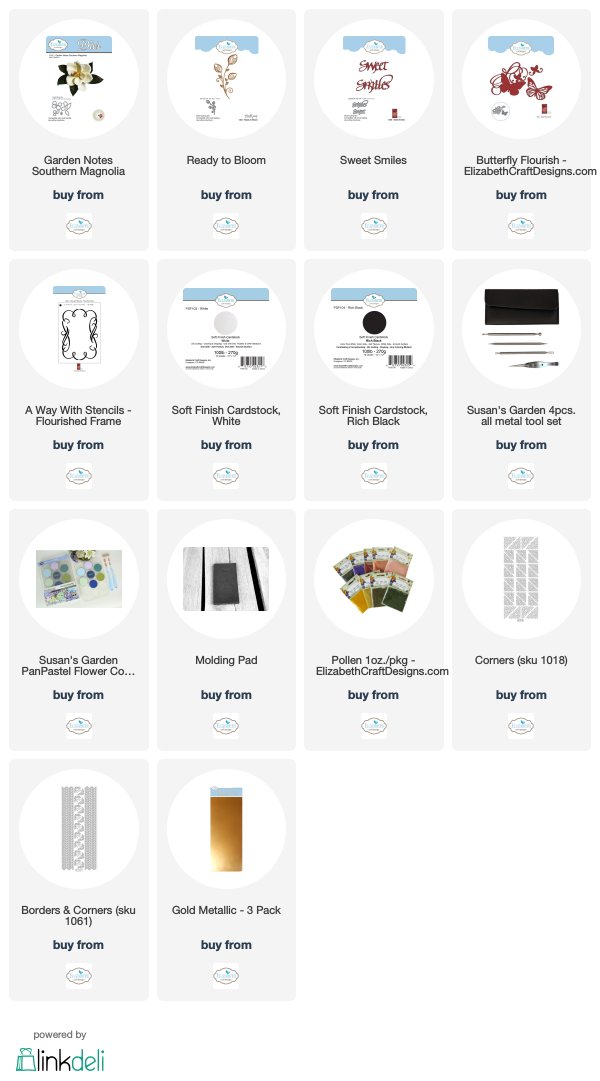
Southern Magnolia Covered Cigar Box


One of my favorite restaurants in Downtown Spokane is located in a renovated old flour mill that overlooks the Spokane Falls.  This mall also has some fun shops, including a Kitchen Store and fun Gift Stores.   On the way to the restaurant, you need to walk past a Cigar Store.  By the door they have a counter with empty cigar boxes for sale.  The proceeds from these boxes are all donated to a children's organization.  I can never pass this store up without checking out cigar boxes that I can decorate.  Today I have a black wooden box decorated with Susan's Garden Notes Southern Magnolias.

The top of the box was covered with a piece of black card stock that was embossed.  Gold Line Peel Off Stickers were used to make a line about one inch from the bottom edge.  Gold Peel Off Corner Stickers were added to the upper corners.

Susan's Garden Notes Southern Magnolia die set was used to create the flowers.  The base of the petals were shaded with yellow PanPastels.  The flowers were shaped using Susan's Flower Tool Kit and assembled.  Yellow Pollen was added to the center.  The leaves were colored using Green PanPastels, shaped, then pressed into a VersaMark Pad and clear embossed, to give them a waxy finished.

The large gold leaves were die cut using the ModaScrap Ready to Bloom die set.  Gold Shimmer Sheetz were used.  Two sets of leaves were die cut and cut apart to be arranged behind the flowers.

Suzanne's A Way With Words Flourished Frame was die cut using White Soft Finish Cardstock.  The A Way With Words Sweet Smiles die set was used for the gold sentiment.  Suzanne's A Way With Words Butterfly Flourish Die Set was used for the Gold Butterfly.

A decorated box could be used as a gift, or you could include a small gift inside or add some of your beautiful cards.  

I hope I inspired you to decorate a box with your favorite flowers.

You can shop for the products used to decorate this box by clicking on the products shown below.


Monday, March 26, 2018

Love In A Mist


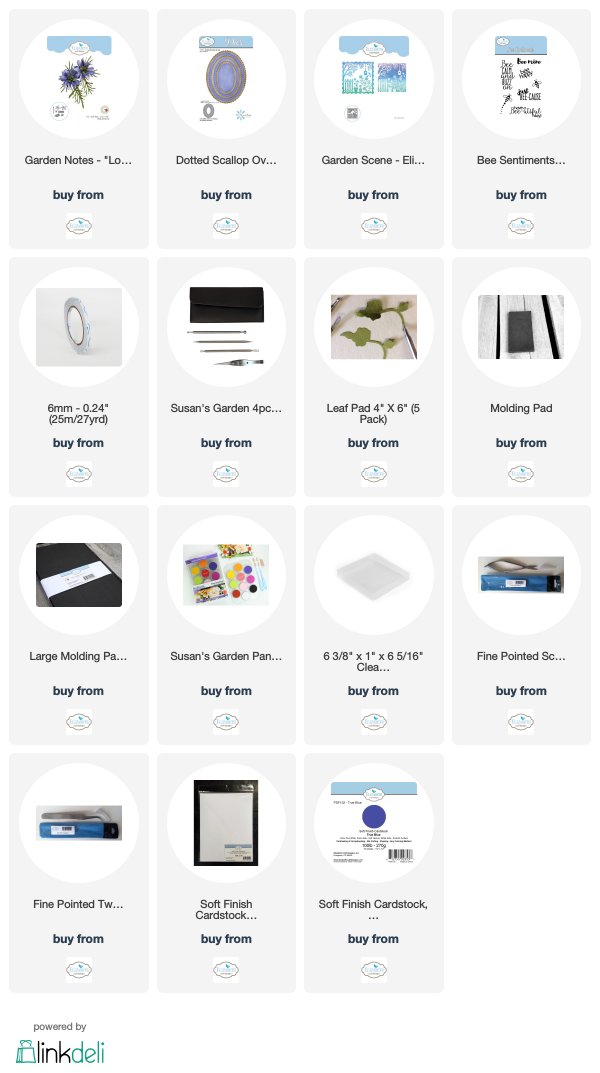
Susan's Garden Notes Love In A Mist is such a pretty flower.  

This is a 6-inch square card.

1.  Use a piece of watercolor paper and create a background using Distress Oxide Inks.  

2.  Use the Frame die from the Garden Scene die set to die cut the background frame.  


3.  Use the largest die in the Stitched Square die set and tape it on the die cut Garden Scene Frame.  To give dimension around the inside edge of the scallop frame, use the embossing mat and emboss the Stitched Square die.  (Do this like you would if you were using an embossing folder.)


4.  Tip:  Ovals will be used for a frame behind the flowers.  Since I am using a background I created with inks, I decided to die cut an oval out of the background so I could use it on another project.  This isn't necessary but a fun way to have an extra  piece to use later.


5.  Use the Dotted Scallop die set and die cut the 3rd largest oval, using water color paper.  Using the same watercolor paper as the inked background, keeps the color tone the same.
Use the same die set and use the 2nd largest Oval die to die cut a blue oval.


6.  To give dimension to the white Dotted Scallop Oval, use the die one size smaller and die cut a piece of white Fun Foam.  This will give you a solid dimensional backing.  Before attaching the foam to the back of the  white scallop, use the Bee Sentiments die set and black emboss the sentiment and the bees. Use 6mm Clear Double Sided Adhesive to attach the foam to the back of the watercolor paper oval.

7.   Attach the foam backing to the back.


8.  Attach 6mm Clear Double Sided Adhesive, on the back of the Garden Scene frame, over the embossed lines.  Peel off the adhesive covering and attach to the front of a 6-in square card.

9.  Attach the two Dotted Scallop Ovals over the die cut opening on the front of the card, covering the oval die cut opening.

10.  Use the Garden Notes Love In A Mist die set and create three flowers.  Die cut the flowers using a light blue card stock.  Use White PanPastels and a sponge to add white to the base of the flower petals.  Use a sponge and add the bright blue PanPastel, lightly, to the tips of the flower petals. Rub the PanPastels in well with your finger. Tip:  If you lightly mist the PanPastels with water and let dry before shaping, very little of the PanPastel will come off on your molding mat. If some of the PanPastel come off on your mat, just wipe with a baby wipe to clean it.  I love using PanPastels for coloring my flowers because they blend really well. Shape the petals with Susan's Flower Tool Kit and assemble.


To send dimensional cards, such as this one, remember you can use the clear acrylic boxes from Elizabeth Craft Designs.

You can purchase the products used for this card by clicking on the products below.

I appreciate you visiting my blog. 


Friday, March 23, 2018

Cosmos


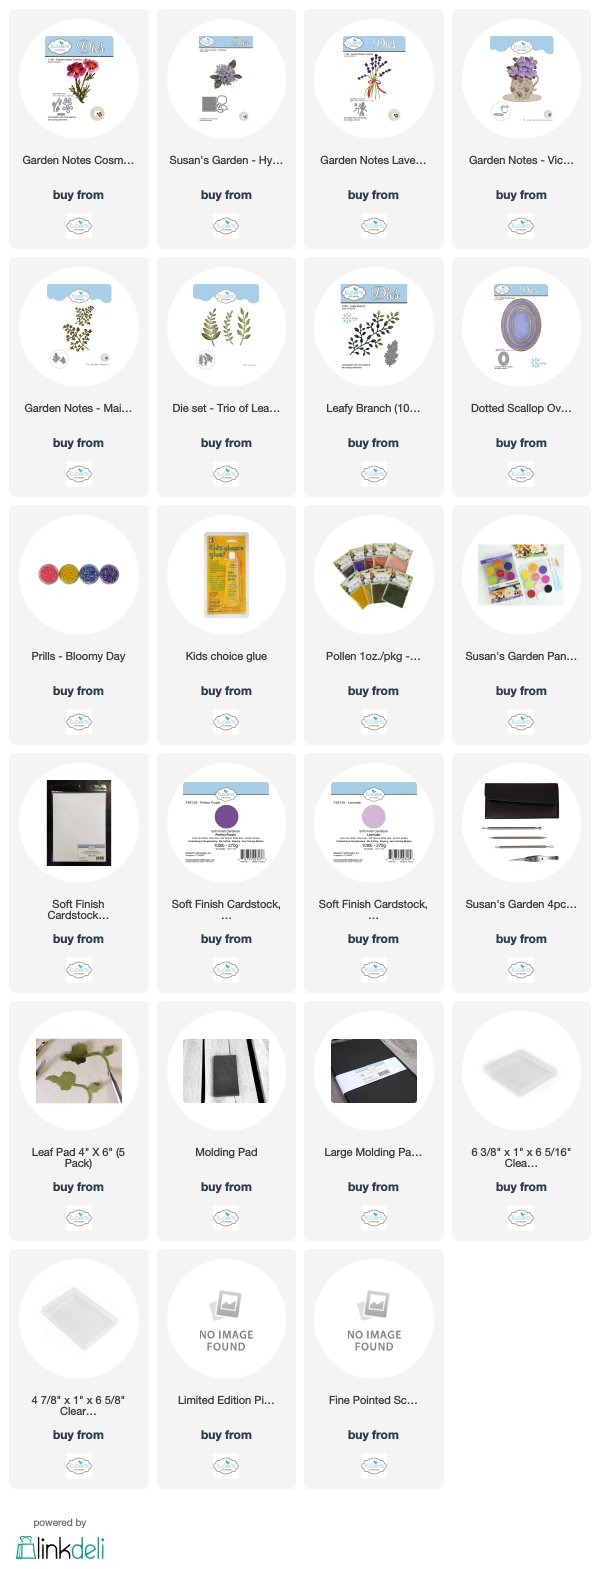
Today I have used Susan's Garden Notes Victorian Tea Cup to fill with flowers.  

The oval was die cut using Els Dotted Scallop Ovals to die cut the dark purple oval and her Fitted Oval die set for the white Oval.  Yellow PanPastels were used to shade the back ground behind the arrangement.
.
Use the Garden Notes Victorian Tea Cup die set and die cut a lavender cup.  The saucer was not die cut and used because the cup was added to an oval die cut.

Use the Garden Notes Cosmos die set to die cut the pieces for the three pink Cosmos.  Shade the lower portion of the flower petals using pink PanPastels.  Shape the flowers using Susan's Flower Tool Kit.  Add yellow Pollen to the ends of the stamens.

Use the Garden Notes Lavender die set to create the Lavender.  

Use the Garden Notes Maidenhair Fern die set to die cut one Fern.

Use the Trio of Leaves die set to die cut 4 stems, to be used as fillers.

Use Susan's Garden Hydrangea die set to die cut the small white flowers.  Add yellow prills to the center of each flower.  They are glued randomly above the Cosmos.  Add three of the white flowers at the bottom of the cup.  Use a few leaves from the Leafy Branch around the white flowers.

I have not put a sentiment on this card yet.  It could be used for just about any occasion.

The products are linked below.


Thursday, March 22, 2018

Spring


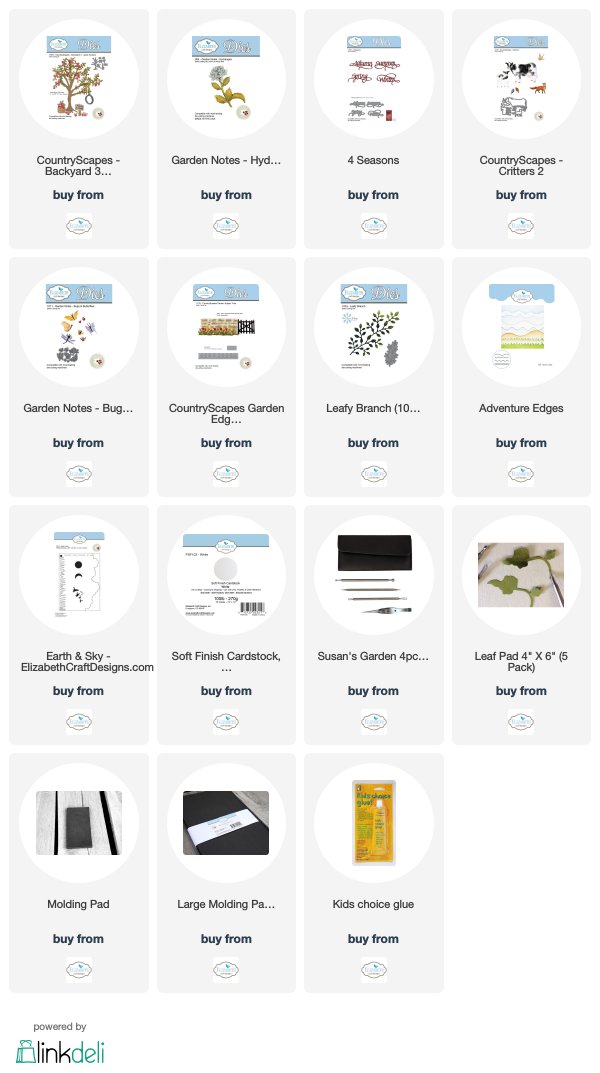
I love working with Susan's CountryScapes die sets.  Today I used the Backyard 3 die set to create a Spring Tree.

This is a 6-inch card.

Use a piece of white card stock slightly smaller than the front of the card.  Use Susan's Earth & Sky Stencil and sponge blue ink around the cloud stencil, on the upper half of this piece.  

Use the Adventure Edges die set and die cut two green landscape pieces.  Glue the two pieces together to create a hilly background on the bottom of the card.  

CountryScapes - Backyard 3 Apple Orchard

Use the Backyard 3 die set to die the tree plus a few of the branches.   Use the Kids Glue to add the as many branches as you want to build the tree to the size you want.

Use the Leafy Branch die set to die cut the several branches.  Cut the leaves off this branch to add to the tree branches.  There are leaves in the Backyard 3 die set, but for this tree I preferred to use the leaves from the Leafy Branch.

Use the Garden Notes small Hydrangea die set to die cut pink flowers for the tree.  Shape the flowers using the Flower Tool Kit.  Use a fine point marker to add a dark pink center to each flower.

Use the CountryScapes Garden Edges - Tulip die set to create the Tulips.  Cut the line of tulips apart to create a bunch on the left side of the tree.  

Use the A Way With Words - 4 Seasons die set to die cut the sentiment.  Attach to the right of the tree.

Use the Critters 2 die set to die cut the birds.  Glue two birds on the lower branches of the tree and the flying bird on the upper right corner.  Add a small piece of dimensional tape behind the flying bird, for dimension.

Use the Garden Notes Bugs & Butterfly die set to die cut the little butterfly above the tulips.

You can shop for the products used by clicking on the products shown below.


Thank you for stopping by today.


Tuesday, March 20, 2018

March Challenge - Frame It

This month the design team has a challenge to use one of the Happy Frames for our project.  There are two size frames and I chose to use the Happy Frame XL to create a shadow box.  Be sure to go over to the Elizabeth Craft Designs Blog to see all the creative projects the team has designed.  

Before I tell you about my frame, I want to give you the information about how you can be eligible to win a $20 Gift Card from Elizabeth Craft Designs.

**************************

For today's challenge Elizabeth Craft Designs is giving away a $20 Gift Card to use on our website to 3 winners

To enter simply leave a comment on the Elizabeth Craft Designs Challenge post and tell us What Elizabeth Craft Designs dies or stamp sets would you use to frame something on a card, scrapbook layout of home decor item?

Three lucky winners will be selected in a random drawing  and winners will be announced on Friday, March 23rd on the Elizabeth Craft Designs blog.

**********************************

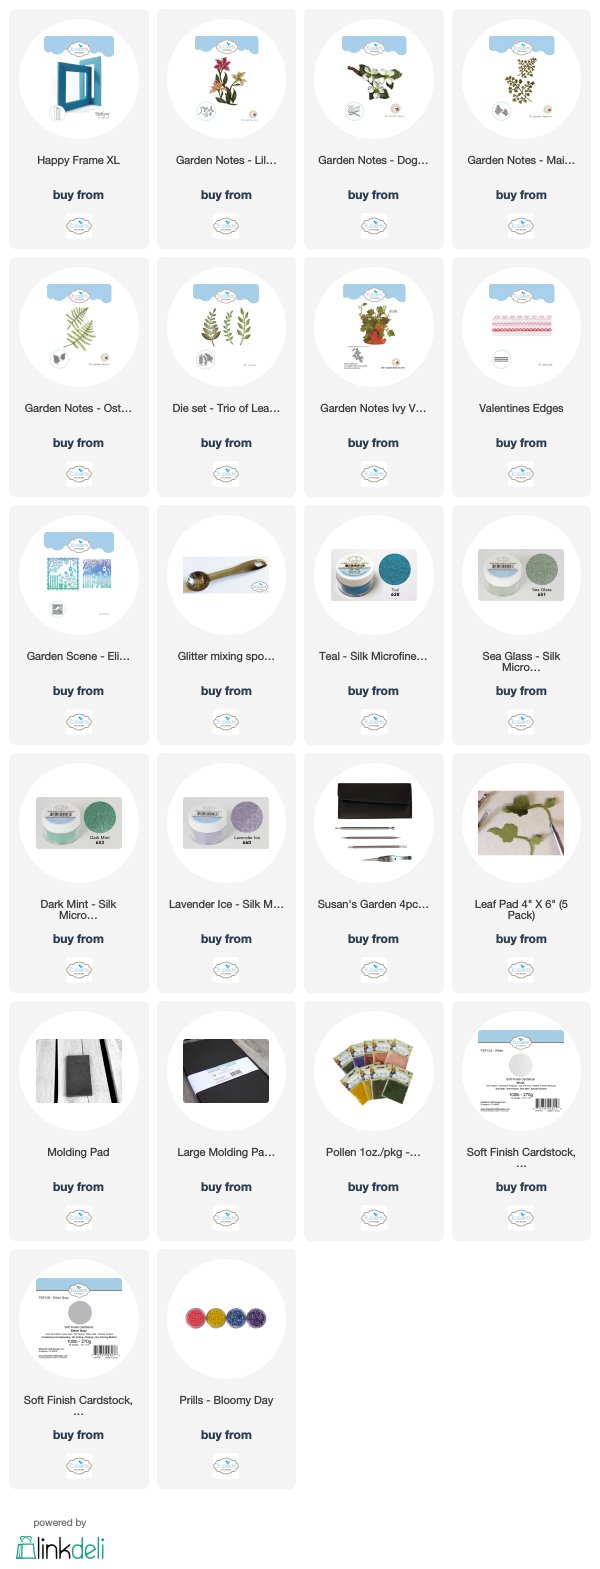
In order to create a deep shadow box for the dimensional flowers, die cut pieces to create two large frames, which are stacked together.

Use the Happy Frame XL and die cut 8 pieces.   Assemble the four sides for both frames.  These frames are scored and very easy to assemble.

For the background on the bottom frame, cut a piece of white cardstock a little larger than the opening in the frame.  Add Clear Double Sided Adhesive all over one side.  Pull off the covering.  Use Sea Foam Micro Soft Glitter and sprinkle over the adhesive and rub in well with your fingers to bring out the sparkle.  Attach this piece to the back of one of the frames.

Use the Garden Scene die set to  die cut the scalloped frame.  Use the Fitted Squares die set and tape the large square die inside the Garden Scene die and run through die cutting machine to create a narrow frame.  Attach 3mm Clear Double Sided Adhesive along edge of the die cut frame and attach down inside frame, over the glittered background.  Press the frame down well to make sure it sticks down.  

Use the Garden Notes Dogwood die set and die cut pieces to create three flowers.  Color the ends of the petals with PanPastels and add Prills to the center of each flower.  Use Susan's Flower Tool Kit to shape the flowers and leaves.  Attach the Dogwood branch to the upper left corner, over the glittered background.

Use the Garden Notes Lily 2 die set and create three pink lilies.  Add pollen to the ends of the stamens.

Use the Garden Notes Berry Branch die set and die cut one branch.  Color the stem brown and add white Nuvo drops for the berries.

Use the Garden Notes Ostrich Fern die set and die cut one fern.

Use the Trio of Leaves die set and die cut three leaf branches.  

Attach the berry branch, fern, leaves and flowers in the lower right corner.


The lower frame is now complete.  Add two strips of 6mm Clear Double Sided Adhesive on the top of the frame, as shown above.  Later, this bottom frame will be attach to the top decorated frame.

Next decorate the top frame.

Cut a piece of acetate to fit over the top of the open frame.  Cut it so you have approximately a 1/4 inch border around each edge so you can attach it over the opening.  Add 3mm Clear Double sided Adhesive to both the top and bottom edge of the acetate.  Peel off the adhesive and center it over the opening.  

Use the Valentine Edges die set an die cut four edges.   Peel off the covering on the Clear Double Sided Adhesive on the top of the acetate.   Attach the Valentine Edges over the tape, keeping the edges even with the edge of the frame.

Use the Garden Notes Ivy Vine die set and die cut four of the larger ivy pieces.  Attach pieces of the ivy on the corners of the frame.

Use the Dragonfly die set for the three dragonflies.  Use a piece of white card stock with Clear Double Sided Adhesive on top and die cut  Peel off the adhesive and sprinkle on Silk Microfine Glitter.  Use a mixture of Teal, Dark Mint, and Lavender glitter; this gives the dragonflies that iridescent color you see on dragonflies.  Rub the glitter in well with your fingers to give it a beautiful shine.  Attach the dragonflies, using small pieces of the Double Sided Adhesive to the bodies, over the acetate.  

Peel the cover off the Clear Double Sided Adhesive off the top of the lower frame, then press the top frame on top, making sure the edges are very even.

Use Susan's Winter Spring rubber stamp for the sentiment.  Use black VersaFine ink and clear emboss.  Die cut using one of the small Dotted Scalloped Oval dies.


 Cut four pieces of the same card stock used for the frame to fit each side of the frame.  Attach the strips around the outside edges of the frame, for a finished appearance.


This is a side view of the completed frame.  You can attach a plastic hanger to the back of the frame, for hanging.

This frame did take a little time to create but will make a beautiful gift for someone.  

You can shop for the products used by clicking on the links below.


Sunday, March 18, 2018

Chrysanthemum Covered Cigar Box


This is a project I designed back in 2015 and was asked to re-post it.  It is one of my very favorite projects.  I love creating beautiful flowers with Susan's Garden Notes flower die sets.

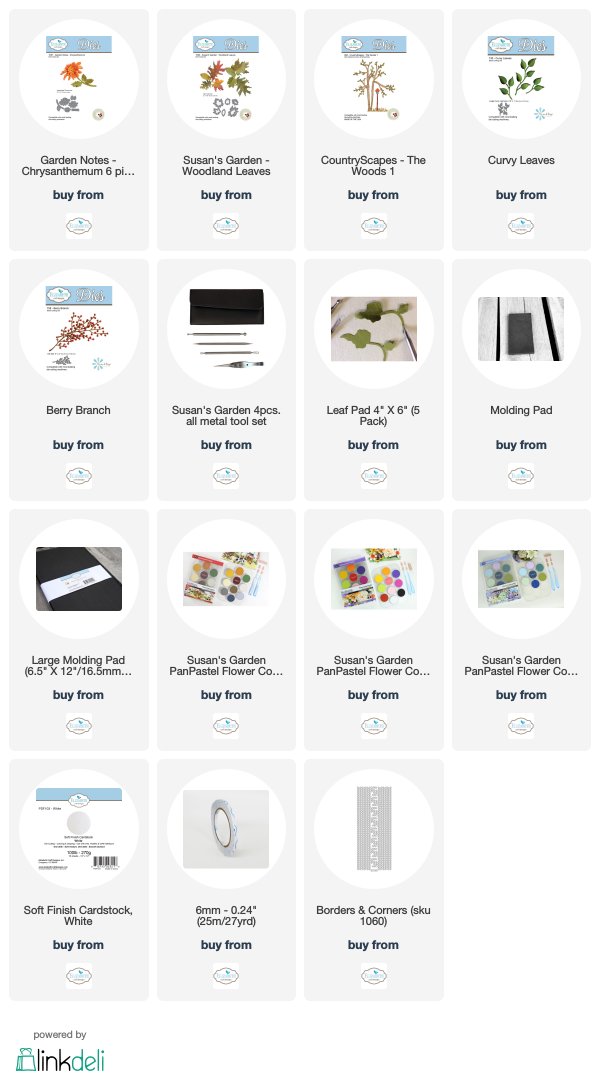
This is an old wood cigar box which I thought would be perfect to decorate with with Susan's Garden Notes Chrysanthemums and Susan's Garden Woodland Leaves.  You can pick up cigar boxes, for very little money, at most any cigar store.  These boxes make great gift boxes for birthdays or the holidays.

Here is how I transformed this box into a gorgeous box anyone would love to receive. First cover the cigar logo which is usually on the top of the box.   I created a square to cover the center of the top of the box.  (I wanted to keep as much of the wood showing as possible, so I only covered the logo.)  It was matted with a piece of black card stock, then a smaller rust mat.  I used a piece of textured off-white card stock for the next layer; this layer was sponged around the edges with Old Paper and Tea Dye Distress Inks.  Next a frame of burgundy card stock was cut and attached over the outside edge of the off-white layer using dimensional tape under it, to give it some dimension.  On top of the burgundy frame, I added one of the ECD peel off line stickers.  Once all these layers were attached to each other, the frame was attached, with 10mm Double Sided Tape, to the cigar box.

 Using the Chrysanthemum die, die cut chrysanthemums using different colors of card stock. There are a total of 13 flowers on this box top.  I used burgundy colored card stock, bright yellow card stock and the rest were die cut using white card stock and were shaded with Susan's PanPastels.

For complete instruction on how to create Susan's Garden Note Chrysanthemum, you can watch Susan's YouTube Video at this LINK.  Susan has 15 new videos on Susan's Garden Club playlist on YouTube that will be very helpful in creating your projects with her dies.

 Using Susan's  Garden Woodland Leaves,  die cut a lot of leaves using some white card stock and some Kraft card stock.  The different card stock gives a variety of shades.

All the leaves were first shaped, using Susan's Flower Tool Kit.   Working on a Teflon Craft Mat, all the leaves were colored using a variety of colors from Susan's PanPastels; yellows, greens, orange, rust, bright red and dark red.  The PanPastels blend beautifully creating such beautiful fall colors.  Use a sponge to add the colors which makes it easy to quickly color.  There will be PanPastel dust on your craft mat, so don't forget to pick this dust up with the sponge and blend it over some of the leaves.  

Layer Woodland Leaves down the left side and across the bottom of the top of the box.  Attach the Chrysanthemums with dimensional glue dots.  Add as many Elizabeth Craft Designs Curvy Leaves as you like for fillers;  they were die cut using white card stock then sponged with green PanPastel then a little rust around the edges, then  shaped with Susan's Flower Tool Kit.  There are also branches from Susan's CountryScapes Wood 1 die set that were die cut using dark brown card stock, then glued under the leaves.  There is one Elizabeth Craft Designs Berry Branch tucked in that was colored with the wine (dark red) PanPastel.

A box decorated with Susan's Garden dies would be a beautiful gift in itself, or you could add a little surprise inside too.  Do you have something you could recycle and make beautiful?

Below are the Links to products used from Elizabeth Craft Designs.


Spring Wreath


It is always fun to create a pretty floral wreath.  

Create the wreath by using the Garden Notes Round Grapevine Wreath and the Garden Notes Evergreen Wreath.  Use brown card stock and die cut two of each wreath.  Layer the wreaths together, alternating the branches to create a full wreath.

Use the Garden Notes Lilac 2 die set and create two lilacs using dark purple card stock.  Shape the petals using Susan's Flower Tool Kit.  Once the flower branches are completed, Use a brush and White PanPastels to brush over the tops of the flowers.  This will give highlights (shading) to the flowers.

Use the Garden Notes Tulip 2 die set and create three tulips.  Die cut the petals using white card stock.  Use a pink marker to add streaks of pink to each petal.  Use black pollen on the tips of the stamens in the tulips.

Use the Garden Notes Lily 2 die set and create 3 lilies.  Use light green PanPastel to shade the base of the flower petals.  Use the reddish brown pollen for the ends of the stamens.

Use the Garden Notes Leafy Berry Branch die set to die cut 2 branches.  Color the leaves green, the stems brown, and add purple Nuvo Drops for the berries.

Use the Leafy Branch die set to die cut once branch.  Small pieces of this branch will be used behind the floral arrangement.

Attach two lilac flowers to the upper left corner of the wreath.  Attach the tulips, the lilies, and one more lilac along the left and bottom of the wreath.  Add pieces of the Leafy Berry Branch and pieces of the Leafy Branch behind the flowers.  Add the leaves matching each type of flower as shown in the picture.

Use the Love Sentiments die set for the sentiment.

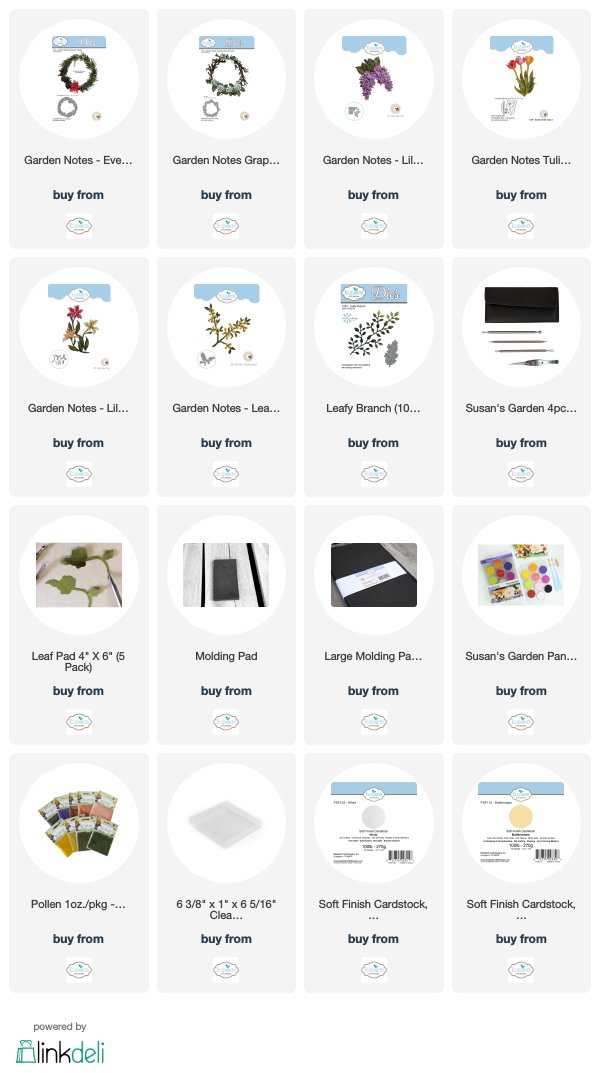
You can purchase the products for this card by clicking on the products below.
Thank you for stopping by today.


Saturday, March 17, 2018

Beautiful Southern Magnolias

I don't believe I have ever seen a real Southern Magnolia but I really enjoy creating them with Susan's Southern Magnolia die set.

This is a 6-inch square card, that opens from the side.

Use the Romantic Bouquet die set and die cut the lace approximately 1 1/2 inches from the open edge of the front of the card.   Use the same die and die cut another white piece using 100 lb white card stock.  Attach over the die cut on the front of the card.  This will give stability to this piece.  Use a piece of Buttercream card stock to fit  behind the Romantic Bouquet die cut, attach using glue.  Use scissors to trim around the edge.  The card will be opened by lifting the Romantic Bouquet die cut.

Create an orange marbleized piece of card stock using orange, yellow and red Distress Inks. Lightly wet white card stock.  Place drops of the Distress Inks on a Teflon workshop.  Spray with water then press the cardstock down in the ink, to cover completely.  Dry the card stock by using the heat tool. Put Clear Double Sided Adhesive on the back and attach the ink panel to the inside of the card. 


Use Susan's Southern Magnolia die set and create three Magnolias.  The lower portion of each petal was colored using two shades of yellow PanPastels.  Pollen was added to the top of the bract.  Once the leaves were shaped and colored with PanPastels, they were pressed down on a VersaMark pad and clear embossed to give them the shiny look of Magnolia leaves.  Arrange the flowers and leaves on the lower left corner.

Use Suzanne's Happy Birthday Collection stamp set for the sentiment.  Stamp it using black  Versafine ink and clear emboss.

This flower is so beautiful.  I hope you will create some for your cards.  Remember you can purchase the clear plastic boxes to mail your dimensional cards.

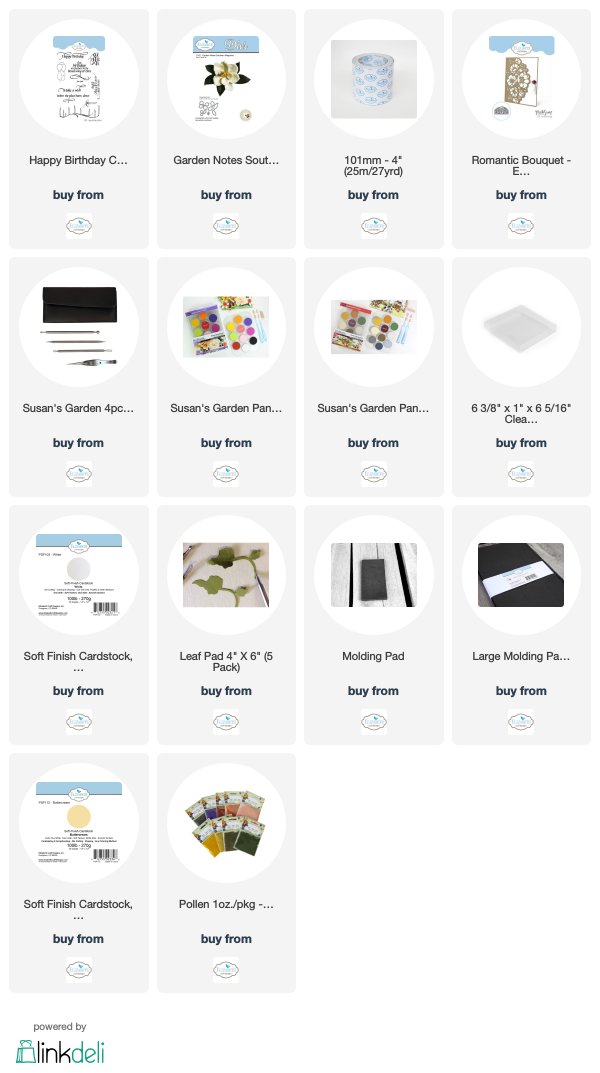
You can purchase the products needed for this card by clicking on the links below.


Wednesday, March 14, 2018

Happy Birthday Els


Surprise! Happy Birthday Els Blog Hop


Today is Els van de Burgt's birthday and what better way to celebrate but with a surprise Birthday Blog Hop with the Elizabeth Crafts Design Team! Happy Birthday Els!

We hope you will join us in making Els birthday special, by dropping by our Elizabeth Craft Designs Family Facebook Group and wishing her a happy birthday!

This Blog Hop starts on the Elizabeth Craft Designs blog, so if you started on my blog, you might like to head back to there first so you don't miss out on any of the fun!


*****************************

To celebrate Els' birthday, Elizabeth Craft Designs is giving out a gift when you place an order over $25 on the Elizabeth Craft Designs web site. You will receive 10 sheets of stickers with every purchase over $25This special promotion applies to all orders placed from today Thursday 15th March until the end of day on Monday 19th March.


*******************************


To wish Els Happy Birthday, I chose to design a floral card.  

Use a 6-inch square card.  Cover the front with a slightly smaller piece of Soft Sky Soft Finish Cardstock.  

Use the frame die in the Lake Scene die set to die cut a frame, using white Soft Finish Cardstock.  Use the largest Fitted Squares die to cut the center out of the Lake Scene frame.  Attach the open frame over the Soft Sky card stock.

Use the Romantic Corner die set and die cut one white large corner.  Attach it to the lower left corner of the Lake Scene frame.  

Use the A Way With Words Happy Birthday die set to die cut the sentiment.  Attach the sentiment inside the open frame.

Use the Garden Notes Lily 2 die set and die cut pieces to create five yellow lilies.  (I used white card stock for the petals and leaves and colored with PanPastels.)  A marker was used to create the small black dots on the petals.  The flowers were shaped using Susan's Flower Tool Kit.  Pollen was added to the ends of the stamens.  Attach the lilies as shown, over the Romantic Corner.  It is hard to see the corner in the photo above, but it does show.  

Use the Trio of Leaves die set and die cut one branch to be used as a filler behind the yellow flowers.  

Use the Garden Notes Lavender die set to die cut the lavender stems.  Cut the top of the lavender off, using scissors, and use only the bottom portion of the stems.  Use the Garden Notes Sunflower die set and die cut yellow flowers, using the die that is used for the center of the Sunflower.  Turn the Lavender stems upside down and attach the small yellow flowers using glue.  Attach behind the lilies on the left side of the card.

Use the Lovebirds die set and die cut the love birds.  Color with markers, cut apart and attach as shown.  

Use sticky backed pearls for embellishment around the white frame, as shown.  Use a few tiny green pearls under the sentiment.

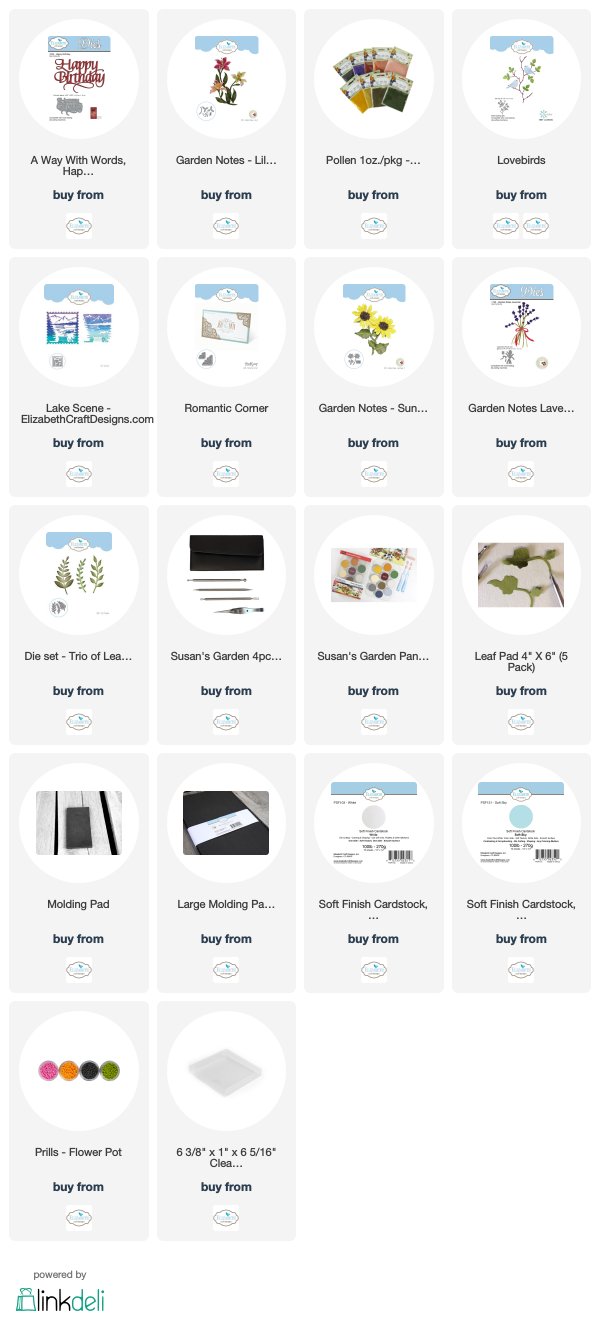
Well now it is time to leave my blog as you continue along our birthday hop. Your next stop is to the talented EK Gorman. Don’t forget to pop on over to our Elizabeth Craft Designs Family Facebook Group too to wish Els a happy birthday!


Monday, March 5, 2018

Country Scene


I love to create flowers with Susan Tierney-Cockburn's flower die sets, but I also love to create scenes working with her CountryScape die sets.  

This is a 6-inch square card.  All the CountryScape pieces were die cut using white 100 lb Soft Finish Cardstock.  A variety of Susan's PanPastels and Distress Inks were used to color the background and each die cut piece.

Susan's Clouds and Grass Stencil was used to create the cloudy sky.  

Garden Notes Land & Sea die set was used to die cut the barn background.  A variety of colors were sponged on the ground below the barn - yellows, oranges, red, brown and green.

The CountryScapes Nantucket Fence was die cut three times and lightly sponged with Gray PanPastels.

Two CountryScapes Woods 1 trees were die cut and colored.  For the leaves I used were die cut using the Leafy Branch 4 die set.  The leaves were colored in Fall colors.

The CountryScapes Woods 4 die set was used to die cut the pine tree.  A portion of the bottom of the tree was cut off, so it fit behind the fence.

Using the Adventure Edges die set, four grass pieces were cut.  Each blade of grass was cut, using the Elizabeth Craft Designs Fine Pointed Scissors, to create thinner blades of grass.  Two strips of grass were glued behind the bottom of the fence and two pieces were glued to the front of the fence.

Use the CountryScapes Backyard 1 die set to die cut the tall grass next to the birch tree on the right.  Use the same set to die cut the plant next to the birch tree on the left.  Use the Garden Notes Sunflower die set to die cut small yellow flowers to put on the green plant on the left. 

Use the CountryScapes Critters 6 die set and die cut three turkeys.  Color and attach them using dimensional tape.  

Use the CountryScapes Critters 2 die set and die cut the flying bird and three of the small birds.  Attach two of the small birds to the fence and one bird in the tree.  Attach the flying bird at top of card.

You can shop for the products used to create this card by clicking on the products below.

Thank you for visiting my blog today.