This month the design team has a challenge to use one of the Happy Frames for our project. There are two size frames and I chose to use the Happy Frame XL to create a shadow box. Be sure to go over to the Elizabeth Craft Designs Blog to see all the creative projects the team has designed.
Before I tell you about my frame, I want to give you the information about how you can be eligible to win a $20 Gift Card from Elizabeth Craft Designs.
**************************
For today's challenge Elizabeth Craft Designs is giving away a $20 Gift Card to use on our website to 3 winners.
To enter simply leave a comment on the Elizabeth Craft Designs Challenge post and tell us What Elizabeth Craft Designs dies or stamp sets would you use to frame something on a card, scrapbook layout of home decor item?
Three lucky winners will be selected in a random drawing and winners will be announced on Friday, March 23rd on the Elizabeth Craft Designs blog.
**********************************
In order to create a deep shadow box for the dimensional flowers, die cut pieces to create two large frames, which are stacked together.
Use the Happy Frame XL and die cut 8 pieces. Assemble the four sides for both frames. These frames are scored and very easy to assemble.
For the background on the bottom frame, cut a piece of white cardstock a little larger than the opening in the frame. Add Clear Double Sided Adhesive all over one side. Pull off the covering. Use Sea Foam Micro Soft Glitter and sprinkle over the adhesive and rub in well with your fingers to bring out the sparkle. Attach this piece to the back of one of the frames.
Use the Garden Scene die set to die cut the scalloped frame. Use the Fitted Squares die set and tape the large square die inside the Garden Scene die and run through die cutting machine to create a narrow frame. Attach 3mm Clear Double Sided Adhesive along edge of the die cut frame and attach down inside frame, over the glittered background. Press the frame down well to make sure it sticks down.
Use the Garden Notes Dogwood die set and die cut pieces to create three flowers. Color the ends of the petals with PanPastels and add Prills to the center of each flower. Use Susan's Flower Tool Kit to shape the flowers and leaves. Attach the Dogwood branch to the upper left corner, over the glittered background.
Use the Garden Notes Lily 2 die set and create three pink lilies. Add pollen to the ends of the stamens.
Use the Garden Notes Berry Branch die set and die cut one branch. Color the stem brown and add white Nuvo drops for the berries.
Use the Garden Notes Ostrich Fern die set and die cut one fern.
Use the Trio of Leaves die set and die cut three leaf branches.
Attach the berry branch, fern, leaves and flowers in the lower right corner.
The lower frame is now complete. Add two strips of 6mm Clear Double Sided Adhesive on the top of the frame, as shown above. Later, this bottom frame will be attach to the top decorated frame.
Next decorate the top frame.
Cut a piece of acetate to fit over the top of the open frame. Cut it so you have approximately a 1/4 inch border around each edge so you can attach it over the opening. Add 3mm Clear Double sided Adhesive to both the top and bottom edge of the acetate. Peel off the adhesive and center it over the opening.
Use the Valentine Edges die set an die cut four edges. Peel off the covering on the Clear Double Sided Adhesive on the top of the acetate. Attach the Valentine Edges over the tape, keeping the edges even with the edge of the frame.
Use the Garden Notes Ivy Vine die set and die cut four of the larger ivy pieces. Attach pieces of the ivy on the corners of the frame.
Use the Dragonfly die set for the three dragonflies. Use a piece of white card stock with Clear Double Sided Adhesive on top and die cut Peel off the adhesive and sprinkle on Silk Microfine Glitter. Use a mixture of Teal, Dark Mint, and Lavender glitter; this gives the dragonflies that iridescent color you see on dragonflies. Rub the glitter in well with your fingers to give it a beautiful shine. Attach the dragonflies, using small pieces of the Double Sided Adhesive to the bodies, over the acetate.
Peel the cover off the Clear Double Sided Adhesive off the top of the lower frame, then press the top frame on top, making sure the edges are very even.
Use Susan's Winter Spring rubber stamp for the sentiment. Use black VersaFine ink and clear emboss. Die cut using one of the small Dotted Scalloped Oval dies.
Cut four pieces of the same card stock used for the frame to fit each side of the frame. Attach the strips around the outside edges of the frame, for a finished appearance.
This is a side view of the completed frame. You can attach a plastic hanger to the back of the frame, for hanging.
This frame did take a little time to create but will make a beautiful gift for someone.
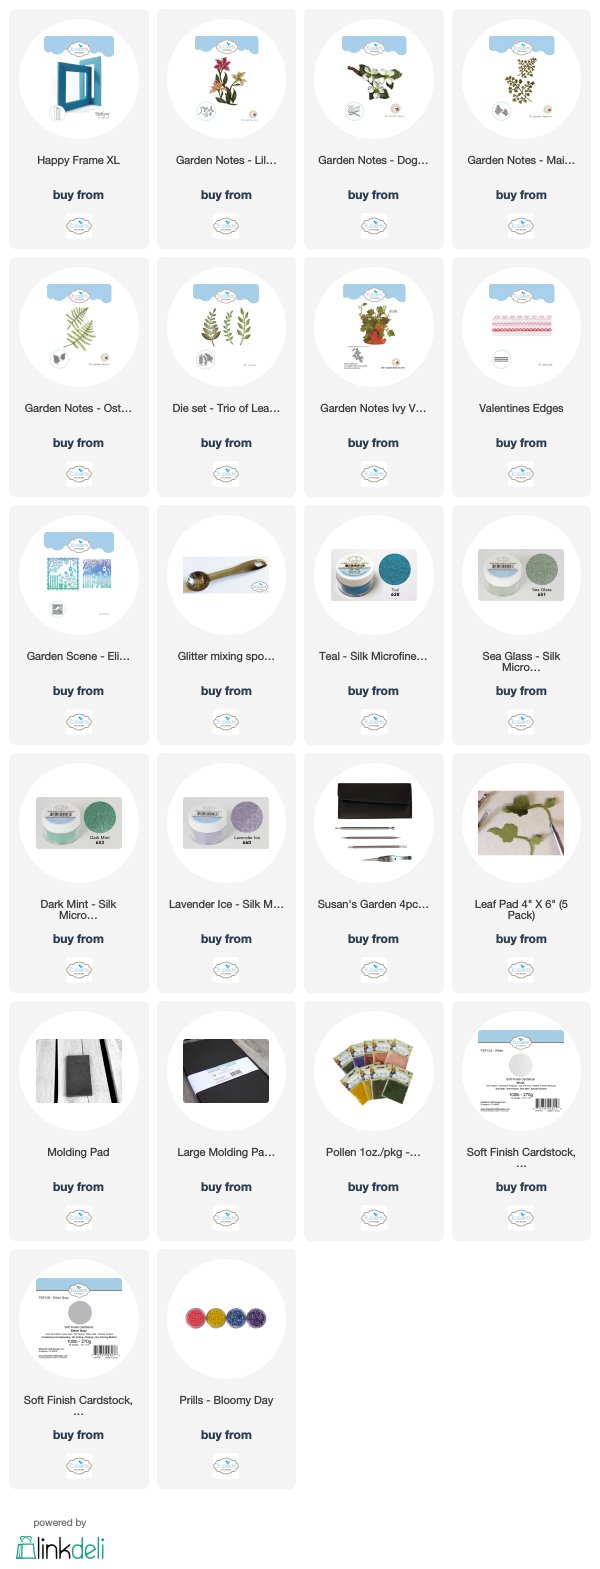
You can shop for the products used by clicking on the links below.


Selma, your pieces are works of art. I love all of the floral designs and would be proud to hang any one of them in my house. Thanks for sharing your time and talent with me!
ReplyDeletesaw this beauty on FB, you have such a talent!!!!
ReplyDeleteBeautiful; love your creativity. Tried to leave a comment on the Elizabeth Craft blog but was not successful. Thanks for sharing
ReplyDelete