Susan's Garden Notes Love In A Mist is such a pretty flower.
This is a 6-inch square card.
1. Use a piece of watercolor paper and create a background using Distress Oxide Inks.
2. Use the Frame die from the Garden Scene die set to die cut the background frame.
3. Use the largest die in the Stitched Square die set and tape it on the die cut Garden Scene Frame. To give dimension around the inside edge of the scallop frame, use the embossing mat and emboss the Stitched Square die. (Do this like you would if you were using an embossing folder.)
4. Tip: Ovals will be used for a frame behind the flowers. Since I am using a background I created with inks, I decided to die cut an oval out of the background so I could use it on another project. This isn't necessary but a fun way to have an extra piece to use later.
5. Use the Dotted Scallop die set and die cut the 3rd largest oval, using water color paper. Using the same watercolor paper as the inked background, keeps the color tone the same.
Use the same die set and use the 2nd largest Oval die to die cut a blue oval.
6. To give dimension to the white Dotted Scallop Oval, use the die one size smaller and die cut a piece of white Fun Foam. This will give you a solid dimensional backing. Before attaching the foam to the back of the white scallop, use the Bee Sentiments die set and black emboss the sentiment and the bees. Use 6mm Clear Double Sided Adhesive to attach the foam to the back of the watercolor paper oval.
7. Attach the foam backing to the back.
8. Attach 6mm Clear Double Sided Adhesive, on the back of the Garden Scene frame, over the embossed lines. Peel off the adhesive covering and attach to the front of a 6-in square card.
9. Attach the two Dotted Scallop Ovals over the die cut opening on the front of the card, covering the oval die cut opening.
10. Use the Garden Notes Love In A Mist die set and create three flowers. Die cut the flowers using a light blue card stock. Use White PanPastels and a sponge to add white to the base of the flower petals. Use a sponge and add the bright blue PanPastel, lightly, to the tips of the flower petals. Rub the PanPastels in well with your finger. Tip: If you lightly mist the PanPastels with water and let dry before shaping, very little of the PanPastel will come off on your molding mat. If some of the PanPastel come off on your mat, just wipe with a baby wipe to clean it. I love using PanPastels for coloring my flowers because they blend really well. Shape the petals with Susan's Flower Tool Kit and assemble.
To send dimensional cards, such as this one, remember you can use the clear acrylic boxes from Elizabeth Craft Designs.
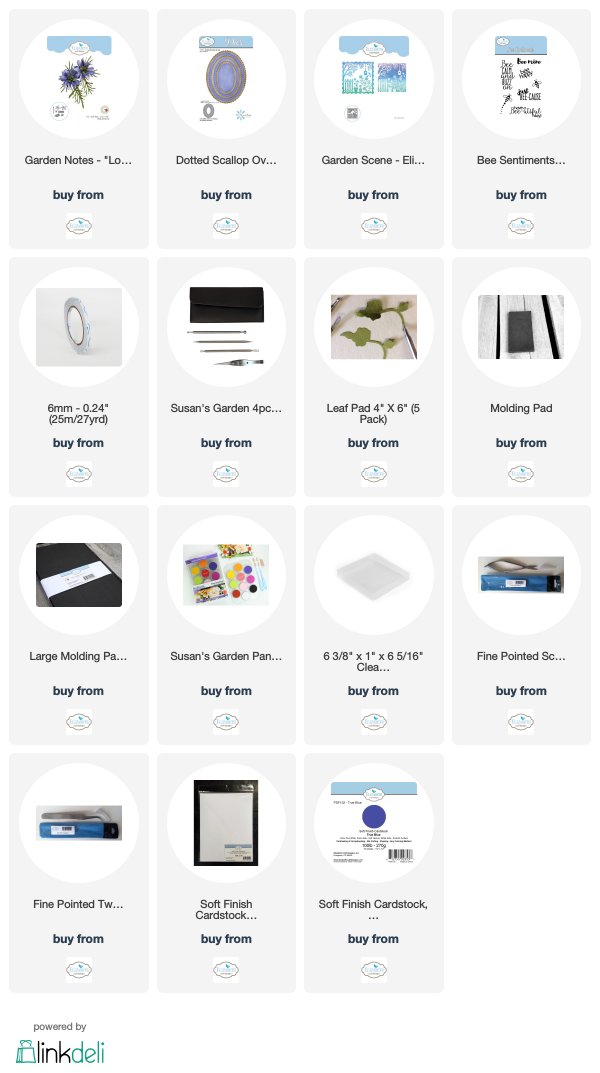
You can purchase the products used for this card by clicking on the products below.
I appreciate you visiting my blog.


Selma, This is another pretty card. Woo hoo
ReplyDeleteVery delicate and sweet, my friend!
ReplyDeletePat