I love working with Susan's new French Pumpkin die set.
This is a 6-inch square card. A piece of the ModaScrape Wood Effects card stock was attached to the front of the card.
Use the Lake Scene die set and die cut one Dark Chocolate Soft Finish Cardstock die cut frame. Attach to the front of the card.
Use the Garden Notes French Pumpkin die set and die cut the pumpkin, lid, stem, and leaves. Sponge on several shades of orange and yellow inks on the pumpkin and lid. Sponge on several green inks on the leaves. Shape the leaves with the Flower Tool Kit.
Attach the pumpkin inside the brown frame. Attach the pumpkin lid in the lower right corner, leaning up next to the pumpkin. Attach the two small leaves, and the stem.
Use the Garden Notes Sunflower die set and die cut pieces to create two yellow/burgundy flowers. Use markers to color the petals yellow then stroke burgundy from the base of the petals toward the tip. Shape the flowers using the Flower Tool Kit. Create the center of the flowers using the small die cut pieces die cut from brown card stock. Use the Fine Pointed Tweezers to add the tiny flowers to the center of each sunflower. Add a small amount of glue to the tips of the little flowers and sprinkle on brown pollen. Press into the die cut pieces.
Use the Garden Notes Lavender die set and create one lavender branch. Die cut the little flowers, using dark purple card stock. Attach the little flowers to the branch, using the Fine Pointed Tweezers. Cut the branch in half.
Use the new Garden Notes Feverfew 1 die set and create one branch of flowers.
Use the Garden Notes Lily 2 die set and create three yellow lilies. Use the Fine Pointed Scissors to cut each stamen in half. Add pollen to the tips of each stamen.
Use the Garden Notes Berry Spray to die cut two branches. Add orange berries using Nuvo Crystal Drops. Let Dry. Cut the branches into several pieces to tuck behind the arrangement.
Use the Garden Notes Woodland Leaves die set and die cut 5 or 6 of the smaller leaves. Color the leaves and clear emboss the top of each.
Attach the larger flowers then tuck the other smaller pieces behind the large flowers. Use the photo above for arrangement.
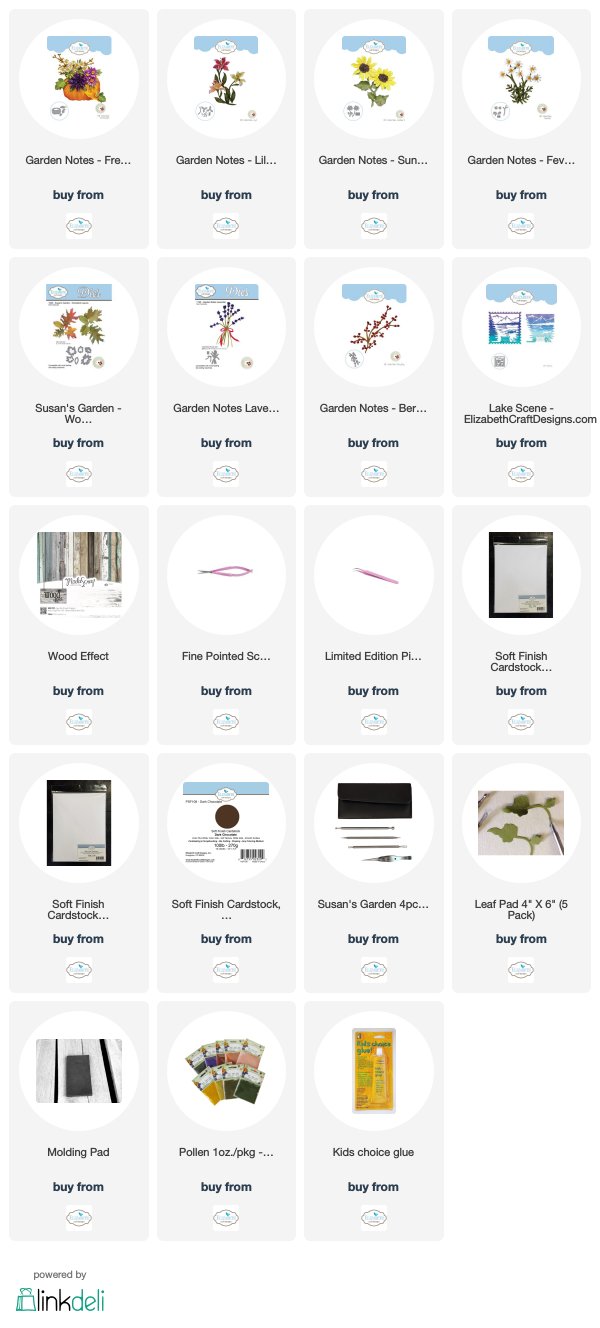
Product links are provided below.


No comments:
Post a Comment
I always love to read your comments. Thanks for stopping by.