I have been busy working with the new Christmas die sets, just released by Elizabeth Craft Designs, but today wanted to work with Susan's die sets and create some pretty flowers. This card was designed using the Garden Notes Shasta Daisy die set.
To create the colorful oval behind the flowers, use a piece of watercolor paper and Distress Oxide Inks. Use the Dotted Scallop Oval die set to die cut the oval. Use a black marker to highlight each of the dots in the scallops around it. Use the Entwined Oval die set and die cut one oval. Attach to the watercolor oval as shown.
For the sentiment, use the Smile die set and die cut it using black card stock. Attach inside the Entwined Oval, as shown. Attach the Oval to the front of the card, using dimensional tape.
Use the Garden Notes Shasta Daisy die set and create 5 yellow daisies. Use the yellow orange PanPastels to shade the base of the petals. Shape the petals and leaves using the Flower Tool Kit. Use Kids Choice Glue to assemble the flower. Add Pollen to the center of each flower.
Use the Garden Notes Berry Spray die set and die cut two sprays. Use red Nuvo Crystal Drops for the berries. These sprays will be cut apart to fit behind the arrangement.
Use the Garden Notes Ostrich Fern die set and die cut two ferns, using tan card stock. Lightly sponge on rust ink around the edges of the fern.
Use the Leafy Branch die set and die cut two branches. Shape with the Flower Tool Kit. Cut these apart to fit behind the arrangement.
Attach the Berry Branches, Berry Spray, Ferns, and the flowers to the lower left corner of the Oval.
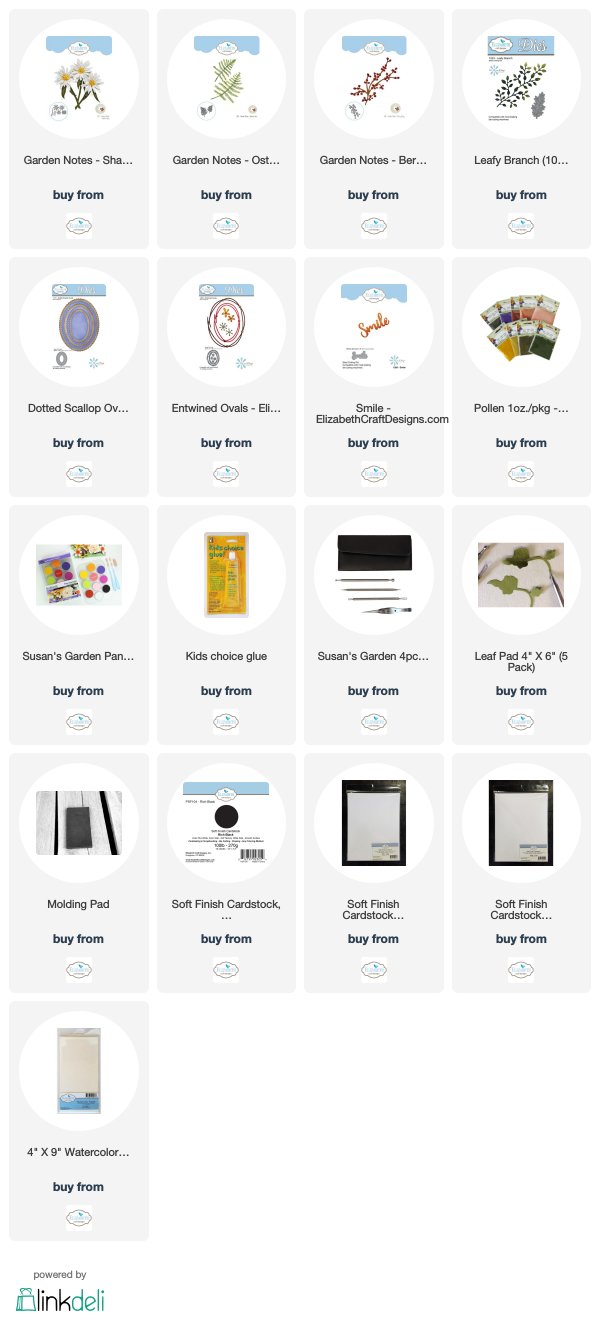
All the products are available from Elizabeth Craft Designs and are linked below.


Selma, Another beauty that makes me "smile".. You are so talented!
ReplyDeleteThis card is such a ray of sunshine, Selma! Smiling :)
ReplyDeleteI Love your Daisy Selma!! You make them sooooo real...
ReplyDeleteI love them…...they makes me smile:-)
I love all the detail and blend of colors. How many ways can you say gorgeous! Not enough.
ReplyDeletePat McQuitty