Today I have another card designed using the new Susan's Garden Notes die sets. On this card I created yellow daisies using the Garden Notes Shasta Daisy die set, plus added some of the new Garden Notes Eucalyptus. This card is sure to bring a smile to the recipients face!
Here is how I created this card:
Start with a 6 inch square card. Cut a piece of white card stock cut 5 3/4 inches square. Use the new Garden Notes Frame-It Stitched Oval die set to die cut an oval on the left side of this piece of card stock. To add color inside the oval, add a piece of cardstock, created using yellow and blue Distress Ink Oxide Inks to a small piece of watercolor paper, behind the die cut oval opening.
Use the Little Words Mean A Lot stamp set to stamp the sentiment on the lower left corner, below the die cut oval. Attach this piece to the front of the card.
Use the Garden Notes Shasta Daisy die set and create three yellow daisies Shape the flowers using the Flower Tool Kit and assemble using the Kids Choice Glue. Shape the leaves and shade the center vein with light green PanPastels.
Use the Garden Notes Eucalyptus die set and die cut two stems. Sponge on light green ink and shape leaves.
Use the Garden Notes Ladder Fern die set and die cut three ferns. Sponge on yellow green ink. Color the stem with a light brown marker.
Attach the fern, eucalyptus, and flowers as shown in the picture above.
Use the Dragonfly die set and die cut one dragonfly. Sponge on color of choice and add flat backed pearls to the body. Attach to the upper left corner of the card.
For a little sparkle, add a few clear rhinestones around arrangement.
You can also create white Shasta Daisies with this new Garden Notes die set.
You can send this card a acrylic mailing box. Link below.
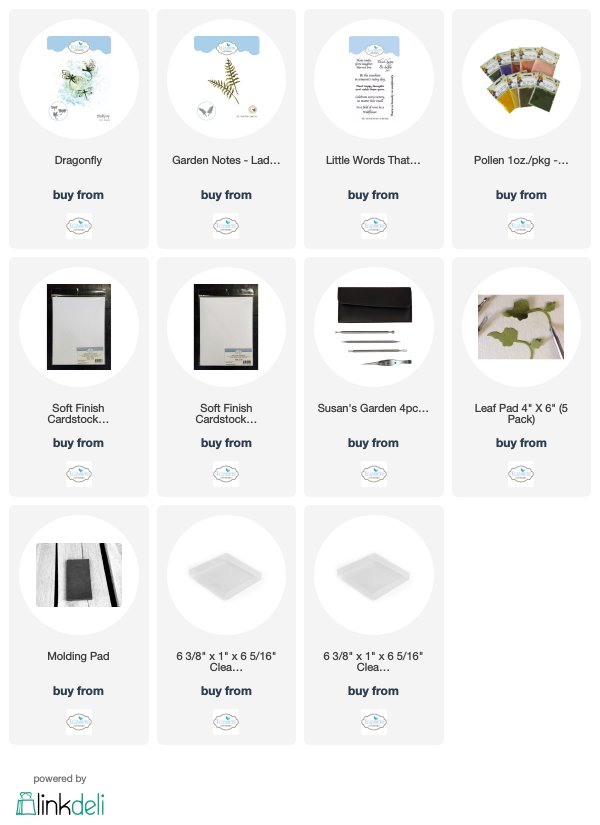
All Elizabeth Craft Designs products are shown and linked below.


Selma, this is so lovely! You are still the queen of flowers!
ReplyDelete