Here is how this card was created.
Step 1. Use a 6-inch card .
Step 2. Cover the front of the card with a piece of design paper from the ModaScrap Fly & Scrap design paper.
Step 3 Use the Dotted Scallop Rectangles to die cut two white rectangles and one pink rectangle. The pink rectangle will fit between the two white rectangles, as shown.
Step 4. Use the Fitted Rectangle die set to die cut an opening to create a frame, in the smallest white rectangles.
Step 5. Use distress Inks to create a marbled background to fit behind the white open frame. Use Squeezed Lemonade and Fired Brick Distress Inks. Cut a small piece of the marbled background to fit behind the open frame.
Step 6. Attach the largest white rectangle to the front of the card, using 6mm Clear Double sided Adhesive.
Step 7. Cut a piece of white Fun Foam to fit behind the pink rectangle and attach with Clear Double Sided Adhesive. Attach this rectangle on top of the white rectangle.
Step 8. Attach the white frame with the marbled background on top of the pink rectangle, using clear double sided adhesive.
Step 11. Use the Garden Notes Maidenhair Fern die set to die cut one fern.
Step 12. Use the Leafy Branch die set and die cut one branch.
Step 13. Arrange the Leafy Branch, the Berry Branch, and Maidenhair Fern on the lower left corner of the card. Attach the Peonies, as shown.
When you create this flower, you can use as many petals as you want to make it as full as you like. They are so easy to create. If you need help in learning how to assemble the peony, you can watch Susan's YouTube Garden Notes Peony Video at this LINK.
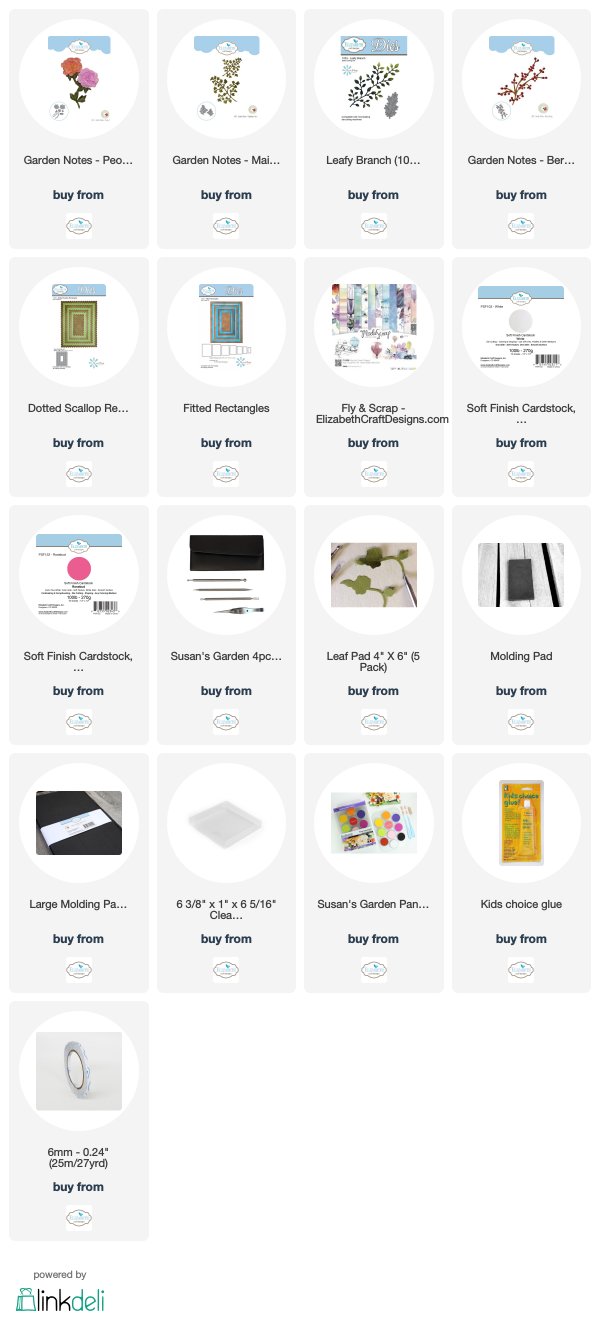
You can shop for the products used by clicking on the products below.


Stunning, Selma!
ReplyDeleteLove your flowers and the use of flat-back pearls. Kept your site for future use on making these peonies. Hugs from Grangeville, Idaho
ReplyDeleteBeautifully done Selma!!!
ReplyDeleteHugs,
Debi Lefever