It is time to wish you a Happy New Year! Our next holiday will be Valentine's Day. Nothing represents this special day better than roses and hearts (or is it Chocolate for some of you!). Today I have designed a card using Susan's Garden Rose 1 die set and the Elizabeth Craft Designs Scalloped Hearts die sets. The beautiful sentiment is one of the A Way With Words die cuts.
This is a 6 inch square card.
1. Emboss a piece of white cardstock using the Hearts & Strings Embossing Folder. You will have to place the white card stock inside the embossing folder twice in order to emboss the entire piece.
2. Use the Scallop Heart die set and die cut all the hearts in the set except the largest heart. Attach the hearts together using dimensional tape.
3. Use the Susan's Garden Rose 1 die set to create one rose. Die cut the petals using white card stock. Use the bright pink PanPastel to shade the lower portion of each petals. Shape the petals using Susan's Flower Tool Kit and assemble the rose.
4. Use the Susan's Garden Rose 1 die set and die cut 7 rose leaves. Use Susan's Leaf Tool to draw veins on the leaves. Color the leaves using light green PanPastel. Shape the leaves using the Flower Tool Kit.
5. Use the Garden Notes Queen Anne's Lace die set to create Baby's Breath.
6. Use the small petal die plate and die cut eight times, using white card stock. Remove the card stock from the die cutting machine and leave the die attach. Place the card stock onto the black molding pad and punch down through the holes in the die with a small stylus. This will push the small flower out and shape it at the same time.
7. Die cut the stems using the Queen Anne's Lace die set. I have shown three stems here, but only needed two for the one rose.
8. Use Kids Choice Glue to spread glue down one long stem. Add a small dot of glue to work sheet or paper plate. Use the Elizabeth Craft Designs Tweezers to pick up one small flower, dip bottom in glue and attach to the stem you have added the glue. Add small flowers down the entire stem. You don't have to be precise about adding the flowers at this point. You are starting the base to add additional flowers to create a fuller stem of baby's breath. Glue small flowers to each stem. Allow to dry. Complete this process on one more die cut branch.
9. Once the glue has dried on the first step of adding the small flowers, start adding additional flowers to create a cluster of flowers on each stem. This time pick up small flower with the tweezers and dip back in glue and lay on top of first layer. You can add flowers to create a wider stem as shown above. Allow the glue to dry completely before continuing with these die cut pieces.
10. Once the baby's breath pieces are dry, cut each piece in half. You will have four clusters that can will be added under the rose.
11. Use the A Way With Words Baby Love die set and die cut two 'love'. Glue the two die cuts together. Glue the sentiment to a piece of white card stock. Use scissors and cut around the sentiment, leaving a small border. Attach the sentiment to the lower right corner of the card front, using dimensional tape.
12. Attach the pink hearts to the upper right side of the card front, as shown. Use dimensional tape under the largest heart.
13. Attach the Rose on the lower left side, using a dimensional glue dot. Glue the rose leaves and the baby's breath under the rose
14. Add a string of pearls across the bottom edge of the card. Add small pearls in a heart shape in the center of the smallest pink heart. Add Clear Glitter Dots on the largest and second largest pink heart, as shown. Add one larger pearl in each upper corner of card.
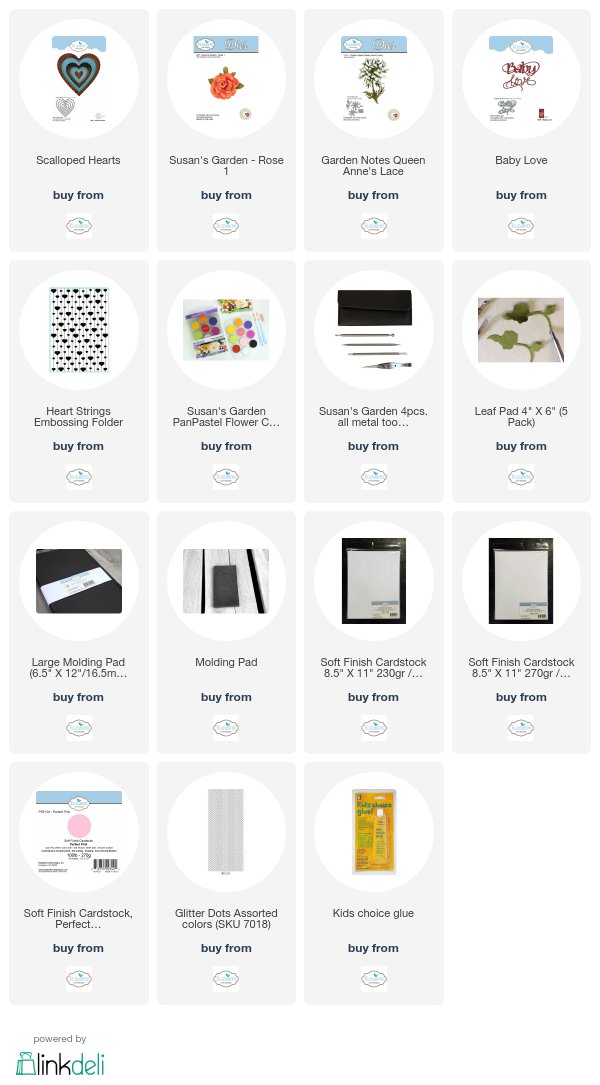
You can shop for products used from Elizabeth Craft Designs by clinking on the links below.


Selma, this is lovely!
ReplyDeleteAbsolutely gorgeous!!!
ReplyDeleteGORGEOUS Selma....such as always!!
ReplyDeleteA gorgeous card creation. Your attention to the details is awesome. Thank you for sharing and inspiring me. Now where is my rose die?
ReplyDelete