First I want to wish all of you a very Merry Christmas.
Today I have a card with one of the stamps from the Holiday Trees & Ornaments stamp set. The frame was created by layering a variety of die cut rectangles (Fitted, Stitched, Fitted Frames, and Dotted Scallop). This was one of my favorite Christmas cards this year.
You can create a variety of cards by switching the theme and the sentiment and this versatile layout will be useful and fun all year! For example, from snowflakes, tree and Christmas sentiment to a cupcake and tiny hearts and you'll have a birthday card.
Here is how to complete the card:
1. Stamp the tree with black ink, color with markers. Die cut using the matching die. Add Warm or Cool Diamond Silk Microfine Glitter to the snow on the branches.
2. For the first layer of the frame (the smallest inner layer surrounding the tree) use the Fitted Frames 1 Lace Rectangles die set to cut White Soft Finish Cardstock (SFC). Use the small scalloped frame.
3. Use the third largest Stitched Rectangles Frames die to cut White SFC.
4. Use the second largest Fitted Rectangles die to cut Forest Green SFC.
5. Use the largest Dotted Scallop Rectangles die to cut White SFC. stock.
6. Using a paper trimmer or craft knife, ruler, and self healing craft mat, hand-cut a Forest Green SFC rectangle 1/8 inch larger than the white Dotted Scallop Rectangle.
7. Layer and adhere all of the rectangles, starting from the smallest and working outward. Center each frame on top of the next one. (Refer to the project photo.)
8. Attach the frame to the front of the 6 1/2 x 5 inch card front.
9. Stamp the sentiment with black ink. When ink is dry, trim around the sentiment using scissors to fussy-cut a curvy shape. Adhere per project photo.
10. Add the tree below the sentiment.
11. For the snowflakes, die cut White Soft Finish Cardstock that has Clear Double Sided Adhesive on the front with the tree branch die that has the small snowflakes (Christmas Tree die set). Cut off the snowflakes, Remove the release sheet to expose the adhesive and cover with Cool Diamond Silk Microfine Glitter (or Warm Diamond if you used Warm Diamond for the snow on the stamped tree). Polish with a fingertip to bring out the maximum sparkle. Glue the snowflakes around the tree, inside the scalloped frame.
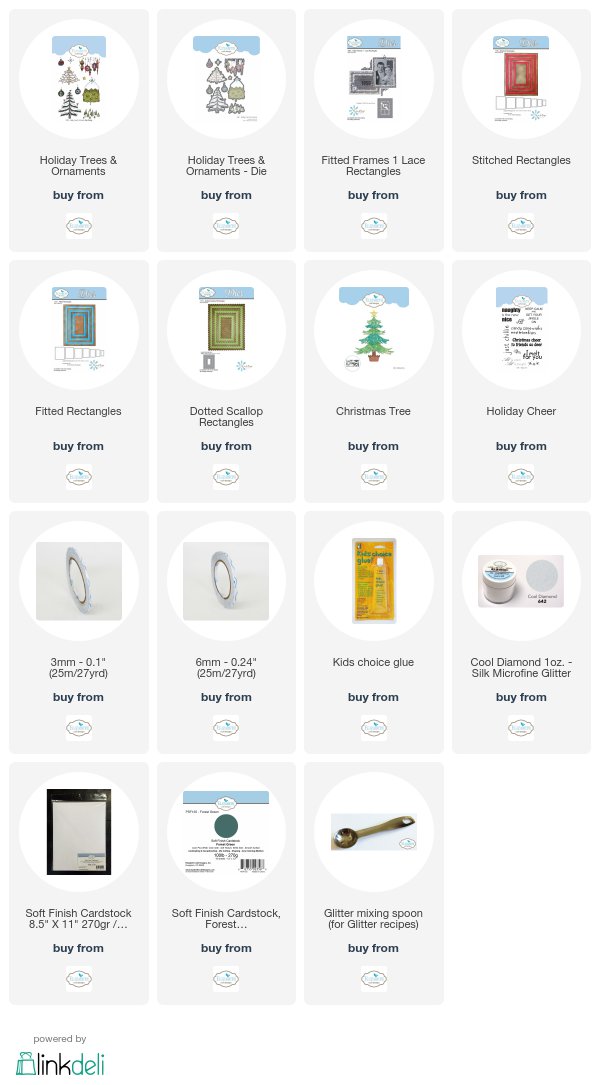
The products used from Elizabeth Craft Designs are linked below.


No comments:
Post a Comment
I always love to read your comments. Thanks for stopping by.