Good Morning. Today the Susan's Garden Design Team was challenged to create a card using at least three of the new Garden Notes die sets. I chose to use the Black-Eyed Susan, Wooden Fruit Crate, and Maidenhair Fern die sets.
To see all the creative cards created by the design team, be sure to visit the Elizabeth Craft Designs Blog at this LINK.
As with all design team challenges, Elizabeth Craft Designs will be give you a chance to win a gift.
For the Challenge today, Elizabeth Craft Designs is giving away a $20 Gift Card to use on the Elizabeth Craft Designs website to 3 winners.
To enter, simply leave a comment on the Elizabeth Craft Designs blog post and answer “What products from Susan's new release are at the top of your wish list?"
Elizabeth Craft Designs will select 3 lucky winners in a random drawing.
The winners will be announced on Friday, November 17, on the Elizabeth Craft Designs blog.
Good Luck!
Good Luck!
*******************
Here are instructions on how to create my card:
1. This is a 6 inch square card. For the background, a piece of design paper from the Sweet Vintage Rose pad was selected and attached to the front of the card.
2. Use the Garden Notes Black Eyed Susan die set and die cut enough pieces to create four flowers. Use White Soft Finish cardstock to die cut the pieces and color with PanPastels. Shape the flowers using the 4 piece Flower Tool Set. Use Kids Choice glue to attach the die cut pieces together.
3. Use the Garden Notes Wooden Fruit Crate die set to die cut the crate out of White cardstock. Use PanPastels, or ink, to color the crate. Use a opaque white pen to trace the design in the crate.
4. Use the Garden Notes Maidenhair Fern die set to die cut three ferns out of green cardstock. Sponge on a dark in or PanPastel to shade the leaves. Shape the leaves using the Flower Tool Kit.
5. Use the Lovebirds die set to die cut the birds on the branches, using white card stock. Color by either sponging on color or use markers. I sponged on color.
6. Use the Sentiments 1 Celebration Clear Stamp set for the the sentiment. Die cut using the matching die. Sponge yellow around the edge of the sentiment.
7. Attach the crate to the bottom of the card and attach the flowers and fern as shown. Cut the Lovebirds die cut piece apart and arrange as shown.
8. Attach the sentiment with dimensional tape.
9. To complete the card, add the gold peel off sticker corners to all four corners.
This is a dimensional card. Below I have provided links to the Clear Boxes you can use to mail dimensional cards.
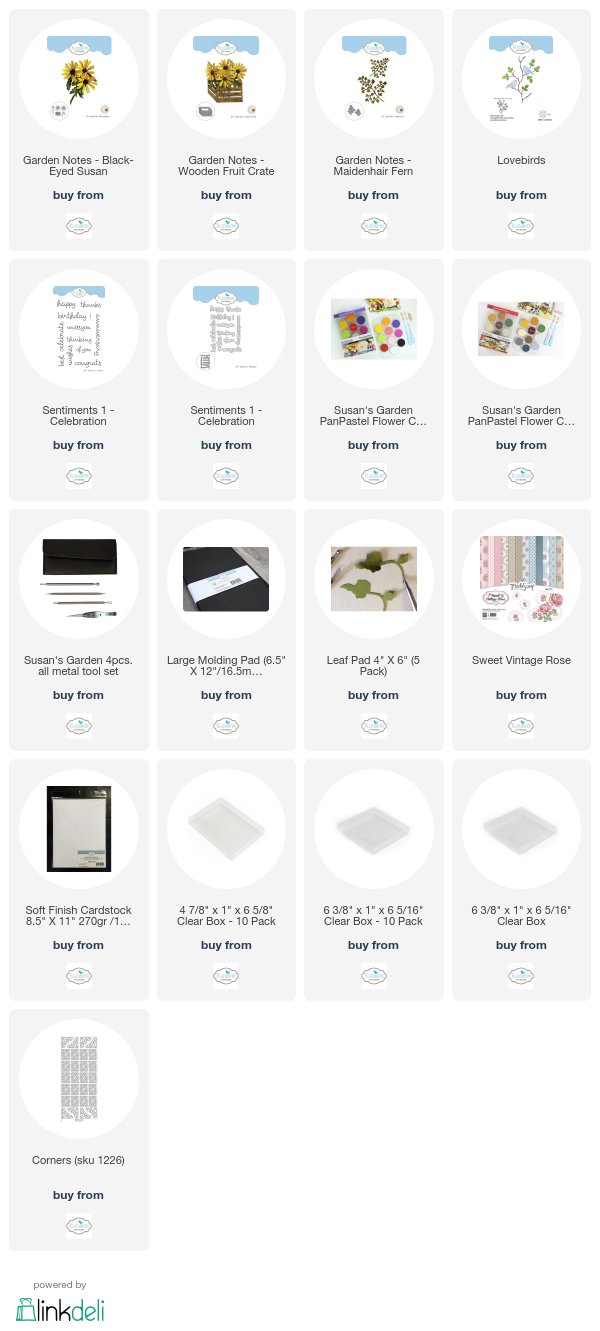
You can shop for the Elizabeth Craft Designs products from the links provided below.


Those Black-Eyed Susan flowers bring back so many memories from my childhood! Lovely.
ReplyDelete