The Red Metallic Shimmer Sheetz circle really makes the white elements on this card pop.
Use one of the Fitted Circle dies to die cut the Red Metallic Shimmer Sheetz circle. Use one of the Dotted Scallop dies, one size larger, to die cut a white circle. Attach the red circle with dimensional tape, to the white circle.
This is a 6x6 inch card. Cut a piece of off white card stock 5 1/2 square and score around the edges using a scoreboard. Attach to the front of the card.
Attach the die cut circles in the center of the card front.
Use Susan's Garden Notes Poinsettia die set to create 3 white poinsettias. Shade the base of the petals with light green PanPastel. Shape the petals with Susan's Flower Tool Kit.
To create the bracts (center of poinsettia), I used Nuvo Crystal Dots. Working on a small piece of non-stick craft mat, add lime green Nuvo dots. Let the drops dry approximately 15 minutes then go back and add a small yellow Nuvo dot in the center of each green dot. Let dry throughly then remove from mat and glue them individually in the center of each poinsettia.
Use the Garden Notes Whitepine Boughs & Pinecone die set to die cut eight white boughs.
Arrange the pine boughs and poinsettia on the lower left side of the card.
Use the Reindeer die set and die cut one deer out of White Soft Finish Cardstock. Use the Snowflake die in this same set to die cut a few snowflakes.
Attach the deer to the red Shimmer Sheetz using Clear Double Sided Adhesive. Attach the snow flakes around the reindeer.
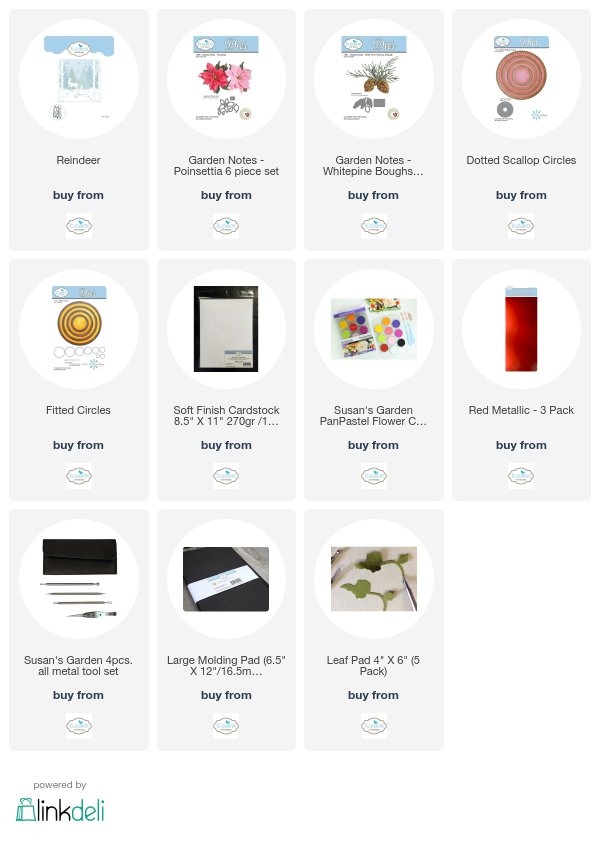
All the Elizabeth Craft Designs products are linked below.


Very clever tip about the bracts. Love it. Pretty card, as always. Jan D., FL
ReplyDeleteDramatic and beautiful.
ReplyDelete