A fun challenge this month for the Elizabeth Craft Designs Susan's Garden design team is to design a card using one of her Fairy die sets. Here is the LINK to go to the Elizabeth Craft Designs Blog so you can see all the cards created by the Design Team.
******************
For our Challenge today Elizabeth Craft Designs is giving away a $20 Gift Card to use on the Elizabeth Craft Designs website to 3 winners.
To enter, simply leave a comment on the Elizabeth Craft Designs blog post and answer this question: “If you had your own fairy, what would be 3 products on your crafting wishlist?”
Elizabeth Craft Designs will select 3 lucky winners in a random drawing.
The winners will be announced on Friday, October 13, on the Elizabeth Craft Designs blog.
Good Luck!
Good Luck!
*******************
Start with a six inch card. Cut another six inch square for the front panel out of White Soft Finish Cardstock.
Use the 2nd largest Fitted Oval die to die cut an opening on the left side of the six inch square. Sponge green ink around the outside edges. Attach this square to the front of the card using dimensional tape.
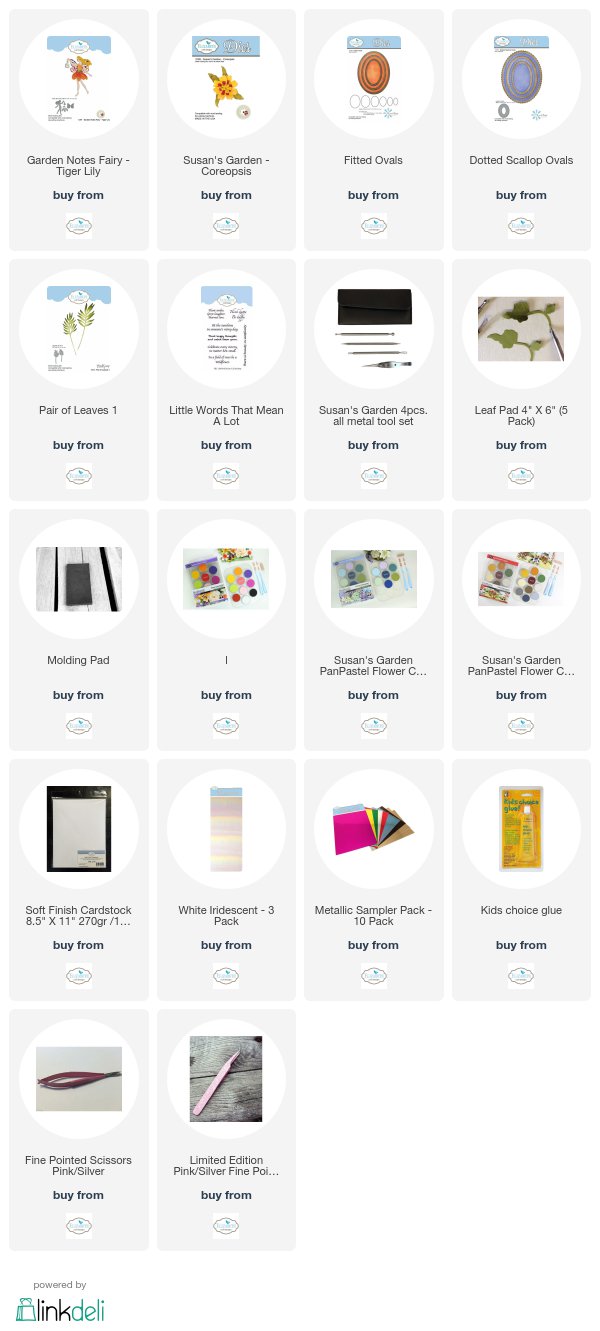
Use Susan's Garden Notes Fairy - Tiger Lily die set to die cut the Fairy. To create a stable Fairy that you can add dimensional tape under, die cut the body of the Fairy 4 times, using 100 lb card stock. Glue the four Fairies together. Color the Fairy and the Tiger Lily skirt. I used Susan's PanPastels to sponge on color. A red fine line marker was used to add the dots and lines on each petal of her skirt. I used a clear Wink of Stella pen to give her hair, and dress sparkle.
Die cut the Wings of the Fairy using White Iridescent Shimmer Sheetz. Use Silver Shimmer Sheetz to die cut the container (shown in her left hand). Attach the wings to the Fairy's back using dimensional tape.
Use the Garden Notes Coreopsis die set to die cut enough pieces to create seven flowers. Use Susan's Flower Tool Kit to shape and assemble the flowers. For information on how to create this flower, you can watch Susan's Garden - Coreopsis YouTube Video at this LINK.
Use the Pair of Leaves 1 die set to die cut three leaf branches. Use Susan's Flower Tool Kit to shape each leaf.
Arrange the Leaves and Coreopsis on the lower left corner of the card.
Attach the Fairy on the right side of the die cut Oval, as shown. Leave room to add heart sequins below her hand. You can add dots of glue and sprinkle on glitter or use Peel Off Glitter Dots.
Attach the container under the left hand of the Fairy onto the card. Again add sequins or whatever you used you falling from her right hand, under the container, as shown.
Use Susan's Little Words That Mean A Lot stamp sent and stamp the sentiment. I used VersaFine Ink and clear embossed the sentiment. Die cut the sentiment using a die from the Dotted Scalloped Oval die set. Sponge around the edges of the Oval with Yellow ink. Attach more sequins around the sentiment. Attach this oval above the flowers, as shown.
For a final touch, use a fine tip marker and add a few black dots around the lower edges of the flowers.


Selma, Such a "fairy" nice card. It is fairy wonderful.
ReplyDelete