The design team for Elizabeth Craft Designs was challenged to create a Halloween Themed card this month. The team has created a variety of great Halloween cards for you and you can view them all on the Elizabeth Craft Designs Blog at this LINK.
As with all the Elizabeth Craft Design challenges, you are given a chance to win a prize. Here are the details:
******************
For our Challenge today Elizabeth Craft Designs is giving away a $20 Gift Card to use on the Elizabeth Craft Designs website to 3 winners.
To enter, simply leave a comment on the Elizabeth Craft Designs blog post and answer this question: "What are some of your favorite products you choose when creating spooky scenes for Halloween?"
Elizabeth Craft Designs will select 3 lucky winners in a random drawing.
The winners will be announced on Friday, September 22nd, on the Elizabeth Craft Designs blog.
Good Luck!
Good Luck!
*******************
Now for the details on how I created by Halloween card:
Start with a 6-inch card.
Use the orange polka dot design paper from the new ModaScrap Rio De Janeiro paper pack to create the background. Use a Scoreboard to score around the edges, for a finished appearance.
Use the Ghosts die set and die cut the two ghosts. For the overlay, use a piece of white card stock that has Clear Double Sided Adhesive attached. You will be adding glitter to the adhesive. Once die cut, add Cool Diamond Silk Microfine Glitter to each of the ghost overlays. Attached the glittered ghosts to the black backing.
Die cut the Garden Notes Carolina Window, using black card stock. Adhere a piece of Amethyst Gemstone Shimmer Sheetz to the back of the window. Attach the window in the upper center of the card.
Die cut the Witch using the Haunted House Die set, using black card stock. Die cut the Cat using White Soft Finish Cardstock and sponge with black ink. The reason I didn't die cut the cat using black card stock, is that he didn't show up very well being a deep black. When sponged with black ink, the cat is a gray/black color and shows up very well.
Use the Iron Fence die set and die cut two fences, using black card stock. Fit the fence pieces across the bottom of the card.
Use the Adventure Edges die set to die cut two grass pieces, using black card stock.
Use the Pumpkin die set to die cut two white pumpkins. Sponge on yellow and orange ink. Add the stems and black Halloween faces. Attach the pumpkins on the low right side in front of the fence. Add dimensional tape behind the round pumpkin. Attach the grass across the bottom of the card. Attach the cat to the left side.
Use the Spooky Sentiments stamp set to stamp Happy Halloween. Die cut with the die from the Labels 1 die set. Sponge orange and black ink around the edges of the Label. Attach the sign below the window, with dimensional tape, as shown.
Attach the two ghosts with dimensional tape over the window. Glue the witch in the upper left corner to complete this cute Halloween card.
This card is sure to make someone smile.
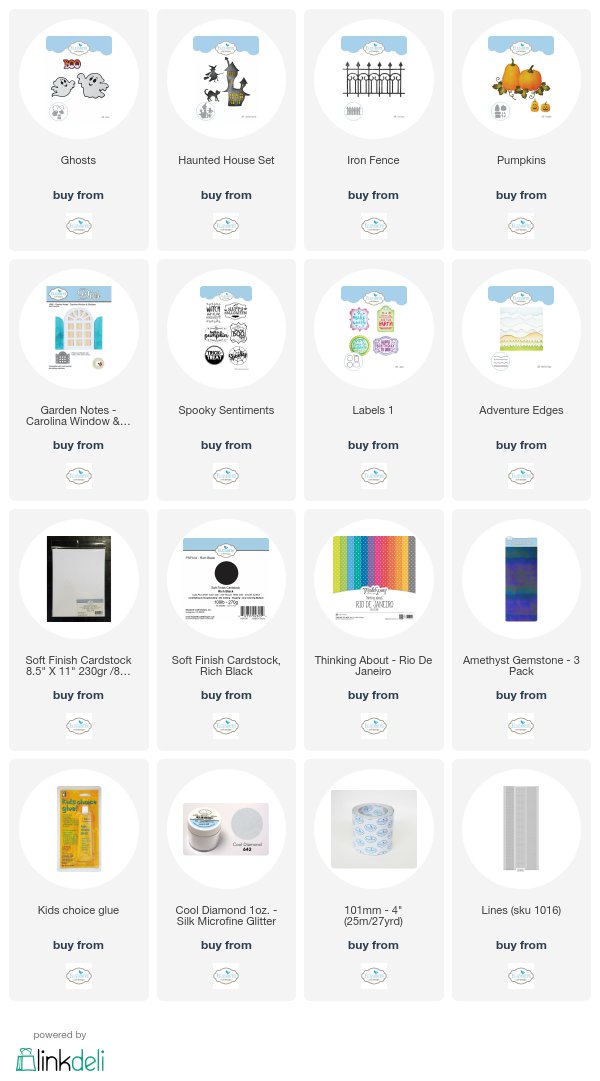
The links to the Elizabeth Craft Products used, are linked below.


This is totally adorable!
ReplyDeleteSuch a cute Halloween card, Selma!
ReplyDeleteSuch an adorable card.
ReplyDeleteVery cute card. I love all the characters used!!
ReplyDeleteDelightful Halloween card!
ReplyDelete