Pages

Wednesday, September 30, 2020

Z-Fold Card with Button Chrysanthemums


Today I have a Z-Fold card decorated with Button Chrysanthemums. 

To create the Z-Fold card, I watched Susan's Garden Club Live Facebook Video for instructions.  I created my card slightly different.  This is a very easily created card I know you will enjoy making.  

I used a piece of foiled design paper to decorate this card (DCWV Preserved Paper Pack).  The strip at the bottom is the backside of the same piece of design paper.  To add a finished appearance, a thin strip of gold mirror card stock was attached at the bottom of the strip across the bottom, to match the gold design in the design paper. 

On the inside of the card, I used the Spellbinders Elegant Twist Square die set.  In the smallest square die cut, one of the quotes from Susan's Autumn Quotes clear stamp set was gold embossed.  A piece of gold Mirror card stock was cut slightly larger than the Elegant Twist Square.  The gold square was attached to the card front and the Elegant Twist Square was attached with Foam Squares.


Susan's Foliage & Ladybug die set was used to die cut Eucalyptus leaves, the Berry Branch, and the Ladybug.  All these pieces were die cut using white card stock and color sponged on.  For the Bittersweet, the small shell covering were die cut using light yellow card stock and tiny pearls were added for the berries.  The berries were colored with Copic markers.  The ladybug was colored with a red marker and detailed with a black fine line pen.  Once glued to the leaf, clear glaze was added.

Using the Button/Daisy Chrysanthemum die set, three Button Chrysanthemums were created.  The leaves were sponged green and highlighted with brown ink.


This is a 6x6 inch card when folded flat and will fit in an acrylic box for mailing.

Thanks for visiting my blog today.  Hope I inspired you to try creating this fun card.

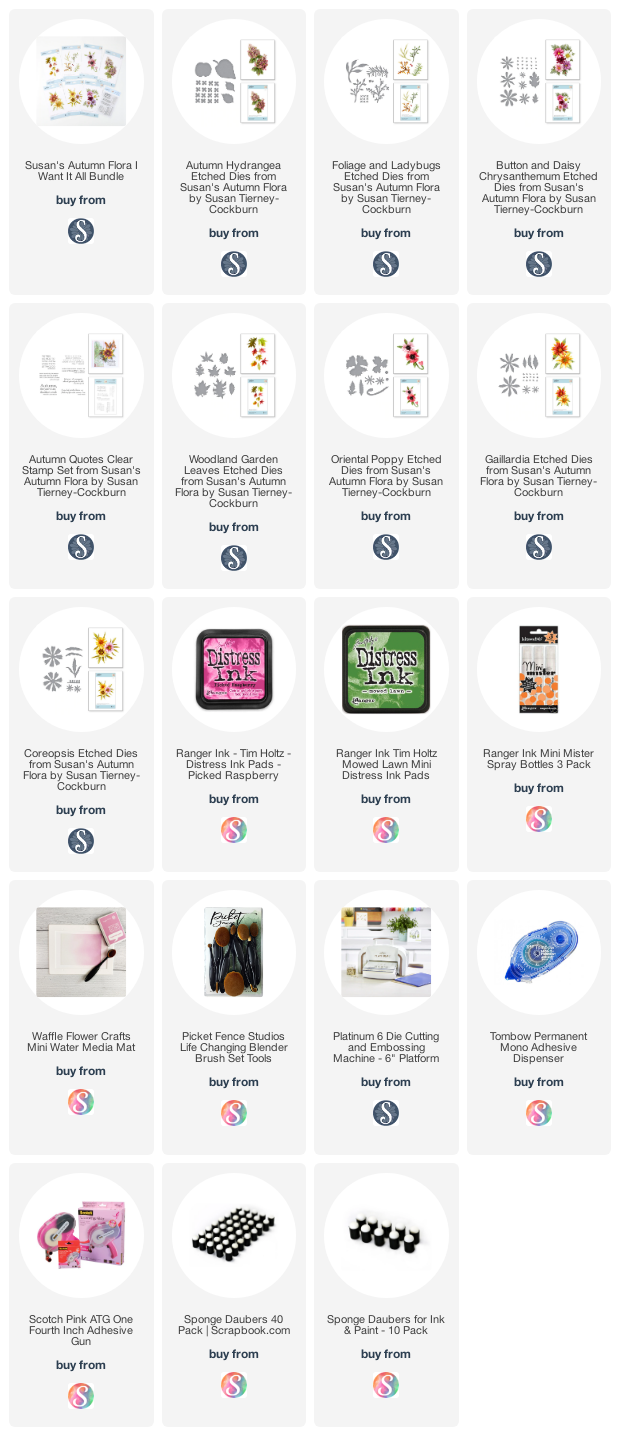
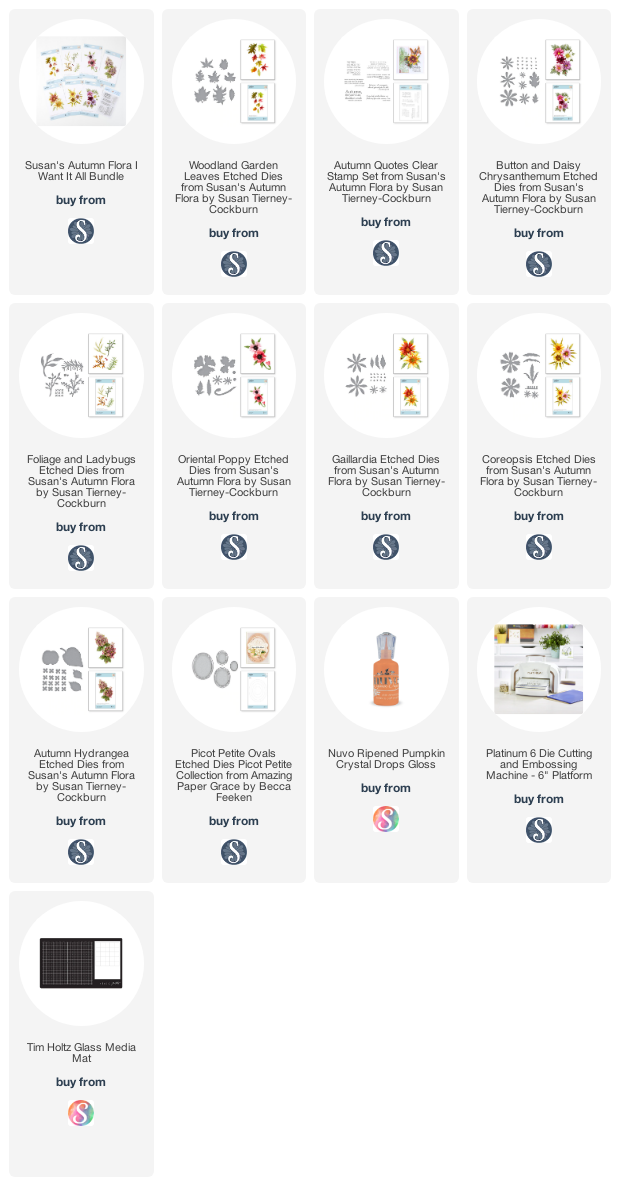
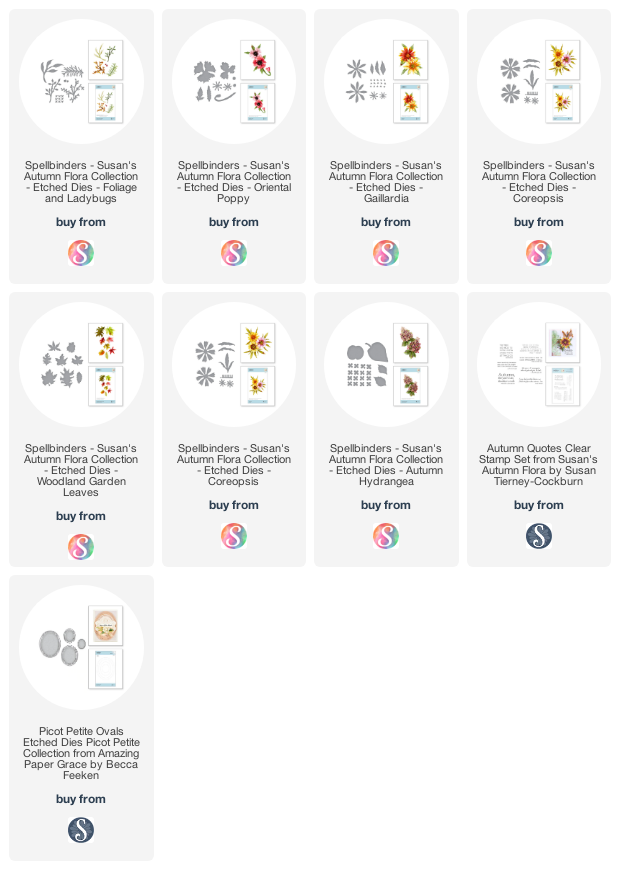
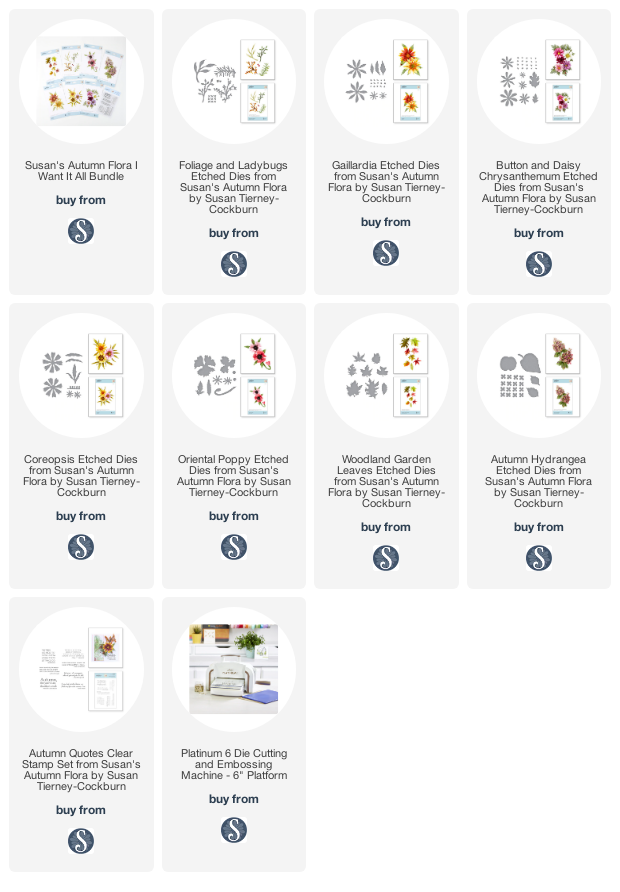
Product links are below.


Sunday, September 27, 2020

Framed Hydrangeas


Today I created a card using the Autumn Hydrangea, Daisy Chrysanthemum, and Foliage & Ladybug die sets.


For the background, I used a piece of pretty design paper from my stash.  

The Foliage & Ladybug die set was used to create four eucalyptus branches, a rosemary branch and a berry branch.  Pink Nuvo Crystal Drops were used to create the berries.

Two Autumn Hydrangeas were created using Susan's new die set.  To color the petals, I sponged two shades of pink and light green onto a piece of off white card stock, then the petals were die cut.  Susan has instructions on how to create this beautiful flower on YouTube at this LINK.   

Using the Button/Daisy Chrysanthemum die set, two different shades of pink daisies were created.  Prills were added in the center.  

Using the ladybug die from the Foliage & Ladybug die set, the larger ladybug was used for this card.  It was colored red, detailed with a black marker, and clear glaze added for a shine.  

In the middle of the design paper, the medium size Spellbinders Elegant Twisted Oval die cut was added.  It was die cut from white card stock and the edges sponged with gray ink.  Unfortunately, it is hard to see this die cut in the photo.

The Eucalyptus leaves were added at the top of the oval and a couple were tucked under the edges of the oval.  The berry branches were added over the eucalyptus, and the rosemary branch added on the right side.  The hydrangeas and daisies were added and leaves for each attached under the flowers.  The ladybug was added last.

On Susan's Garden Facebook Live video, she shows how to create frames.  The card was attached to the back of the frame.  

This framed arrangement is going to my daughter for her birthday.

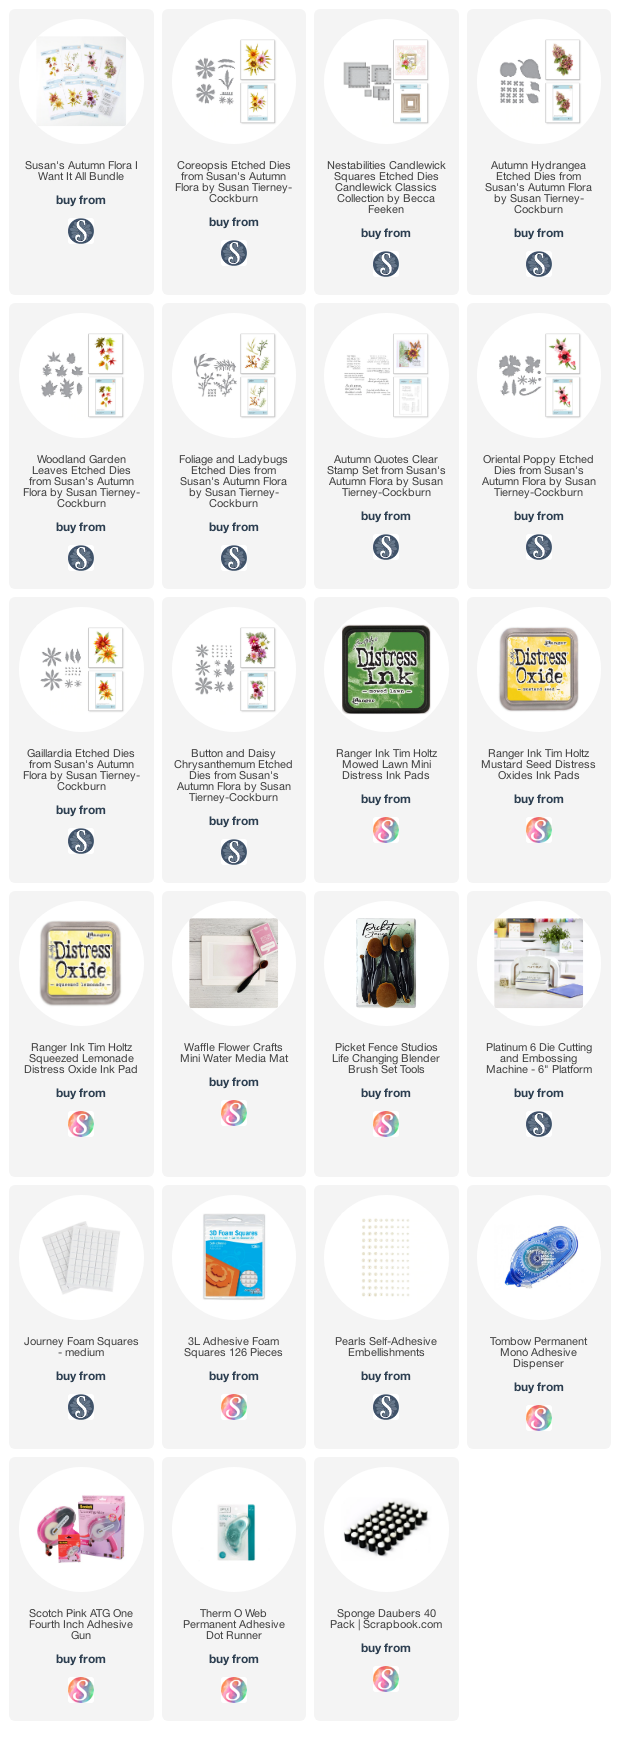
Thanks for stopping by today.  Product links are provided below. 


Saturday, September 26, 2020

Coreopsis


Another pretty flower in Susan's new Autumn Flora die sets is the Coreopsis.  Today I combined this pretty flower with the leafy branch and berry branch.

This is a 6x6 inch card.  It is covered with a piece of card stock from the Carta Bella Paper Co paper pad called Botanical Garden.  I scored around the edges for a finished appearance.

For the green background, use the Spellbinders, Amazing Grace Candlewick  Square die set.  Die cut the larger square and the medium square.  The larger square was glued to the design paper using a Permanent Adhesive Dot Runner.  If you use the  Dot Runner, you can roll it across the die cut design, around the edges, and it only sticks on card stock - not showing in the open die cut area.  The medium square was attached in the middle using foam squares.  

Using the Foliage & Ladybug die set, die cut the leafy branch, which is called Nadina.  The branches are die cut using white card stock.  I like to lay the die cut on a Waffle Flower mat and brush on the color.  This mat holds the die cuts in place while brushing on the color.  The leaves are then shaped using the tweezers.

Using the Foliage & Ladybug die set, a Berry Branch was die cut.  It was sponged with a combination of brown and green inks.  For the berries, white pearls were colored with a red alcohol marker.

Using the Coreopsis die set, pieces were die cut to create three flowers.  The petals were sponged with Squeezed Lemonade Distress Ink on the Waffle Flower pad.  In the center, a red and burgundy marker was used to color up from the base of each petal.  On the tips of each flower petal, Mustard Seed Distress Ink was sponged, for a highlight.  The center of the flower was shaped and yellow Pollen added to the tips.  The leaves were die cut, colored shaped and attached under the flowers.  

Thanks for stopping by today.   

I have added links to products below.  If you shop through the links provided below, I will receive a small commission at no extra cost to you.  This helps me replenish supplies for creating my cards.  Thanks so much for your support.  


Friday, September 25, 2020

Chrysanthemum & Pumpkin


Another Autumn card designed using Susan's Autumn Floral die sets from Spellbinders

A Daisy Chrysanthemum was die cut using white card stock and sponged with Crackling Campfire and Mustard Seed Distress Inks.  In the center of the flower, bronze and black Prills were added.

The pumpkin was created using one of the dies from the Autumn Hydrangea die set.  It was die cut using white card stock, lines drawn with the Leaf Tool, and sponged using Distress Inks.  

The Foliage and Ladybug die set was used for the eucalyptus and berry branches.  Nuvo Pumpkin Crystal Drops used for the berries.  

The dollies behind the arrangement were die cut using the Spellbinders, Amazing Grace Picot Petite Ovals Etched die set.  On the smallest oval, is the word stamped from one of the stamps from Susan's Autumn Quotes stamp set.   

Happy Fall!

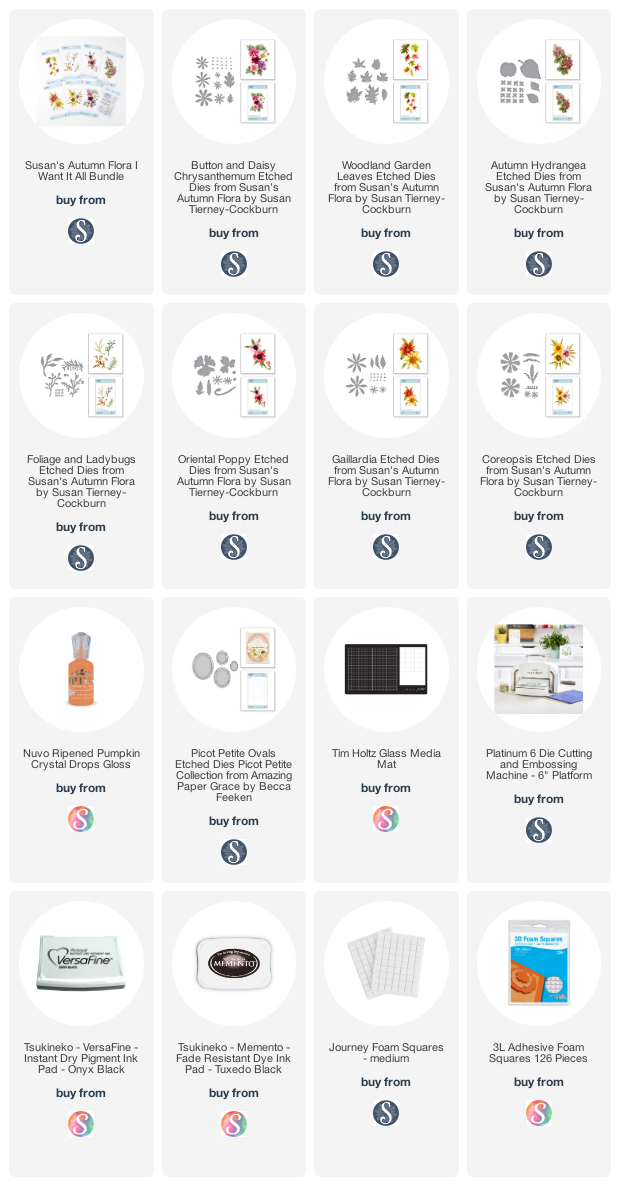
Product links are shown below.


Thursday, September 24, 2020

Life Starts All Over Again


Susan's Autumn Quotes stamp set is great for designing your Autumn cards.  

This card is designed using Susan's new Chrysanthemum die set.  This sets comes with dies for both the daisy and button chrysanthemums.  Today I created two orange and two rust colored, button chrysanthemums.  

The foliage behind the flower is eucalyptus die cut from Susan's Foliage & Ladybug die set.  The berry branches were also die cut from the Foliage die set.  Orange berries were added to these branches.

The Woodland Garden Leaves die set was used to die cut the Maple leaves.  They were colored, shaped and tucked around the chrysanthemums.

The large doily is the Spellbinders, Nestabilities Amazing Grace Cascading Grace die cut.  In the center I used an old Spellbinders oval (Shapeabilities Floral Oval Etched Dies) in the center of the large die cut.  In the center, one of Susan's Autumn Quotes was stamped on the small Spellbinder Picot Petite Oval Etched die cut.  

This card could be used for just about any occasion.  

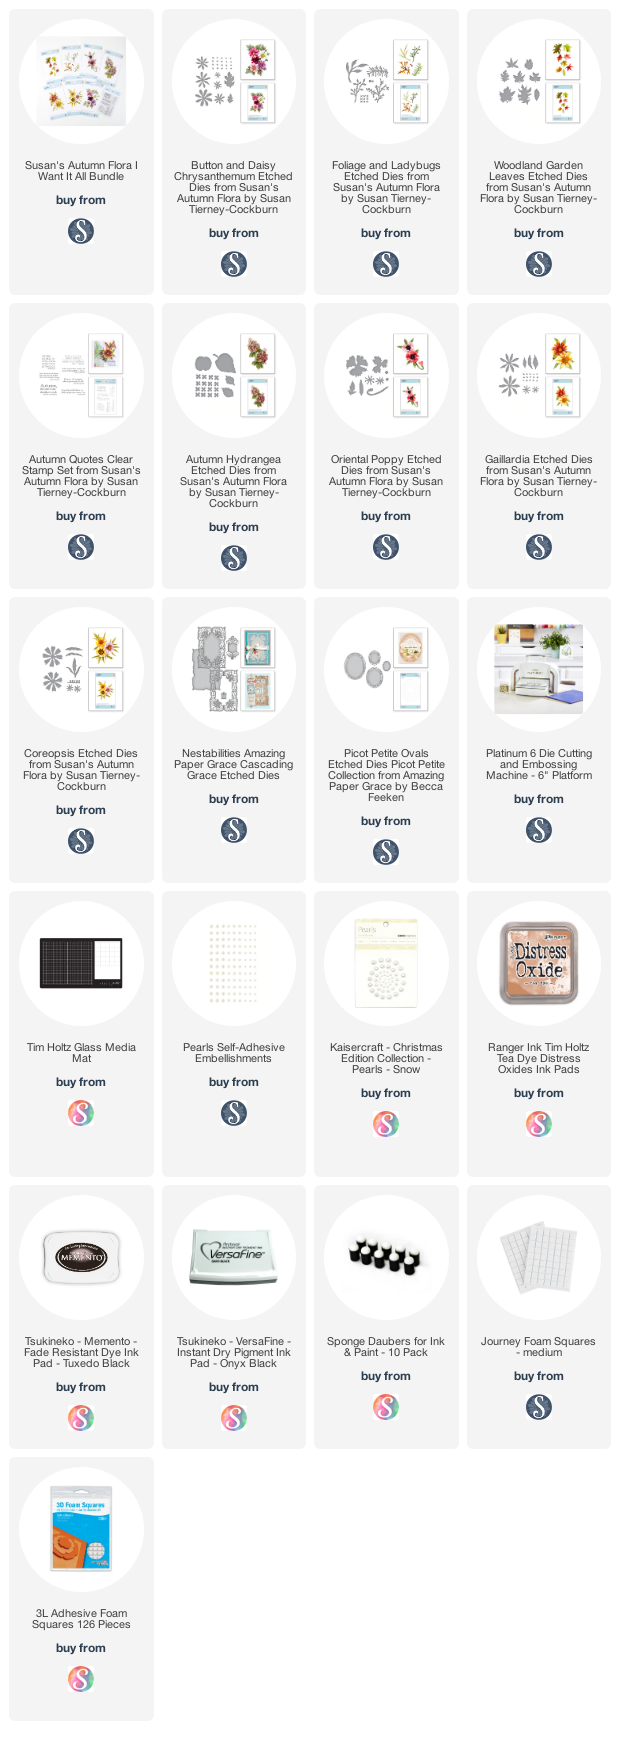
Links are provided below for products used.


Wednesday, September 23, 2020

Golden Chrysanthemums


There are so many different varieties of Chrysanthemums and I am having fun creating many different cards with them.  

This is a 6x6 inch card.  On a piece of brown card stock use the smallest Spellbinders Nestabilities Rectangle Candlewick die to die cut the design in the upper right corner. Attach a dark yellow piece of card stock behind the die cut design.   Using this same set, use the small rectangle die to die cut a rectangle, using ivory card stock.  Before removing the rectangle from the die, sponge a light brown ink toward the center.  When you remove the die, there will be a small ivory border around the rectangle.  Use Susan's Autumn Floral stamp set for the quote.   Attach this rectangle in the center of the Candlewick design, using square dimensional squares.

Use the Foliage and Ladybug die set and die cut three leafy branches, using white card stock.  Sponge the branches green.  Use red PanPastels and a small sponge to highlight the leaves and down the branches.  Group the branches together and attach to the left side of the quote.  

Use the Foliage & Ladybug die set and die cut one Berry Branch.  Use Nuvo Orange Crystal Drops for the Berries.  Attach the berry branch on top of the Leafy branches.

Use the Button/Daisy Chrysanthemum die set and die cut enough petals for three Daisy Chrysanthemums, and enough for one Button Chrysanthemum.  Different colors of Distress Inks were used to color the flowers.  Prills were used for the stamens in the Daisy Chrysanthemums.  The leaves were die cut using white card stock and sponged with green ink.  They were lightly sponged with some red PanPastel, around the edges.

The Coreopsis die set was used to die cut one Coreopsis. Pollen was used on the ends of the stamen. 

The Woodland Garden Leaves die set was used to die cut three large Oak Leaves.  In a previous blog post, I have tutorial on how to color these leaves. 


Thank you for visiting today.  Links to products are below.


Tuesday, September 22, 2020

Autumn Chrysanthemums


I love creating the Button and Daisy Chrysanthemums using Susan's new Spellbinder dies.  

I used a piece of design paper from my stash for the background.  The Spellbinders Elegant Twisted Circle die set was used to die cut two sizes circles, and the Elegant Twisted Oval die set use for the die cut oval in the enter of the circles.  Susan's new Autumn Quotes stamp set was used for the sentiment.  I used a piece of Post-It Note to cover all of the quote except 'Autumn'.  Black Ink was patted on the word Autumn, then stamped in the center of the oval.   It was attached in the middle of the circles using  dimensional foam squares.


The Foliage & Ladybug die set was used to die cut four Rosemary and one berry branch.  Purple berries were added to the berry branches.

Two Daisy Chrysanthemums were created using the Button/Daisy Chrysanthemum die set.  The largest flower petal die in this set is used for this flower.  The number of die cuts needed to create the flower are right on the die, to make it easy for you to know how many to die cut.  The daisies were sponged with two different shades of purple ink.  In the center of the daisy, yellow Prills were added.  Using the same die set, one small Button Crysanthemum was die cut.  You die cut 3 (which is marked on the die) of the largest petals for the button chrysanthemum, then 2 of the others.  I die cut two of the very smallest petals, but you can use just one.  The petals were sponged with two shades of lavender ink.  Just the two smallest size petals were sponged with the darker lavender ink.

Arrange the foliage and flowers on the left side of the oval die cuts, as shown.

I appreciate you stopping by today.  Links to the products used are furnished below.


Monday, September 21, 2020

Pink Poppies


Today I created poppies using Susan's new Poppy die set from Spellbinders.  

To create the pretty design behind the arrangement, the Spellbinders Nestabilities Doily Round Etched die set was used to die cut the design into a square piece of white card stock.  This piece was layered over a larger piece of card stock. 

Three poppies were created with the Poppy die set. They were die cut using white card stock and pink ink sponged around the edges of the petals.  The centers were shaped and black pollen added to the end of stamens.   Several leafy branches and the berry branch were die cut using the Foliage & Ladybug die set.  White berries were added to the berry branch, using Nuvo white Crystal Drops.

The poppies and foliage were arranged in the center of the die cut doily.

White pearls were colored with a pink alcohol marker and added to the corners.

Thank you for stopping by today.  Links to products are shown below.


Sunday, September 20, 2020

Coreopis Double Tower Card


To create the Double Tower card, I used the instructions given on Susan's Garden Club Live Facebook video.  

The basic card was cut using white card stock.  Using a brush, several shades of brown ink were applied to both the front and back.  You could just use brown card stock but I wanted the light and dark shading of adding inks.  

Design paper from my stash was used to decorate the panels.

Susan's Spellbinder's Garden Club Coreopis die set was used to create the flowers.  They were die cut using white card stock and colored with maroon ink.  The flowers were shaped using Susan's Tool Kit.  Pollen was added to the top of the yellow center in the flower.  The leaves were sponged green, and shaped using the Tool Kit.

The Garden Club Foliage & Ladybug die set was used to die cut the eucalyptus leaves at the top of the arrangement.  The leaves were die cut using white card stock.  Green ink was sponged on, leaving the tips of the leaves a very light green.  The ladybug was die cut, colored red, and a black marker used for detail.  It was shaped using a ball stylus in the Tool Kit.  Once attached to the leaf, clear glaze was added to it for a shiny appearance.

Spellbinders, Amazing Grace All Occasion Sentiments die and stamp set was used to stamp the sentiment.  It was backed with a piece of burgundy card stock and attached with dimensional foam tape.

The large middle panel on the back of the card was also decorated and an area left to write a personal message.

Links are provided below for products


Saturday, September 19, 2020

Autumn Hydrangea Tri-Fold Card


Today I created a Tri-Fold card with Autumn Hydrangeas.  On Susan's Garden Club  LIVE Facebook Video, she gives instructions on how to create this pretty card.  She also decorated it with the Autumn Hydrangea and has instructions for assembling the flower. 


Following Susan's instructions, the base card and design paper pieces were cut.  Two Autumn Hydrangeas were created with her new die set.  

Using the Foliage & Ladybug die set, the Eucalyptus leaves, berry branches and ladybug were die cut.  Five Eucalyptus branches were die cut -- three are used on the front of the card and two on the inside.  The Eucalyptus leaves were sponged green with a highlight of red ink lightly sponged at the base of some of the leaves.  The die cut berry branches were sponged green, then white Nuvo Drops added for the berries.   The little ladybug was colored red, then using a fine line black pen, her details were added.

Three Eucalyptus branches were added to the upper portion of the front panel.  It appears the branches go all the way across the front.  Two branches are attached inside.


On the inside of the card, I use two different sizes of the Spellbinders Nestabilities Candlewick die set.  On the smaller size, one of the quotes from Susan's Autumn Quotes stamp set was used.   That panel was attached to the middle panel.  The larger Candlewick die cut was centered behind the center panel of the tri-fold card so it doesn't show when the card is closed.  

This was a fun card to create.  I hope you will watch Susan's video and have fun creating this pretty card.  

Product links are below.


Friday, September 18, 2020

Pumpkin in Autumn Leaves


Today I designed a card using the Spellbinders Button/Daisy Chrysanthemum, Foliage  Ladybug, Woodland Garden Leaves and Autumn Hydrangea die sets.   Are you wondering why I listed the Hydrangea set?  I used one of the pieces in the Autumn Hydrangea set to create a pumpkin!   

The card base is brown card stock and two different size Spellbinders Picot Petite Oval Dies were used for the background for this arrangement.  One of Susan's Autumn Quotes stamps was used for the quote.  The larger Oval was attached to the card front, and the smaller oval was attached with dimensional foam squares.  

The Woodland Garden Leaves set was used to die cut Oak Leaves.  Before die cutting, I colored white card stock.  


Adirondack Butterscotch Color Wash was sprayed on white card stock. This sheet is half a sheet of 8 1/2 x 11 card stock.  Don't give it a solid coverage because you want it to look speckled.  Using a spray ink will give you this look.


Using Distress Scattered Straw Ink, sponge ink all over the piece of card stock.  Sponge ink on heavier in some areas.


Use the Oak leaf dies and die cut as many leaves as you need.  I die cut small and large leaves, but did not use the larger leaves for this card.


Additional inks were sponged on the leaves once they were die cut.  The inks used include Distress Ink Fossilized Amber, Aged Mahogany, and Walnut Stain.  First Fossilized Amber was sponged over most of the leaf.  Sponge color on the back of the leaves too with this color.  Use the Leaf Tool and draw veins on each leaf.   Use Aged Mahogany to sponge around the edges and tips of the leaves.  Next fold the leaf in half on the main stem line and sponge Walnut Stain down the length of the vein.  Fold the points on the leaf and sponge Walnut Stain lightly on the fold, being careful not to go past the center vein.  Pinch the leaf at the stem end with the tweezers, turn leaf over on molding mat and press down, with ball stylus, on each point of the leaf to give it shape.

Use the Foliage  Ladybug die set and die cut several berry branches.  Add orange berries.

Use the Button/Daisy Chrysanthemum die set and create two lime green button chrysanthemums.  Die cut two chrysanthemum leaves.

Use the Autumn Hydrangea die set and die cut one of the 'apple' shapes, using white card stock.  Use the leaf tool and draw creases to create pumpkin.  Sponge yellow and orange inks on pumpkin.  Cut a stem out of white card stock, (with scissors) color green, and attach to back of pumpkin.  Attach the pumpkin with dimensional tape.

Create arrangement as shown.


Thanks for visiting today.  As always, links are provided below for the products used.


Thursday, September 17, 2020

Chrysanthemums


Good Morning paper gardener friends.   I am happy you are visiting my blog again today to see another card I created using Susan's Autumn Floral die sets.   Today I used her Button/Daisy Chrysanthemum  die set.  This flower is so easy to create and it was hard for me to stop making these pretty little flowers, because there are so many different colors you can create them in. 

Something new with Susan's die sets is that Spellbinders has printed the number of die cuts you need for the flower, right on the die.  This takes all the guess work away from how many to die cut.  This particular die set has dies for two different flowers - you can create the Daisy Chrysanthemum, or the Button Chrysanthemum as I have done today.  

This is a 6x6 inch card, which is my favorite size for creating  floral bouquets.  For the background I used Nuvo Meteorite Shower Shimmer Powder.  You just lightly mist the card stock, sprinkle on some of the shimmer powder, then mist again for a really pretty background.  The card stock was cut down to fit on the front of the card.  I like to score around the edges, 1/8th inch  from the edge, just to give it a finished appearance.  

The pretty oval behind the flowers was die cut using the Spellbinders, Amazing Grace Picot Petite Oval Etched die set.  It was attached using double sided foam tape.

Three colors of Button Chrysanthemums were created.  As usual, I die cut the flowers using white card stock and sponge on color.  For the pinkish mum, I sponged on Altenew Razzelberry ink then in the center sponged on Midnight Violet.  For the purple mum, GinaK Lovely Lavender ink was sponged on then Wild Lilac ink sponged in the center.  I did not have a dark maroon ink pad so I used an alcohol marker to color it.  The leaves were die cut using white card stock,  veins drawn in with the Leaf Tool, sponged green,  then shaped with the ball stylus on the molding pad.  The mums and leaves were arranged on the Oval die cut.

Included with Susan's new release is her Autumn Quotes stamp set.  One of the stamps was stamped, using VersaFine Ink, then cut out and backed with a piece of black card stock.  It was attached at the bottom of the flower arrangement. 

Thank you for visiting my blog today.  Below are links to the products used.  

Wednesday, September 16, 2020

Rustic Gaillardia Arrangement


I hope you are enjoying all the cards Susan's Design Team has been posting for her new Spellbinders Autumn Floral die sets.  

Today I used the Gaillardia,  Bittersweet, Rosemary, and Woodland Garden Leaves dies to complete the Fall arrangement on my card. 

This is a 5x7 inch card.  I used a piece of burlap, that is frayed around the edges, for the background, over the cream colored card stock.  It was attached using a tape runner, or you could use double sided tape.  Attach it at an angle.

Using the Foliage & Ladybug die set, four Berry Branches were die cut using white card stock.  Brown ink was sponged on the branches then sponged again lightly with green ink,  on the front and back.  Die cut the covering for the bittersweet using pale yellow card stock.

Use the Foliage & Ladybug die set and die cut two Eucalyptus leaf branches, using white card stock.  Sponge green ink on the front and back.  Use maroon PanPastel to brush the tips of each leaf.  

Create three Gaillardia flowers using Susan's  Gaillardia die set.  The petals were sponged with a dark yellow ink , front and back, then a brick red ink sponged on the lower (base) part of the petals.  Create the stamen using brown card stock for the die cuts.  Add pollen to the tips. Die cut the leaves, color and shape the Gaillardia leaves.

Use the Foliage & Ladybug die set to die cut several Rosemary sprigs.  Color and shape with the Leaf Tool.

Use the Woodland Garden Leaves die set and create a few leaves to scatter around the arrangement.  I colored them with Distress Inks.

Arrange the Bittersweet, Eucalyptus leaves and Rosemary over the background  Attach three Gaillardia flowers over in the leaves and branches.  Tuck in a few Woodland Garden Leaves.

Thanks for your visit.  See you tomorrow with another creation.