Pages

Tuesday, June 26, 2018

Daisy Wishes


I love creating daisies with Susan's new Shasta Daisy die set.  Today I have used these dies to create a different look with these dies.  

This card size is 5 x 6 1/2 inches.

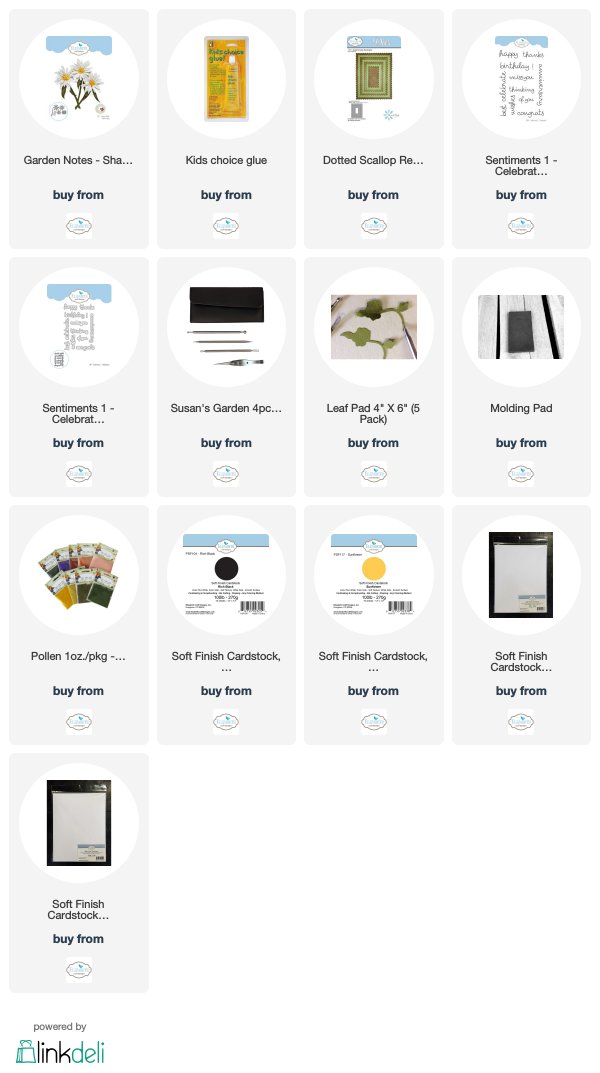
Use the Dotted Scalloped Rectangle die set and die cut the black rectangle using Rich Black Cardstock.  Cut a piece of Sunflower Yellow Cardstock to fit behind the black rectangle.  

Use the Garden Notes Shasta Daisy die set and die cut one each of the petals.  Cut three or four petals off the top of the daisy and save the petals. Die cut 2 flower stems and 5 leaves. Shape the flower petals, stem and leaves, using the Flower Tool Kit.  Use two flower stems to make it longer.  Attach the stems and leaves, as shown, then attach the flower petals.  Glue on the small yellow die cut pieces to the center of the daisy, then add yellow pollen.  Glue a few petals down the side to represent petals pulled off.   

Use a white opaque pen to add a few white dots around flower.

Use the Sentiment 1 - Celebration die set for the sentiment.  Stamp the sentiment using VersaFine Black Ink and clear emboss.  Die cut the sentiment with the matching die.  Die cut one additional piece and glue to the back of the sentiment for dimension.

I think my friend will smile when she sees this card.

You can shop for the products I used by clicking on the product links below.


Monday, June 25, 2018

Make A Wish


This was a fun card to create because I created a background I have never tried before.

Start with a 5 x 6 1/2 inch card base.

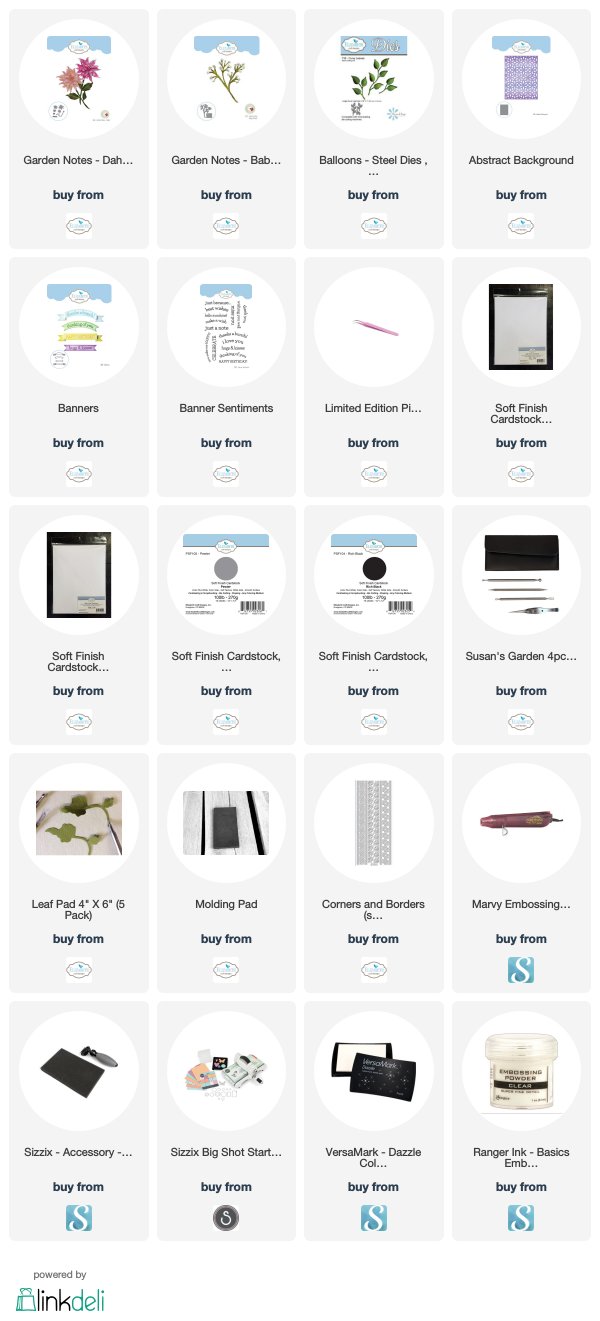
Use the Abstract Background die and die cut once, using gray card stock.  Cover the top of the die cut with VersaMark Ink and Clear Emboss.  The embossing will darken the color of the card stock. The embossing gives the abstract die cut a pretty shine.  Back the die cut with light yellow card stock cut slightly larger than the Abstract Background.  Cut another piece of black card slightly larger to back the yellow.  Attach the background together then attach to the front of the card.


Use the Garden Notes Dahlia die set and create one flower. Use yellow card stock for the flower petals.   Shape the petals with the Flower tool Kit and assemble using Kids Choice Glue.  Die cut the leaves and shape.

Use the Garden Notes Baby's Breath die set and create one branch.  Once the little white flowers are attached, cut the larger branch so you have three small branches.  These will be tucked behind the flower.

Use the Trio of Leaves die set and die cut the two smaller leaf branches.  Shape the leaves with the Flower Tool Kit.

Arrange the Trio of Leaves, Baby's Breath, and the yellow Dahlia and leaves in the lower left corner, as shown.

Use the Banners die set and die cut one banner.   Use the Banner Sentiment stamp set for the sentiment.   Score and bend the ends of the banner, as shown.  Attach to the top of the card.  Use small pieces of clear double sided adhesive on the ends of the banner and dimensional tape under the raised center.  

Use the Elizabeth Craft Designs black line peel off stickers to decorate the top and bottom of the card.


Sunday, June 24, 2018

Free As A Bird

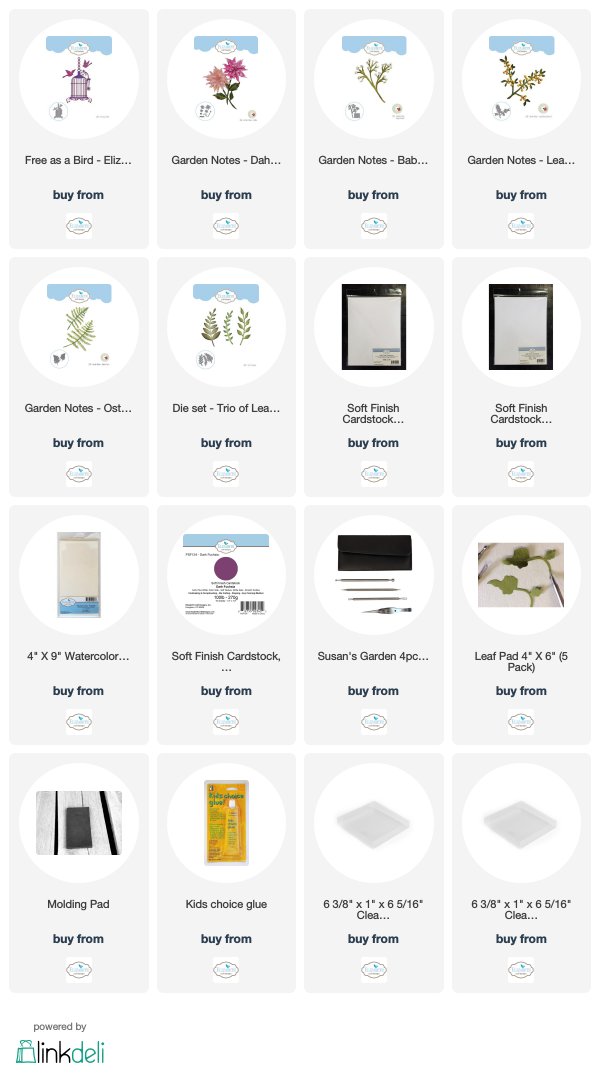
I hope you are having a nice weekend.  Today I have a card created with the beautiful Elizabeth Craft Designs bird cage die set   The floral piece was created with Susan's Garden Notes die sets.

The card size is 5 x 6 1/2 inches.

Here is how to create this card.

Step 1.  Use the largest die in the Stitched Rectangle die set and cut a piece of Dark Fushsia Soft Finish Cardstock for the purple background piece.

Step 2.  Use a piece of watercolor paper cut 4 x 5 inches to create the multicolor background.  Use either Distress Inks or I used Brusho Powders to completely cover the watercolor paper.  The colors used are purple, turquoise and green.  For additional texture, use a background stamp, of choice, and stamp with VersaMark Ink over the colored inked background.  Use Perfect Pearls pigment powder in pearl white to brush over the VersaMark Ink.  This will give the piece a pearly shine  Remove all powder that does not stick to the ink.

Step 3.  Use the Free As A Bird die set and die cut the bird cage and two birds, using white Soft Finish Cardstock.  Add an eye with fine tip black marker and a gray colored pencil to add detail on wings and tail   Attach to the front of the card as shown.

Step 4.  Use the Garden Notes Dahlia die set and create one dark purple flower.  Shape the flower using Susan's Flower Tool Kit and use the Kids Choice Glue to assemble.

Step 5. Use the Garden Notes Baby's Breath die set and create one die cut branch. Cut the piece apart  to fit behind the flower.

Step 6.  Use the Garden Notes Leafy Berry Branch 1 for the berry branch.  Use Purple Nuvo Crystal Drops to create the berries.  This piece was cut apart so pieces could be tucked behind the flower.

Step 7.  Use the Trio of Leaves die set to die cut 2 branches.  Shape with the Flower Tool Kit. 

Step 8.  Use the Ostrich Fern die set and die cut 4 branches.  Shape with the Flower Tool Kit.

Step 9.  Attach the Trio of Leaves, Ostrich Fern, and Leafy Berry Branch on the upper left corner.

Step 10.  Attach the purple dahlia then glue the small branches of Baby's Breath under the edge of the flower.

The products from Elizabeth Craft Designs used to create this card are linked below.


Tuesday, June 19, 2018

Design Team June Challenge - Hexagons


It is challenge time again for the Elizabeth Craft design team.  This month we were challenged to use the new Stitched and/or Fitted Hexagon die sets.    I used both these sets along with two new Garden Notes die sets.

You can view all the cards designed for this challenge at this LINK on the Elizabeth Craft Designs blog.

*******************
For today's challenge Elizabeth Craft Designs is giving away a $20 Gift Card to use on their website to 3 winners

To enter simply leave a comment on the Elizabeth Craft Designs Facebook Giveaway Blog Post, or the Elizabeth Craft Designs Challenge post, and tell us What is your favorite way to use Elizabeth Craft Designs Stitched Hexagons or Fitted Hexagons dies. 


Three lucky winners will be selected in a random drawing. 

The winners will be announced on Friday, June 22nd on the Elizabeth Craft Designs Blog and Facebook page.

*****************

To create my card begin with a 6-inch square card.

Step 1.  Cut a piece of ModaScrap Under the Sea design paper to cover front of card.

Step 2.  Use Misty Mauve Soft Finish Cardstock and the third largest Stitched Hexagon and die cut one Hexagon.

Step 3.  Use White Soft Finish Cardstock to create the white Hexagon frame.  Use the 3rd largest Stitched Hexagon and 4th Fitted Hexagon to create the frame.  Glue the frame to the Misty Mauve Hexagon.  Attach with dimensional tape.

Step 4.  Use the new Garden Notes Rhododendron die set to create the flower.  Use the Copic Markers RV19 and R59 to color center of each petal.  Shape the dome for the flower base and the flower petals using Susan's Flower Tool Kit.  Color the stamens with Copic YG21 and add pollen to the tips of the stamens.  Glue the flowers to the shaped dome then glue in stamens.  Color the leaves green, and use light green PanPastel to color the line down the center of each leaf.  Place the leaves face down on a VersaMark pad and clear emboss each leaf for the shiny (waxy) appearance.  Attach the flower and leaves to the lower left corner of the Hexagon.

Step 5.  Use the new Garden Notes Baby's Breath die set and create one stem.  Cut the stem into four sections; attach them under the Rhododendron, as shown.

Step 6.  Use the Dancing Butterflies die set and die cut one butterfly.  To die cut use white card stock with Clear Double Sided Adhesive on Top.  Once die cut, peel off the adhesive covering and sprinkle on Lavender Ice Silk Microfine Glitter.  Polish with your fingers to bring out the shine.  Attach as shown.

Step 7.  Use the Corners 1 die set and die cut two corners using Misty Mauve Soft Finish Card Stock.  Attach to the upper corners of the card.

Step 8.  Use the Bead Strings 2  die set and die cut the border, as shown, along the bottom of the card.  Use Misty Mauve Soft Finish Cardstock.  Glue to bottom of card.

Step 9.  Use the Sentiments 1 - Celebrate die set to stamp and die cut the sentiment.  Use the die to die cut two additional pieces to glue to the back of the stamped sentiment, to give it dimension.

The new Hexagon die sets are a great addition to our die collection.  How would you use these dies?

You can shop for the products used by clicking on the links below.

Be sure to check out all the cards created by the design team on the Elizabeth Craft Designs Blog.  


Friday, June 15, 2018

Happy 21st Birthday Card


Today I have a card I sent to one of my granddaughters for her 21st birthday. 

1. Start with a 6 inch card.  

2.  Cut a piece of white card stock slightly smaller for the front of the card.  Score around the edges using a ScoreBoard.  Attach to the front of the card.  

3.  The Beaded Circle Frames die set was used to die cut the pink circle that is glued inside the edge of the black circle.  Add pink pearls in the small circles around the edge.

4.  The largest Fitted Circles die was used to die cut a white circle.  Use the second largest Fitted Circles to cut a black circle.  Attach the black circle over the white circle.  

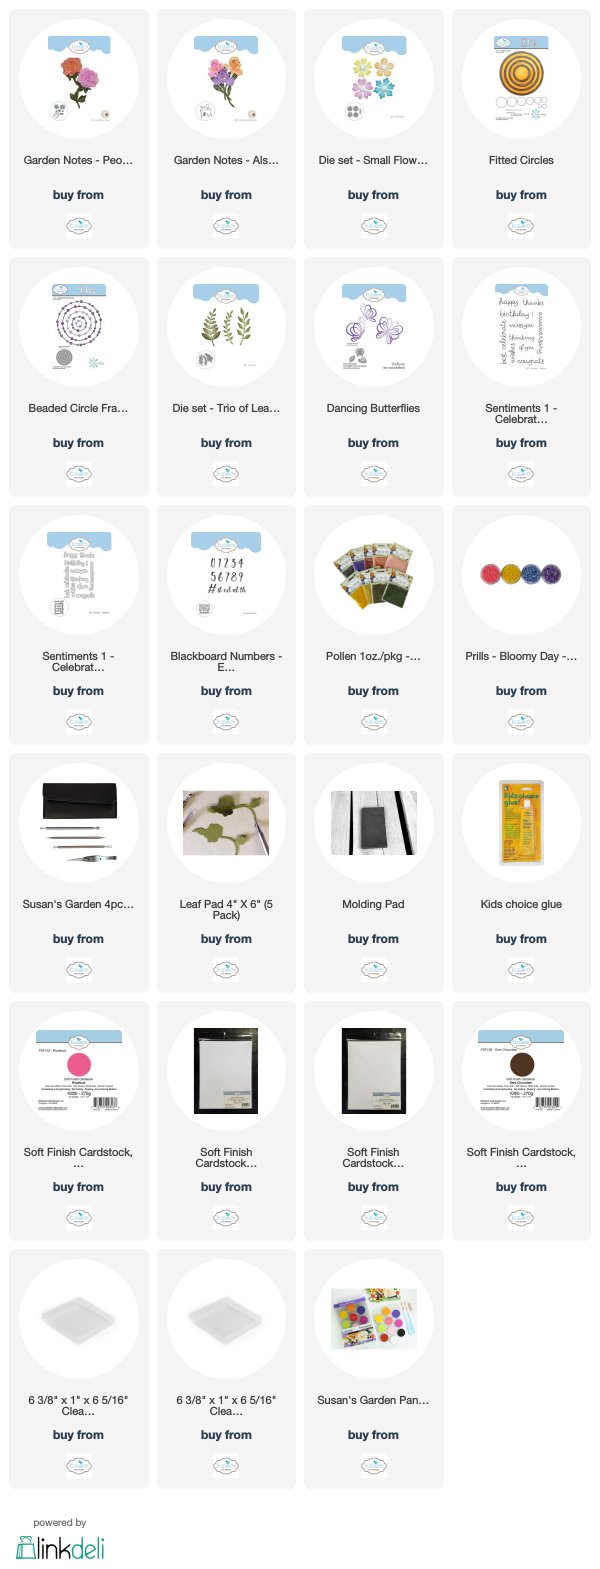
5.  The Garden Notes Peony 2 die set was used to die cut petals for 3 flowers.    Each peony was created using about 10 layers of petals. The petals were colored using two shades of PanPastels. The petals were shaped using the Flower Tool Kit.

6.  Use the Garden Notes Alstroemeria die set to create two flowers.  Color the petals using the bright pink PanPastels.   Add pollen to the end of each stamen.  

7.  Use the Trio of Leaves die set to die cut 2 leaf branches.

8.  Use the Small Flowers die set to create the three purple flowers.  Shape them with the Flower Tool Kit and add Prills to the center of each.

9.  Attach all the flowers and leaves to the left side of the die cut circles. 

10.  Use the Sentiments 1 - Celebration Stamp and Die sets for the sentiments  and attach with dimensional tape.

11.  Use the Blackboard Numbers die set and die cut the numbers to represent the birthday year.  

12.  Use the Dancing Butterfly die set and die cut one butterfly and attach to the upper right corner.

You can shop for the products I used by clicking on the product links below.

Thank you for stopping by today.


Monday, June 11, 2018

Tropical Vibes


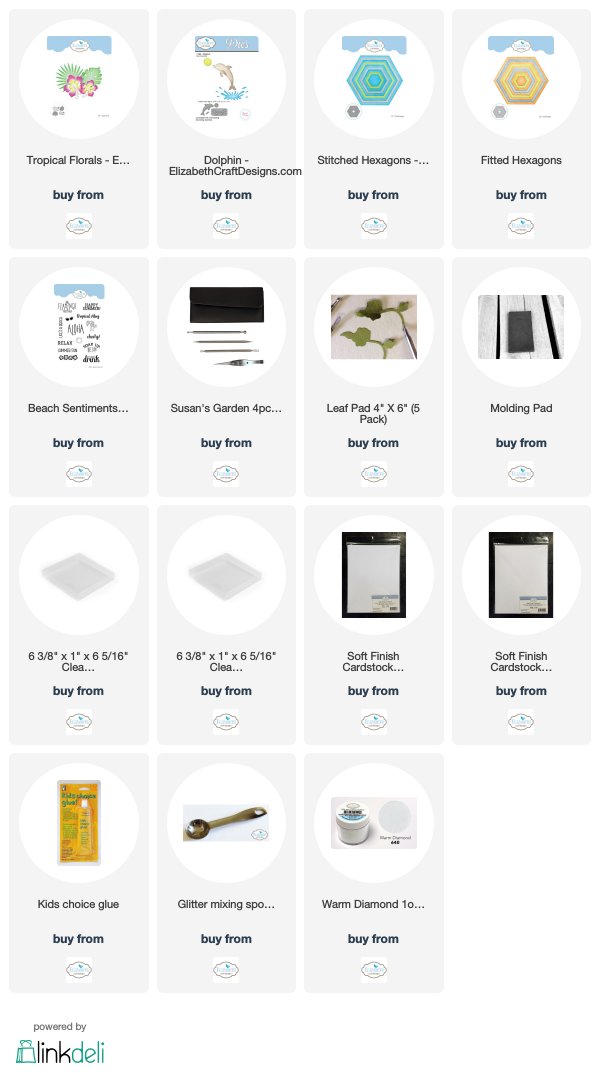
What a fun card to create!   Today I combined the Joset Designs Tropical Floral with her Dolphin die sets to create this Tropical Vibes card.  The flowers from the Tropical Floral die set do not need to be shaped, but because I am on Susan's Design Team, I couldn't resist shaping them.  Here is how the card was created.

Begin with a 6-inch square card.  Cut a piece of white card stock slightly smaller and score around the edges. Attach to the front of the card.   Cut a piece of Soft Blue Soft Finish card stock to fit inside the white piece.  Score around the edges.  Add inside the white piece.

Use the largest  Stitched Hexagon and the second largest  Fitted Hexagon dies to create a white frame.  Use the largest Hexagon die to die cut a light blue hexagon to glue behind the white frame.  

Use the Beach Sentiments stamp set for the sentiment inside the Hexagon.  Stamp with VersaFine black ink and clear emboss the sentiment.

Attach the Hexagon to the front of the card using dimensional tape.

Use the Dolphin die set and die cut the dolphin and water splash.  Cut a small portion of the splash off to fit inside the hexagon.  Lightly sponge blue ink around the edges of the splash.  Add glue to the splash and add Warm Diamond Silk Microfine Glitter to give it a 'wet' look.  

Sponge color onto the Dolphin; use light blue and light gray inks.  Glue the splash(es) inside the hexagon frame as shown.  Add the Dolphin using dimensional tape under the head and mid body and a glue dot under the tail.  Add small pearls around the splash.


Use the Tropical Florals die set and die cut 3 Hibiscus, 3 Split Leaf Philodendron, and 3 Fan Palms, using white card stock.  Color the pieces with Copic markers.  Shape the flowers and leaves using Susan's Flower Tool Kit.  Add Pollen to the stamen. Press the Split Leaf Philodendron onto a VersaMark Pad, add clear embossing powder and heat; this will give the leaves the waxy appearance.   Arrange all the leaves and flowers, as shown.

This will be a fun card to give to anyone.

You can mail this card in one of the acrylic boxes, linked below.

The products used are linked below.


Thursday, June 7, 2018

Summer Fun on the Beach


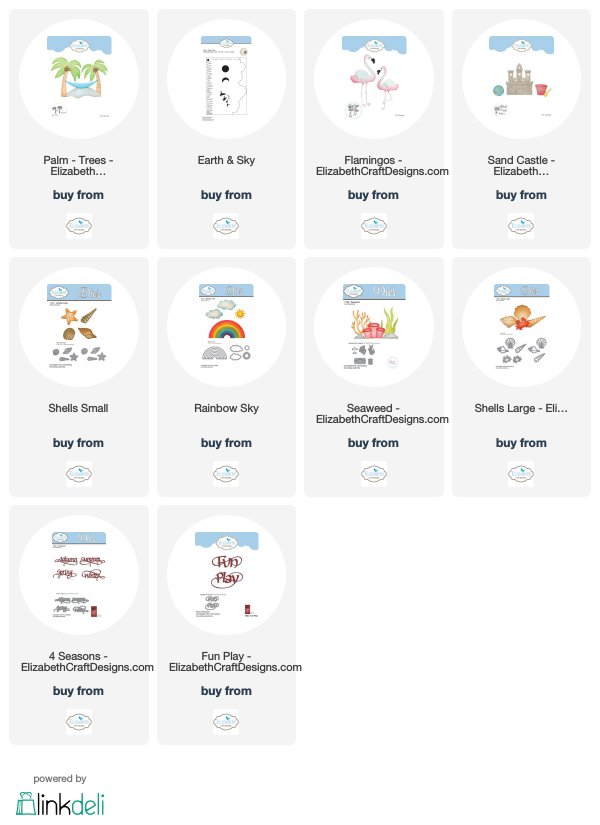
It is so fun to work with the Joset Designs die sets.  Today I have created a scene using her newly released Sand Castle, Palm Trees, and Flamingo die sets.  I also used some of Joset's older die sets which include:  Small Shells, Large Shells, Seaweed, and Rainbow.  

Step 1.  This scene was created on an 8-inch square canvas.  To create the background, use Susan's Sky & Earth Stencil and Stormy Sky Distress Ink to sponge on clouds.  In the center of the canvas, use Salty Ocean Distress Ink with a little purple distress ink along the top.  To create the sandy beach, sponge on brown Distress Inks.  It is hard to see in the picture, but a gray fine line marker was used to create waves in the water and along the coast line.

Step 2.  Both the Castle and the Sand piles  were die cut with Clear Double Sided Adhesive attached to the top of white card stock.  Die cut both the sand mounds from the Seaweed die set twice and the large sand mound from the Palm Trees die set just once.  The dies used are Sand Castle, Palm Trees, and Sea Weed die sets for the sand.  In my stash, I have a bottle of craft sand.  The adhesive covering was removed and the craft sand was pressed into the adhesive.  The large sand mound from the Palm Trees die set was trimmed off on the bottom, then attached to the lower right corner.

 Step 3.  Use the Palm Trees die set and die cut both trees, using white card stock.  Sponge on color.

Step 4.  Use the Sand Castle die set and die cut the bucket/handle and shovel.  Color with markers.  Add one of the small sand piles in the top of the bucket.  Add the shovel as shown. One small edge of the shovel was cut off so it appears it is down in the bucket.

Step 5.  Use the Flamingo die set and die cut the Flamingo.  Sponge on color. 

Step 6.  Use the Small Shells die set and die cut three shells.  Color with markers.

Step 7.  Use the Large Shells die set and die cut the crab.  Color with markers.

Step 8.  Use the Rainbow Sky die set and die cut two clouds and the sun.  Sponge lightly around the edge of the clouds with the Stormy Sky Distress Ink.  Sponge color on the sun.

Step 9.  Assemble the pieces onto the canvas as shown.  I used glue dots on the back of the die cuts, rather than glue, so they stuck down immediately.

Step 10.  Use the A Way With Words 4 Seasons and Fun Play die sets for the sentiment.

I had a lot of fun creating this fun scene.  I plan to purchase a frame for this canvas.

You can shop for the Elizabeth Craft Designs products I used by clicking on the pictures below.


Tuesday, June 5, 2018

A Way With Words New Release


Good Morning.  This is a happy day.  Today Elizabeth Craft Designs has a new A Way With Words Release and the design team has created a variety of cards using the new Suzanne Cannon's die sets.  You can click on this LINK to view all the cards designed by the team on the Elizabeth Craft Designs BLOG, to give you a lot of inspiration.

Here is the information about how my card was designed:

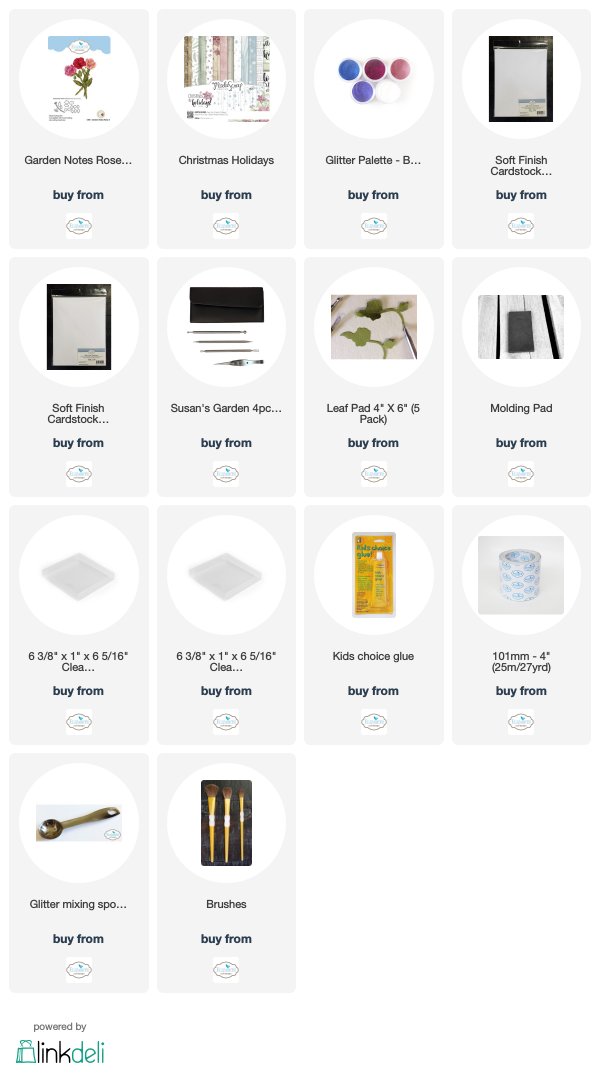
1.  Use a 6 inch square card.  Cover the front with a piece of the design paper from the ModaScrap Christmas Holidays paper pack.

2.  Use the A Way With Words Wreath & Elements die set and die cut one white wreath.  Use markers to color the flowers and leaves, leaving the inside circle white. Markers used on this card are Copic E04 and G21.   Attach to the front of the card.

3.  Use the A Way With Words Make A Wish die for the sentiment.  Use a piece of white card stock, that has Clear Double Sided Adhesive on top, to die cut the sentiment.  Peel off the covering of the adhesive and cover the sentiment with Petal Pink Fine Microfine Glitter from the new Bloom Glitter Palette.  Attach the glittered sentiment inside the Wreath.

4.  Use the Garden Notes Rose 3 die set and create one rose and two rose buds.  Use the same marker used to color the rose buds on the frame to color the petals of the Garden Notes Rose and buds.  Use Susan's Flower Tool Kit to shape the flower petals and leaves.

5.  Use Susan's new Garden Notes Baby's Breath die set to create the Baby's Breath.  Cut apart the stem and arrange around the lower left corner of the Rosebud Wreath.  Attach the Rose and Rosebuds as shown.

This card can be mailed in one of the Acrylic Boxes in the supply list below.

You can shop for the Elizabeth Craft Designs products by clicking on the links below.


Friday, June 1, 2018

Lilacs in Pitcher


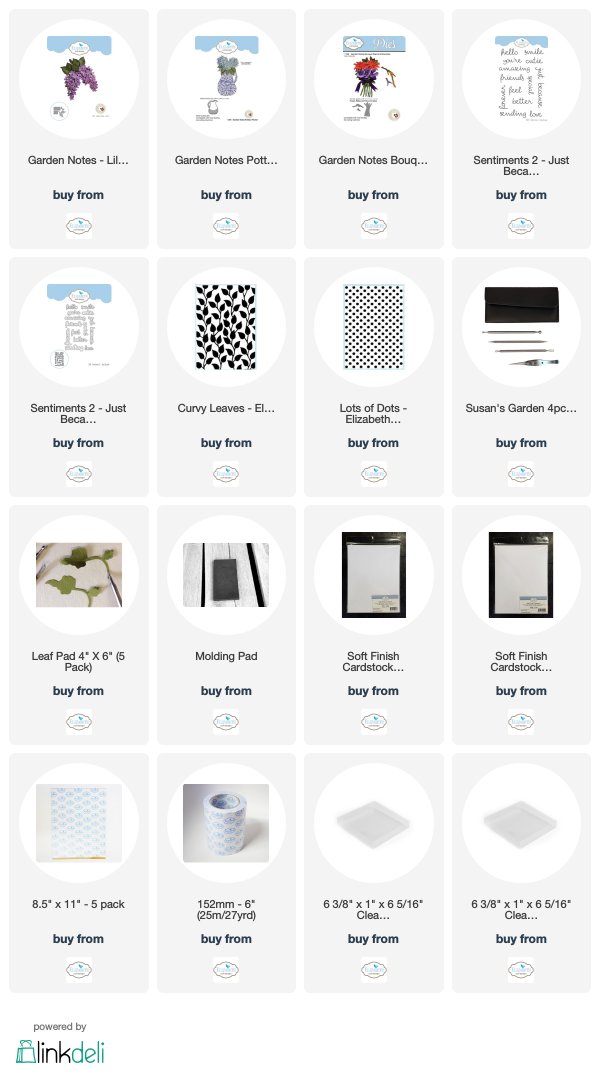
Good Morning.  Today I have created a card using Susan's Garden Notes Lilac 2 die set and her new Garden Notes Stitched Oval dies.  

Here is how to duplicate this card.
Step 1.  Use a 5 x 6 1/2 inch card base.  Cut a piece of white card stock to fit front of card.  Use the Garden Notes Stitched Oval die set and tape the three largest ovals, centered on this piece of  card stock.  Run through the die cutting machine.  You will have an opening in the 5 x 6 1/2 piece of card stock, two die cut oval frames and a die cut oval.

Step 2.  Use the Lots of Dots Embossing Folder to emboss the center oval.

Step 3.  Use a Score Board and score around the edges of the 5 x 6 1/2 inch piece.  Attach to the front of the card.  Fit and attach all the die cut ovals back inside the die cut oval.  I forgot to die cut the ovals with Clear Double Sided Adhesive on the back of the 5 x 6 1/2 card stock and wish I had.  The Double Sided Adhesive would have allowed the ovals to lay flatter because each oval would have had complete adhesive coverage.

Step 4.  Use the Garden Notes Pottery Pitcher die set for the container.  Place a piece of lavender vellum over a piece of  Clear Double Sided Adhesive.  Add a piece of Clear Double Sided Adhesive to the top of white card stock. Die cut both the vellum and white card stock using the Pottery Pitcher die.  Use an embossing folder to add design to the vellum.

Step 5.  Use the Garden Notes Bouquet Stems & Branches die set to die cut green stems.  Place the stems over the adhesive side of the white die cut pitcher, with the top of the stems above the top of the pitcher,  then press down the purple pitcher that has the adhesive on the back.  Attach the pitcher, with dimensional tape in the center of the pitcher to give some dimension, and glue around the outside edges, leaving the top open.


Step 6.  Use the Garden Notes Lilac 2 die set and create 3 sets of lilacs.  Attach the lilacs over the stems at the top of the pitcher.  Attach the leaves as shown.

Step 7.  Use the Sentiments 2 - Just Because stamp and die set for the sentiment.