Pages

Monday, July 24, 2017

Baby Card


Good Morning.  Today I designed a cute baby card using the Krista Schneider Zoo Babies Clear Stamp Set and the matching dies.  Here is how the card was created.
  1.  Create a six inch square card and add the design paper from the new ModaScrap Color of Puppies Boy design paper pad to the front.
  2. Use  silver Borders and Corners Peel Off Stickers to add a border around the outside edges of the design paper.
  3. Use the Zoo Babies Clear Stamp Set and stamp the design used on this card using VersaFine Black Ink.  Color the images with markers of your choice.  Die cut with the matching die.
  4. Use the Dotted Scallop Rectangles die set and die cut one small rectangle, using White Soft Finish Cardstock.
  5. Use the Stitched Rectangle die set and die cut the rectangle that is slightly larger, using White Soft Finish Cardstock.
  6. Use the Tags & More 6 - Daisy die set and die cut one small tag.  You only need the top portion of this tag because only the top portion will be used to go behind the balloon on the stamped image.
  7. Glue the stamped image on the small Dotted Scallop Rectangle, with the balloon above the top edge.  Attach this rectangle to the slightly larger Stitched Rectangle, using dimensional tape.  Add two silver Peel Off Corners to the top corners of the Dotted Scalloped Rectangle.
  8. Glue the tag, with only the die cut design showing, to the back of the Rectangle, as shown.  Attach this on lower portion of the card.
  9. Use the A Way With Words Baby Love die set and die cut Baby using White Soft Finish Cardstock.  Attach at an angle on the upper left corner.
The Zoo Babies stamps are so cute for creating baby cards.

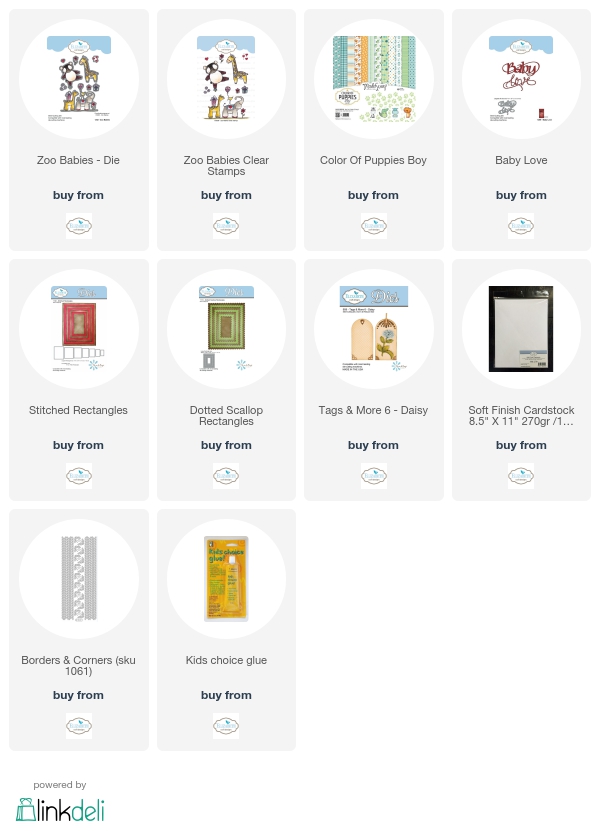
The products from Elizabeth Craft Designs are linked below.


Tuesday, July 18, 2017

Technique Friday Challenge Card

Today the Elizabeth Craft Designs Design Team is challenged to creating a card shown on the Technique Friday with Els YouTube Videos.  All the projects completed by the design team for this challenge can be found on the Elizabeth Craft Designs Blog at this LINK.

*********************


For today's challenge Elizabeth Craft Designs is giving away a $20 Gift Card to use on their website to 3 winners. 


To enter  simply leave a comment on the Elizabeth Craft Designs Challenge post and tell us " "What is your favorite technique learned from the Technique Friday With Els series". 

Elizabeth Craft Designs will select 3 lucky winners in a random drawing 


The winners will be announced on Friday, July 21 on the Elizabeth Craft Designs blog.

*******************

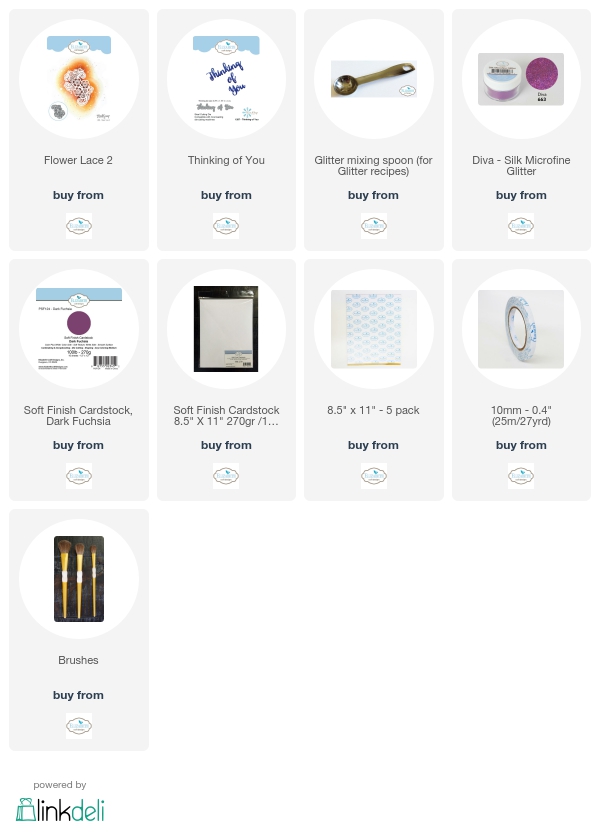
When I need a beautiful quick and easy card, I always think about some of the beautiful techniques Els has shown us on her Technique Friday YouTube Videos.  One of my favorite techniques is the Sparkly Flower Lace Card.  These cards are so beautiful and can be used for just about any occasion.

Here is how the card was created:
  1.  Create a folded card out of Dark Fuchsia Soft Finish Cardstock measuring 5 1/4 by 6 1/4 inches.  The Soft Finish Cardstock is colored on one side and white on the other, which makes it nice for adding your sentiment to the inside of the card.
  2. Die cut the Flower Lace 2 out of White Soft Finish Cardstock.  
  3. Cut a piece of white cardstock  4 3/4 x 5 3/4 inches.  Cover it with Clear Double Sided Adhesive.  
  4. Peel the release sheet off the  adhesive and attach the Flower Lace 2 die cut, being careful not to touch the adhesive with your fingers.  Use the release sheet to press the die cut down firmly.
  5. Get out your glitter tray so you can add glitter to the adhesive.  Els uses a lid with a Swifter in the bottom.  Also needed is a coffee filter and brush.  These items are shown in Els YouTube Video.
  6. Put the release sheet down on one corner so you can hold it. Holding card over the coffee filter, pour  Diva Silk Microfine Glitter over the card front to cover all the adhesive.  Remove the release sheet and finish adding glitter.  Brush excess glitter off into coffee filter.  Pour loose glitter back into glitter jar.  Polish the glitter, for a shiny finish, with your finger.  Rub the glitter in circles until the whole thing is sparkly.
  7. Add the glittered piece onto a slightly larger white card stock, using strips of 10 mm Clear Double Sided Adhesive.
  8. Use the Thinking of You die set and die cut the sentiment using White Soft Finish Cardstock.
  9. Add the panel to the front of the card.
  10. Before starting, you can watch the YouTube, Technique Friday with Els - Sparkly Flower Lace Card at this LINK.
Be sure to go over to the Elizabeth Craft Designs Blog and leave a comment stating what your favorite Technique Friday with Els YouTube Video is your favorite so you will be eligible to enter the drawing for the $20 Gift Card.  Good Luck.

Products used are linked below.


Thursday, July 13, 2017

Happy Birthday Pocket Card


Good Morning.  Today I will show you how to create a pretty Lace Pocket card that will hold either a gift card or money.  This pocket was embellished with a small branch of  Susan's Garden Dogwoods.  Here is how the pocket was created for the front of the card.

This lace pocket will fit on the front of a 6-inch square card.

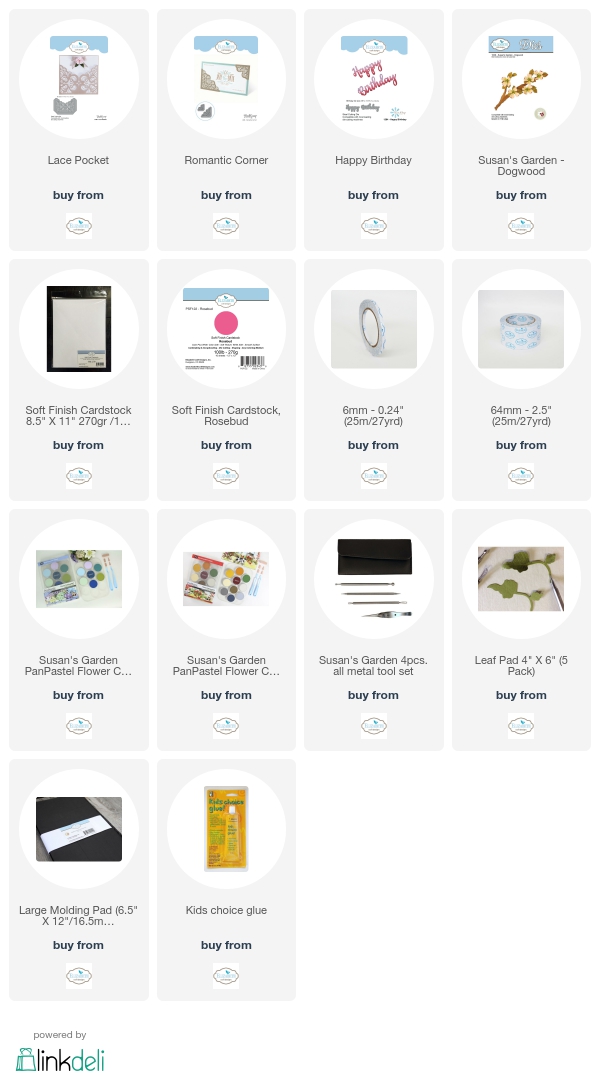
Die cut the ModaScrap Lace Pocket from White Soft Finish Cardstock.

Cut a 6 inch square of Rosebud Soft Finish Cardstock. This piece will fit behind the Lace Pocket when the tabs are folded under.


Die cut the larger Romantic Corner from white cardstock.  This will just be a template and you can use it on another project.

 Place the Rosebud SFC square behind the die cut pocket, being sure it is even with the score lines along the tabs. Fold the tabs to the back to make sure it's a perfect fit.

Using low tack removable tape, tape the white die cut Romantic Corner onto the square, oriented as shown. (Tape only the top part). This paper template is going to indicate the precise position needed for die cutting, as explained in the next steps, so take care that it is centered as shown in the photo above step 3.
.

 Remove the Rosebud cardstock with the Romantic Corner attached.


 Lift the taped Corner up from the bottom and place the Lace Corner die on the card stock under the die cut to match it exactly.  Tape the edges so it doesn't move.


Remove the Lace Pocket die cut piece and replace the paper template with the Romantic Corner cutting die, face down as shown above.


 Remove the Rosebud SFC die cut from the die and poke out all of the little pieces. (Tip: Save swirls or other bits for upcoming projects.)


Cut a piece of white cardstock to fit behind the Rosebud piece.  Attach with 6mm Clear Double Sided Adhesive around the edges.  Add the die cut Romantic corner back into the die cut opening.

To complete the lace panel with pocket, place the Rosebud cardstock inside the Romantic Corner and tape the tags to the back.

 Put Clear Double Sided Adhesive around the edges on the back of this panel and attach to the front of a white top- or side-fold card base.

 Use the Susan's Garden Dogwood die set to create a small branch of flowers.  Using tiny dabs of Kids Choice Glue, the same glue used to assemble the flowers, adhere the flowers and branch ONLY to the white lace to ensure that the pocket doesn't get stuck to the Rosebud SFD portion of the card front!

Die cut Happy Birthday from White Soft Finish Cardstock that is backed with Clear Double Sided Adhesive Tape prior to die cutting. Center the words at the top of the card front.

This is the card I designed for my granddaughter's birthday.  I tucked money down in the pocket.  There is room inside the card for adding a message and the date.


Tuesday, July 11, 2017

Susan's Garden Club Challenge


This month Elizabeth Craft Designs will start a challenge for the Susan's Garden Club Design Team and will be giving away a prize to three lucky winners.  All the projects completed by the design team can be seen at this LINK.

*********************
For today's challenge Elizabeth Craft Designs is giving away a Susan's Garden Prize Pack which includes: Garden Notes Square Window & Flower Box, Sunflower 2 and an All Metal Tool Kit to 3 winners. 


To enter simply leave a comment on the Elizabeth Craft Designs Challenge post and tell us "What  is your favorite flower from the Garden Notes collection?

Three  lucky winners will be selected in a random drawing. 

The winners will be announced on Friday, July 14 on the Elizabeth Craft Designs blog.

******************

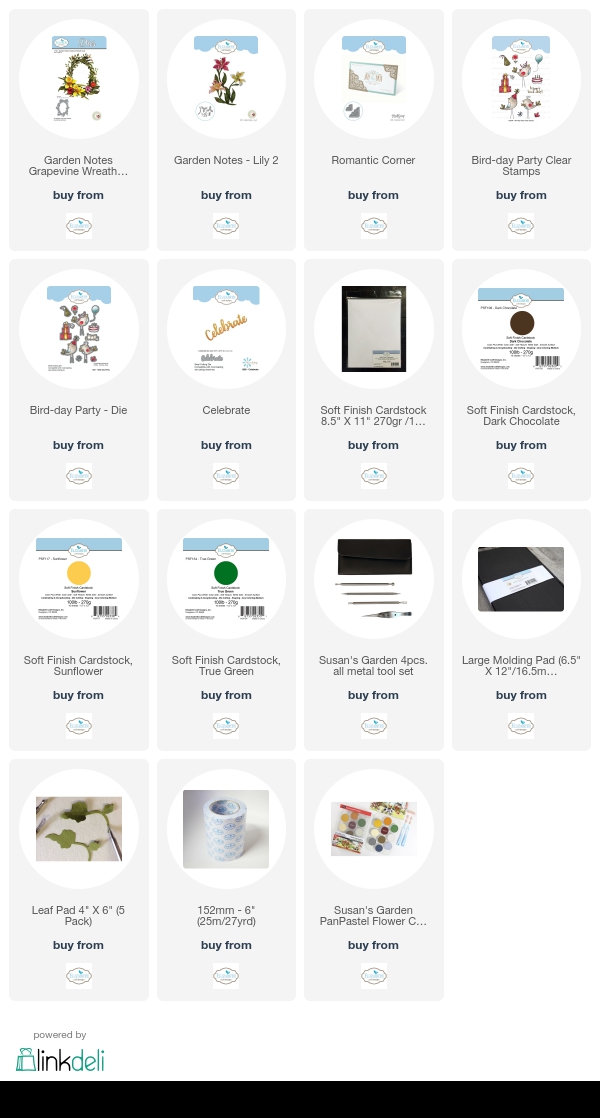
For this challenge, I chose to use Susan's new Garden Notes Lily 2 die set.  This is an Asiatic Lily.  


Susan's Lily is very easy to assemble.  There are two 3-petal die cuts and the stamen.  I have die cut enough to create three lilies.   PanPastels was used to shade at the base of each petal before shaping.  It isn't shown in the picture, but after adding the PanPastel to the petals, I used a fine tip black marker to add the dots at the base of each petal.   The flowers were shaped using using Susan's 4-piece Flower Tool Kit.  Glue the two sets of lily petals together, alternating the petals for a full shape.

To create a realistic stamen,  use the Elizabeth Craft fine tip scissors and cut each die cut stamen in half.  If you don't have the Elizabeth Craft Designs fine tip scissors, I highly recommend them for so many of your crafting needs.  Once the stamens are cut in half, add a small dot of glue to the tip on both the front and back and add either fine Flower Soft or  Pollen to give a realistic look.  Glue the stamen in the center of each flower with Kids Choice Glue.


Here is a close up picture of the finished lily.

Use Susan's Garden Notes Grapevine Wreath die set and die cut two wreaths, using brown card stock.  Use a marker to draw lines on each of the twigs for additional dimension.  Glue the two wreaths together, off setting slightly.  Attach to the center of your card.  I used the Oval Grapevine Wreath.

Use the Bird-Day Party Clear Stamp Set and stamp the bird with the birthday hat.  Color with markers.  Die cut using the matching die set.  

Use the Celebrate die set to die cut the sentiment.  Attach to the lower right corner, under the wreath.

Attach the Lilies and leaves to the left side of the wreath.  Attach the Bird as shown.

Use the Romantic Corner die set and die cut two white small corners.  Attach to the card.  

Be sure to go over to the Elizabeth Craft Designs Blog and leave your comment so you have a chance to win this great Susan's Garden Club Prize Package.  

The products used are linked below.


Sunday, July 9, 2017

Foamiran Poppies

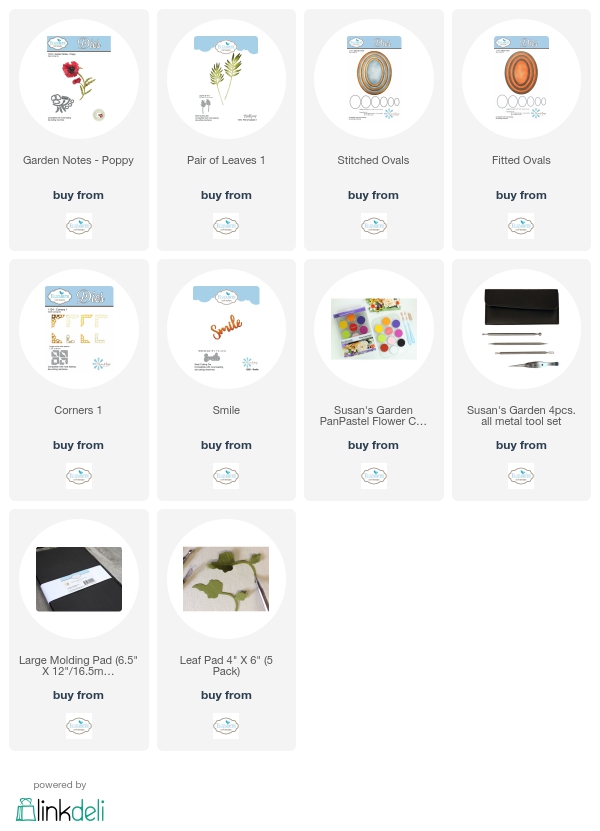
Today I wanted to work with Susan's Garden Notes Poppy die set to create five small poppies for a 6x6 card. 

Garden Notes - Poppy - Die - ElizabethCraftDesigns.com

 I wanted to see if I could create these poppies using orange Formiran.  Five poppies were die cut.  The base of the petals were sponged with a dark orange and a little black PanPastel.  

Behind the Poppies, I used a piece of Formiran and the ModaScrap Leaves 1 die set.  Eight Leaves were die cut, shaped and attached behind the Poppies for a fuller background.  

Two Ovals were die cut - one Stitched Oval and one Fitted Oval.  The Fitted Oval is slightly smaller.  They were glued together and attached to the card front using dimensional tape.  

Use the Els van de Burgt Studio Corners 1 die set and die cut two corners for the top of the card.  Save the little dots that you punch out of the corners for use around the Poppy arrangement.

Once the Leaf 1 die cuts were attached to the left side of the oval frame, the Poppies were attached.  For a "filler" around the arrangement, glue the dots from the die cut Corners around as shown.  Use a small marker and add some small dots around the leaves.  Save three dots to glue under the sentiment.

Use the Els van de Burgt Studio "Smile" die set for the sentiment.  Attach it to the lower right corner.  Glue three of the dots (from the Corner die cuts) under the sentiment.

The Elizabeth Craft products used are linked below.


Wednesday, July 5, 2017

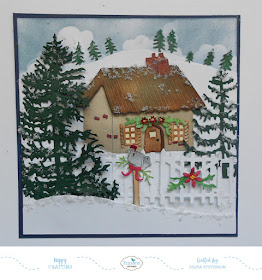
Christmas Cottage


 It is a little early to start thinking about Christmas, but I couldn't resist using one of Susan Tierney-Cockburn's new Cottage die sets to create a Christmas scene.  I also used a variety of Susan's CountryScapes die sets to complete this card.

Cut two 5 1/2 inch square pieces of White Soft Finish Cardstock.

On one of the square pieces, use Susan's Earth & Sky Stencil to sponge blue ink around the cloud stencil on the top fourth of the 5 1/2 square.

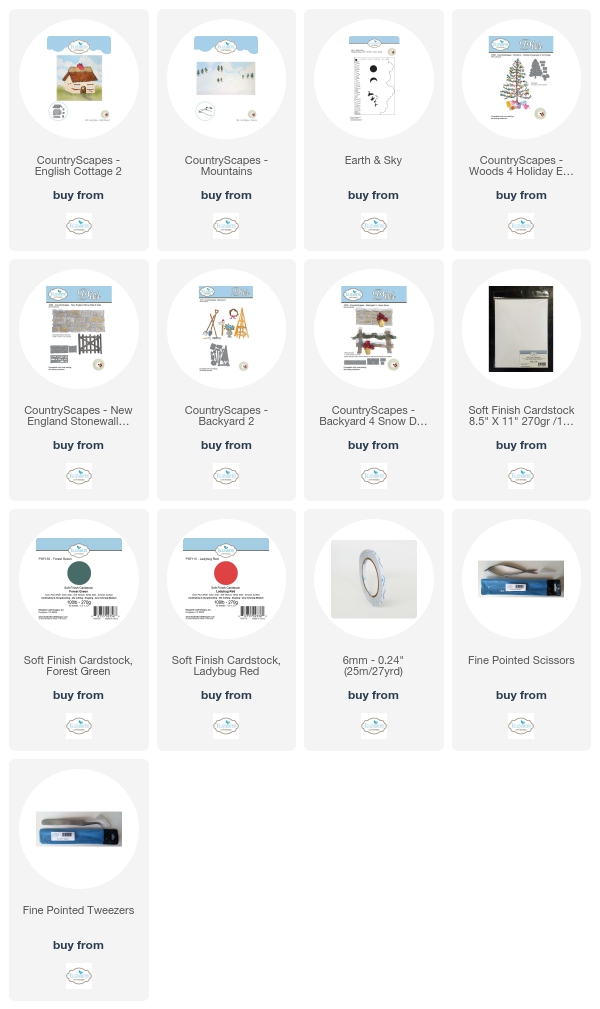
From the second square, die cut the Mountain border using the CountryScapes Mountains die set.  Color the trees with a green marker.

Use the CountryScapes Woods 4 die set to die cut three Evergreen trees.

CountryScapes - English Cottage 2


 Use the CountryScapes English Cottage 2 die set to die cut all the pieces from White Soft Finish Cardstock.  Color all pieces with sponged-on inks or with markers, or a combination. Note that the windows are shown as horizontal on the die set packaging, but on the project they are vertical, with lines drawn on each side to resemble shutters. Assemble the cottage.


Use the CountryScapes New England Stonewall & Gate die set to cut three gates.  On two of the gates, use the Elizabeth Craft Designs Fine Pointed Scissors to cut off the cross bars, but leave the cross bars on one gate. (That one will be placed in front of the door on the cottage in an upcoming step).

 Use the CountryScapes Backyard 2 die set to die cut the mailbox.  Color with markers and assemble.  Use the same die set to die cut the small red bow.

 Use the CountryScapes Backyard 4 die set to die cut the small boughs and poinsettia flowers.

 Use the The CountryScapes Mountains die set to create the snow bank at the bottom of the scene.  Cut off the Evergreen trees.

 Attach the 5 1/2 inch square with the die cut Mountains at the top, overlapping the clouds.

 Add the Cottage in the center of the card.

 Attach a single Evergreen tree on the right side of the Cottage.

 Add the fence in front of the Cottage as shown.  Place the gate so it is in front of the door of the Cottage.  Cut off a couple of fence posts to add over to the right side of the card.  Add the other fence pieces to the left of the fence.

Use two of the Evergreen die cut trees and glue them together down the trunk of the tree, offsetting and alternating the branches to create a fuller tree.  Attach this tree to the left side of the Cottage.

 Attach the mailbox next to the large Evergreen and to the left of the gate.

 Add the die cut snow mound to the bottom of the card.

To add snow to the scene, add White Flower Soft.  Add dots of glue with a toothpick or corsage pin where you want the snowflakes and gently press on the Flower Soft.

 Trim the edges of the square. Mount the completed card front to a top- or side-fold card base in a dark color of choice. (For example: Forest Green Soft Finish Cardstock)

The products from Elizabeth Craft Designs are linked below.


Sunday, July 2, 2017

Yellow/Pink Foamiran Rose


I hope you are enjoying your holiday weekend.  Today I have a card with another rose I created using Foamiran.  I purchase my Foamiran from Scrap and Craft in Ireland.  At Elizabeth Craft Designs you will find a large selection of the Susan's Garden Club flower dies that can be used to die cut the Foamiran for beautiful flowers.  The petals were die cut using white Foamiran then colored using Susan's PanPastels. Susan has three different sets of PanPastels available at Elizabeth Craft Designs.  Links are below.  The PanPastels blend so well on the foam for a very natural appearance.   Susan's 4 pc Flower Tool Kit was used to help shape the petals and the Leaf Tool and Pad used to draw the details on the green leaves.The leaves were die cut using a light green Foamiran.  The detail was drawn on then were sponged using a dark green PanPastel .  A little dark red PanPastel was sponged around the edges of the leaves.

For the card I used Els van de Burgt Studio Dotted Scallop Circle die set.  In the upper corner, two ModaScrap Romantic Corner die cut corners were added.


Links to products from Elizabeth Craft Designs listed below.