Monday, May 28, 2018

Feel Better Vase of Daisies


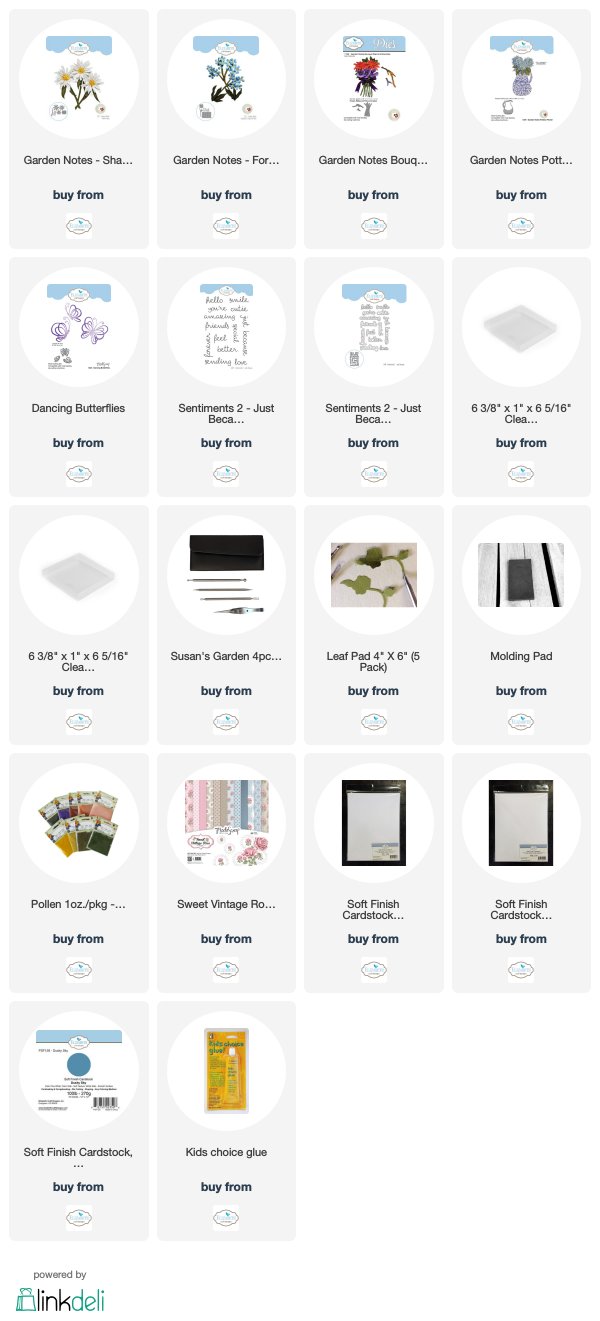
It is so fun to create realistic flowers using Susan's Garden Notes die sets.  Today I created a bouquet of white Shasta Daisies with Forget-Me-Nots.  Here is how the card was designed.

Use a 6 inch square card.  Cover the front with a piece of design paper from the ModaScrap Sweet Vintage Rose design paper pack.  

Use the Garden Notes Pottery Pitcher die set to create the vase.  Use a piece of clear acetate with Clear Double Sided Adhesive attached to one side.  Die cut the pitcher.  Die cut a piece of white card stock that has Clear Double Sided Adhesive on the top.  Sprinkle Cool Diamond Silk Microfine Glitter on the bottom portion of the adhesive.  This will give a little sparkle to resemble water in the vase.   Use the Garden Notes Bouquet and Stems die set to die cut green stems. .  Attach the stems so they show through the lower portion of the pitcher.  Pull the adhesive covering off the white die cut pitcher and attach the acetate pitcher over the white die cut pitcher.  Attach the Pitcher at the bottom of the card, as shown. 

Use the Garden Notes Forget-Me-Not die set and die cut four stems and enough flowers to cover them.  Attach these flowers in the pitcher, leaving room for the daisies. 

Use the Garden Notes Shasta Daisy die set and create 6 daisies.  Shape the petals and leaves using the Flower Tool Kit.  Add yellow pollen in the center of each flower.  Arrange the daisies as shown to create a full bouquet. 

Use the Dancing Butterfly set and die cut one butterfly using Dusky Sky Soft Finish Cardstock.  Attach the butterfly in the upper left corner.

Use the Sentiments 2 - Just Because die set and matching dies for the sentiment.  Attach to the lower right side of the card.

I think these pretty flowers will help someone to feel better.

You can shop for the products used by clicking on the product links below.


Saturday, May 26, 2018

Hello Daisies


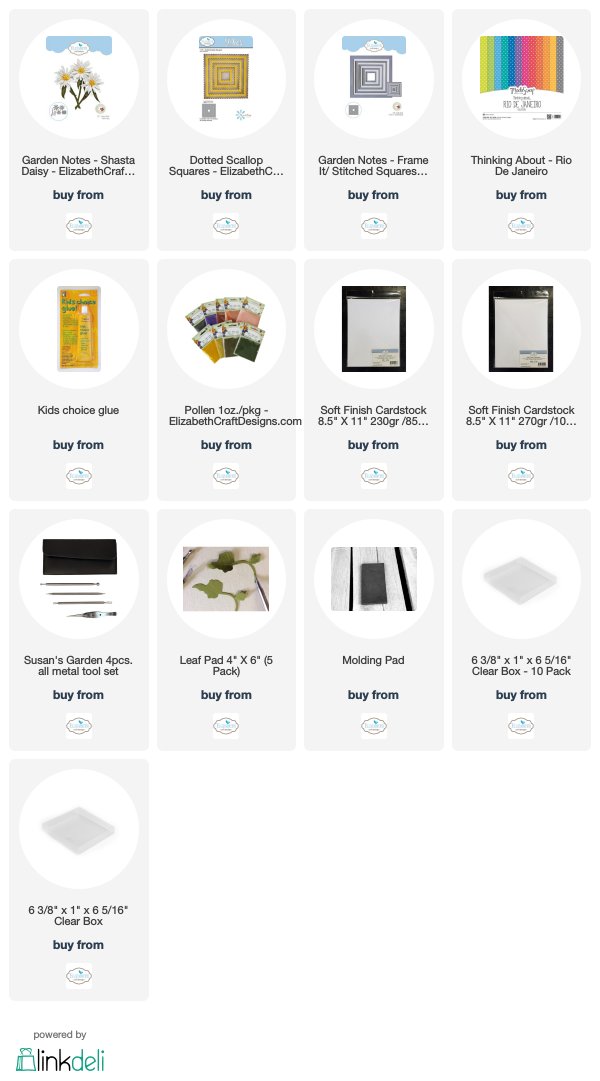
Today I created a fun card using Susan's new Shasta Daisy die set.   I love creating daisies with this die set and thought I would do something a little different.  Here is how I created this card.

Start with a 6 inch square card.  Cover the front with a piece of the ModaScrap Rio de Janerio design paper.

Use the Dotted Scallop die set to die cut one white square. The outside measurement of this square is 4 1/2 inches. 

Use one of the new Frame It/Stitched Square dies and one Fitted Square die to create a narrow frame. The outside side edge of this frame measures 4 inches. 

Cut a piece of white card stock 4 inches square.  Sponge on blue, purple and yellow inks to create a colorful background.  Use the Banner Sentiments stamp set and use the Hello Sunshine stamp to stamp only the Hello.  Attach this piece to the back of the narrow frame.
Attach the frame, with dimensional tape to the Dotted Scallop square.

Use the new Garden Notes Shasta Daisy die set to create three daisies.  Before assembling the flowers, cut off three or four petals off the top of each daisy layer.  Shape the flower petals and leaves using the Flower Tool Kit.  Assemble the flowers with all the petals  only on the lower side of the flower, as shown.  Add yellow pollen over the center of each flower.  Attach the daisies over the center frame, using dimensional glue dots.  Trim off the stems that go over the bottom of the frame.  Attach the daisy frame, at an angle, as shown.

Use one of the acrylic boxes, linked below, to mail this card.

Who do you know that would love to receive this cute card?

You can shop for the products used by clicking on the product links below.

Have a nice holiday weekend.


Forget-Me-Nots


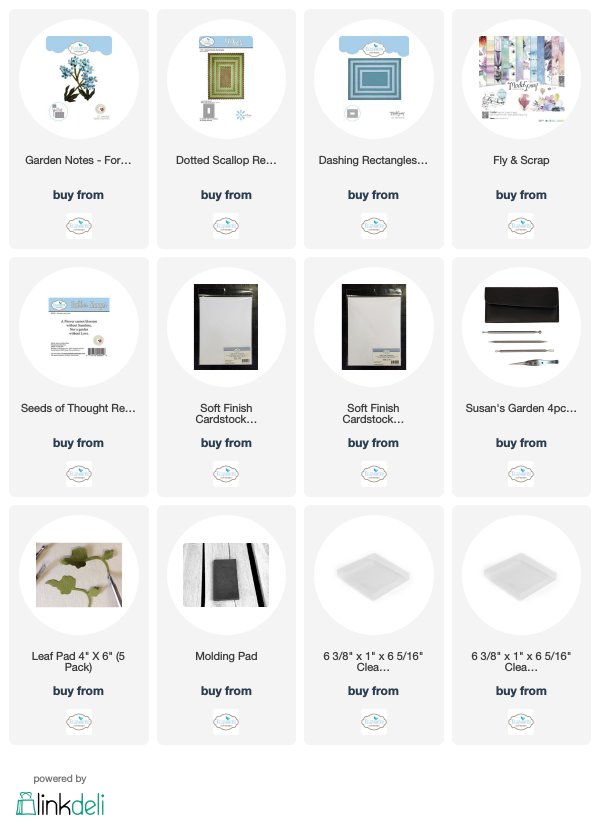
One of the new Susan's Garden Notes flower is the Forget-Me-Not.  This is such a pretty little flower and very easy to assemble.

Start with a 6 inch square card.  Cover the front with a piece of the ModaScrap Fly & Scrap design paper.

Use the Dotted Scallop Rectangle die set to die cut a white rectangle to fit on the left side of the card.  Use two of the Dashing Rectangle dies to create a smaller frame to fit inside the Dotted Scallop Rectangle.  Attach to the center of the larger rectangle.

Use the Garden Notes Forget-Me-Not die set and create three sets of flowers.  Create the flowers using Susan's Flower Tool Kit and Kids Choice Glue.    Arrange the flowers inside the rectangle frame.  Add a blue organza bow.

Use Susan's Seeds of Thought stamp set and stamp, using VersaFine Black Ink onto white card stock.  Clear emboss.  Cut the sentiment apart and sponge blue ink around edges of each one.  Attach to the card as shown.

You can shop for the products used by clicking on the product list below.


Friday, May 25, 2018

Forsythia - Miss You


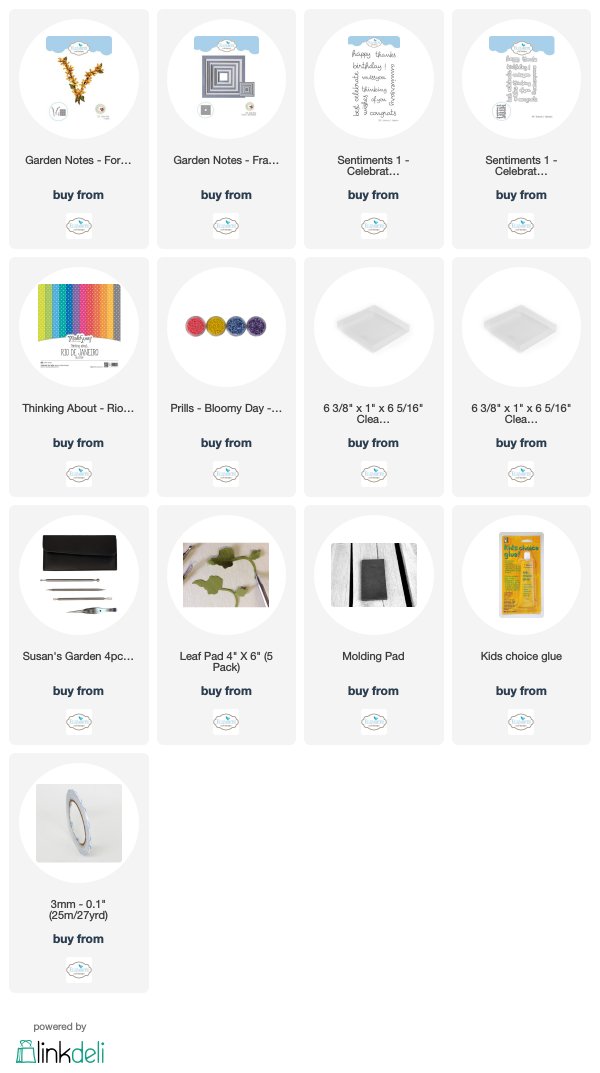
Aren't these forsythia beautiful!  These flowers were created using Susan's new Garden Notes Forsythia die set.  Also in her new Garden Notes release are sets of Frame It/Stitched die sets in square, oval, square and rectangle.  I used the new Stitched Square dies on this card.  In total, there are 14 new Susan's Garden Notes die sets now available.

This is a 6 inch card.  A piece of the ModaScrap Rio De Janerio gray polka dot design paper was added to the front.  

Use a 6 inch piece of white card stock and the Frame It/Stitched Square die set to create the largest frame.  Use a piece of white card stock 3 1/2 inches square.  Tape the Frame It/ Stitched Square die, centered, to create a 1/2 inch wide frame.  Use a Score Board and score around the outside edges of both frames. 

Use a piece of white card stock 3 1/2 inches square and  spray with water -- sprinkle on yellow Brusho to create a yellow background.  Attach this piece to the back of the 3 1/2 inch frame.  Attach the frame as shown in the photo above.

Use the Garden Notes Forsythia die set and create three forsythia branches.  Shape the flowers using Susan'd Flower Tool Kit.  Add a yellow Prill in the center of each flower.  Arrange the flowers as shown and attach inside the small frame.  Add a gray organza bow, as shown.

Use the Sentiments 1 - Celebration stamp and die set to create the sentiment.  Die cut two additional backs and glue behind the stamped sentiment, to create dimension.

All the Garden Notes new die sets are now available from Elizabeth Craft Designs.  You can click on the products below to shop for these products. 


Thursday, May 24, 2018

Congrats


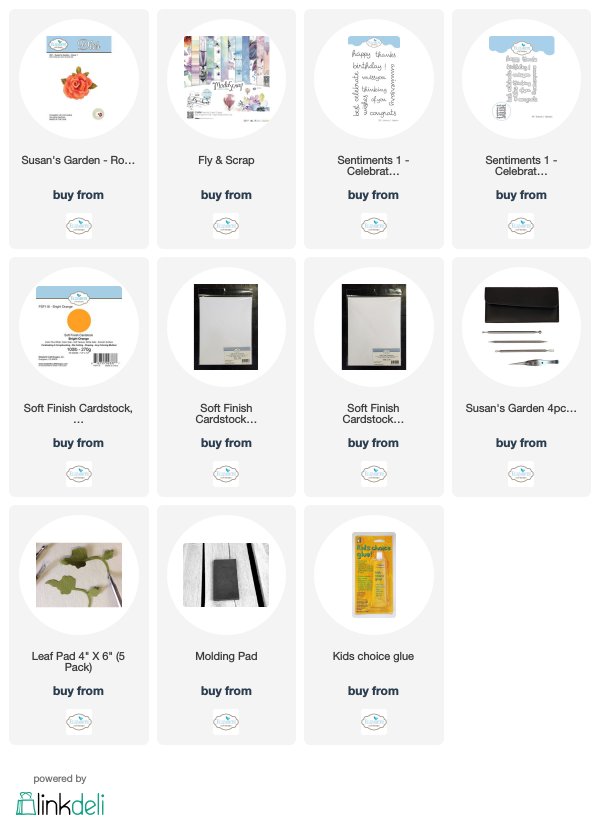
Today I have another card with some of the newly released Garden Notes die sets.  This card has the Shasta Daisy, Baby's Breath, Forsythia and Eculyptus  included in the arrangement.

Use the Garden Notes Shasta Daisy die set and create 3 daisies.  Use the Flower Tool Kit to shape the flowers.

Use the Baby's Breath Die set to create the Baby's Breath

Use the Forsythia die set to create the Forsythia.

Use the Susan's Garden Rose 1 die set to create a pretty rose. 

Use the Garden Notes Ecalyptus die set to create two ecalyptus branches.

Use the Garden Notes Frame It/Stitched Ovals die set to create the black oval.  Attach to the front of the card.

Arrange the flower bouquet, as shown on the card. 

Use the Sentiments 1 stamp and die set for the Congrats sentiment.

I will have another card tomorrow with more flowers from the new release.

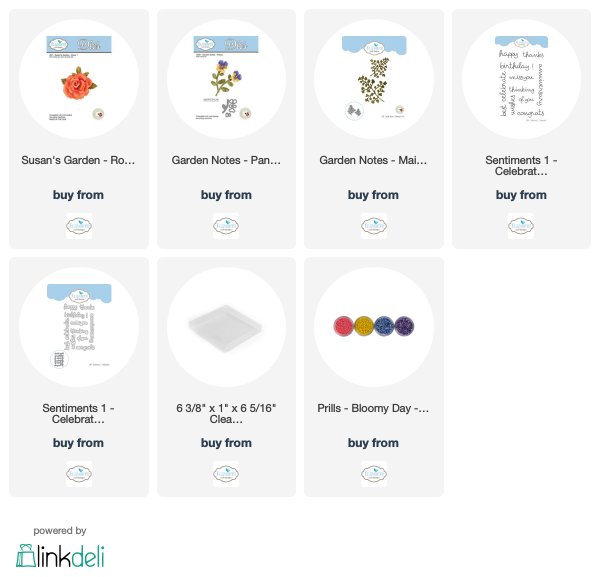
You can shop for products used by clicking on the pictures below.


Wednesday, May 23, 2018

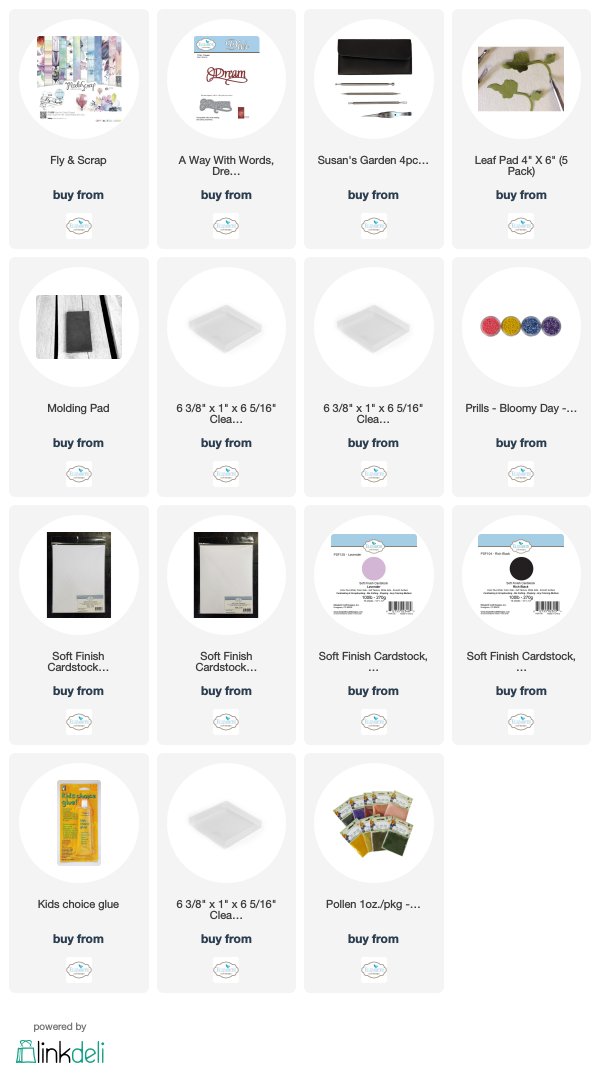
Dream Shasta Daisies


Good Morning.  Today I designed a card using three new Garden Notes die sets:  Shasta Daisy, Forget-Me-Not, and Galvanized Bucket.  

Add a piece of Lavender Soft Finish Cardstock to the front of a 6 inch square card.  Use a piece of the ModaScrap Fly and Scrap design paper over the lavender cardstock for the background.

Use the A Way With Words Dream die set and die cut the sentiment using black card stock.  Attach to the top of the card.

Use the Galvanized Bucket die set and die cut the bucket.  Color with gray and black ink.  Attach handle and attach the bucket to the bottom of the card, leaving the top open.

Use the Garden Notes Shasta Daisy die set and create three daisies.  Use the Flower Tool Kit to shape the flowers.  After creating the daisies, you can add small dots of glue and sprinkle yellow pollen in the center of the flower.

Use the Garden Notes Forget-Me-Not die set and create two stems of flowers.

Use the Garden Notes Frosty Fern die set and die cut three ferns.  

Arrange the Shasta Daisy, Forget-Me-Not, and Frosty Fern in the Galvanized  Bucket.

You can shop for the products from Elizabeth Craft Designs by clicking on the product pictures below.


Tuesday, May 22, 2018

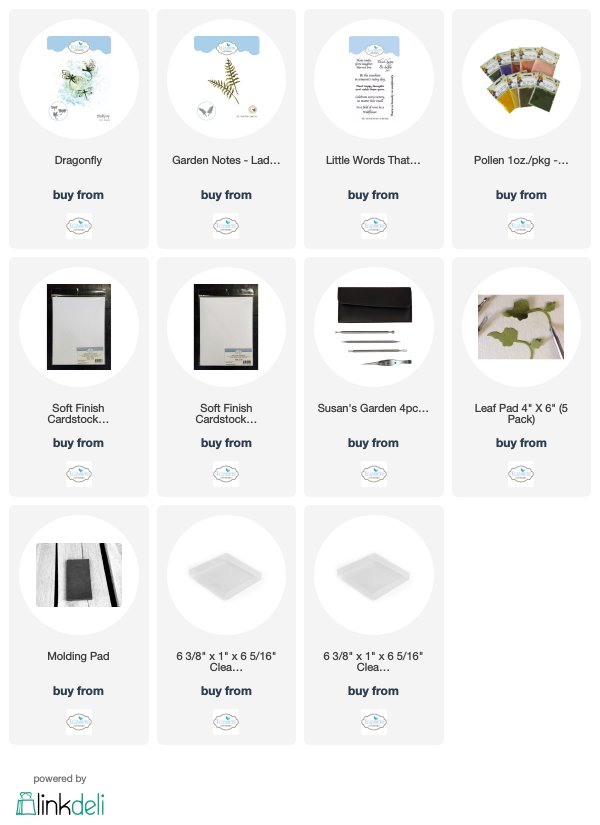
Yellow Shasta Daisies


Today I have another card designed using  the new Susan's Garden Notes die sets.  On this card I created yellow daisies using the Garden Notes Shasta Daisy die set, plus added some of the new Garden Notes Eucalyptus.  This card is sure to bring a smile to the recipients face!

Here is how I created this card:

Start with a 6 inch square card.  Cut a piece of white card stock cut 5 3/4 inches square.  Use the new Garden Notes Frame-It Stitched Oval die set to die cut an oval on the left side of this piece of card stock.  To add color inside the oval, add a piece of cardstock, created using yellow and blue Distress Ink Oxide Inks to a small piece of watercolor paper, behind the die cut oval opening.  

Use the Little Words Mean A Lot stamp set to stamp the sentiment on the lower left corner, below the die cut oval.  Attach this piece to the front of the card.

Use the Garden Notes Shasta Daisy die set and create three yellow daisies  Shape the flowers using the Flower Tool Kit and assemble using the Kids Choice Glue.  Shape the leaves and shade the center vein with light green PanPastels.  

Use the Garden Notes Eucalyptus die set and die cut two stems.  Sponge on light green ink and shape leaves.

Use the Garden Notes Ladder Fern die set and die cut three ferns.  Sponge on yellow green ink.  Color the stem with a light brown marker.

Attach the fern, eucalyptus, and flowers as shown in the picture above.   

Use the Dragonfly die set and die cut one dragonfly.  Sponge on color of choice and add flat backed pearls to the body.  Attach to the upper left corner of the card.  

For a little sparkle, add a few clear rhinestones around arrangement.

You can also create white Shasta Daisies with this new Garden Notes die set.

You can send this card a acrylic mailing box.  Link below.
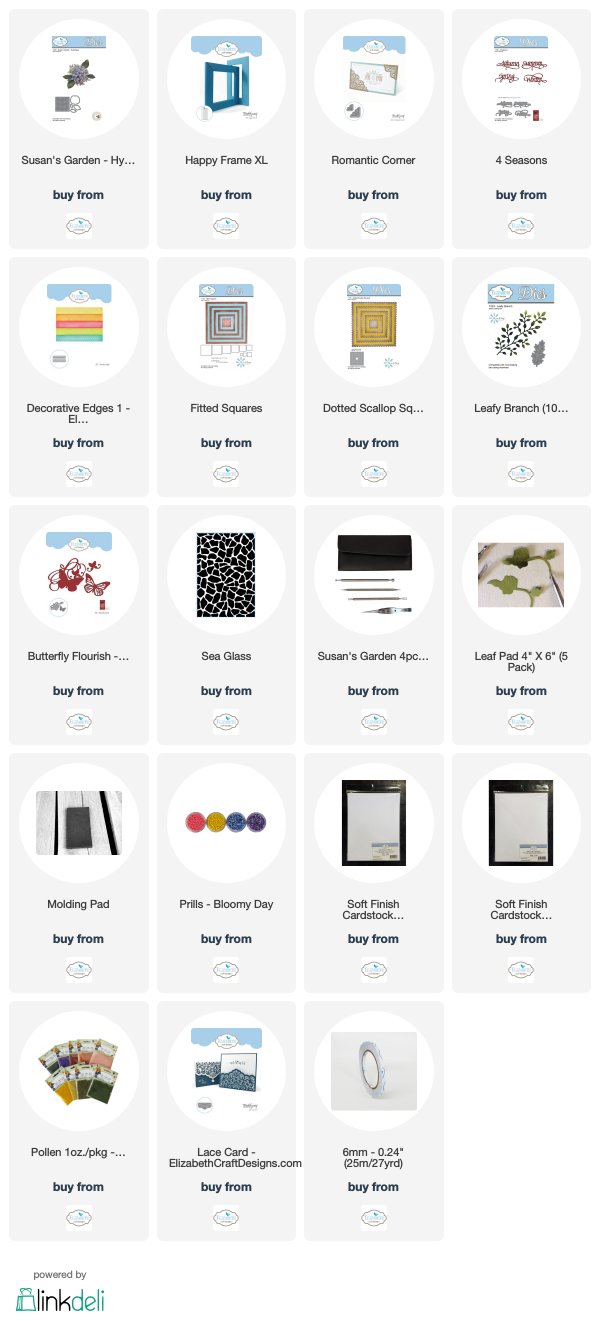
All Elizabeth Craft Designs products are shown and linked below.


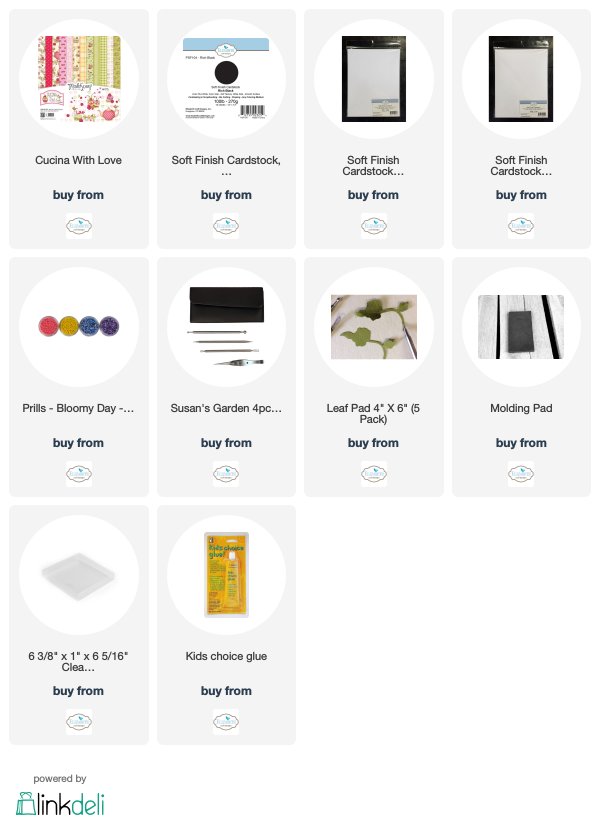
Bucket of Forsythia


Today the design team has created a variety of cards using the new Susan's Garden Notes die sets.  Go over to the Elizabeth Craft Designs Blog at this LINK to see cards created with all these new die set.  I will be posting cards all week that are designed using these new products, so be sure and check back.

Here is how this card was created:

1.  Start with a 6 inch square card.  Cut a piece of Soft Finish Black Cardstock 6 inches square and attach to the front of the card.  

2.  Cut a piece of the ModaScrap Cucina Cardstock 5 3/4 inches square and attach on top of the black card stock.

3.  Use the Garden Notes Galvanized Bucket die set and die cut the container.  Highlight the embossed lines in the bucket die cut.  Use brown ink for the wooden handle.  Add dimensional tape down the center (vertical) to give the bucket shape, and add Kids Glue around the outside edges.  Press down on the bottom of the card, as shown, leaving the top of the bucket open to insert the flowers.

4.  Use the Garden Note Forsythia die set and create stems of Forsythia to fill the bucket.  Use the Flower Tool Kit to shape the flowers.  Add yellow Prills in the center of each flower.

5.  Use the Garden Notes Eucalyptus die set and die cut two stems.  Sponge on color.

6.  Add the flowers in the top of the bucket.

You can shop for the products used by clicking on the product pictures below.


Tuesday, May 15, 2018

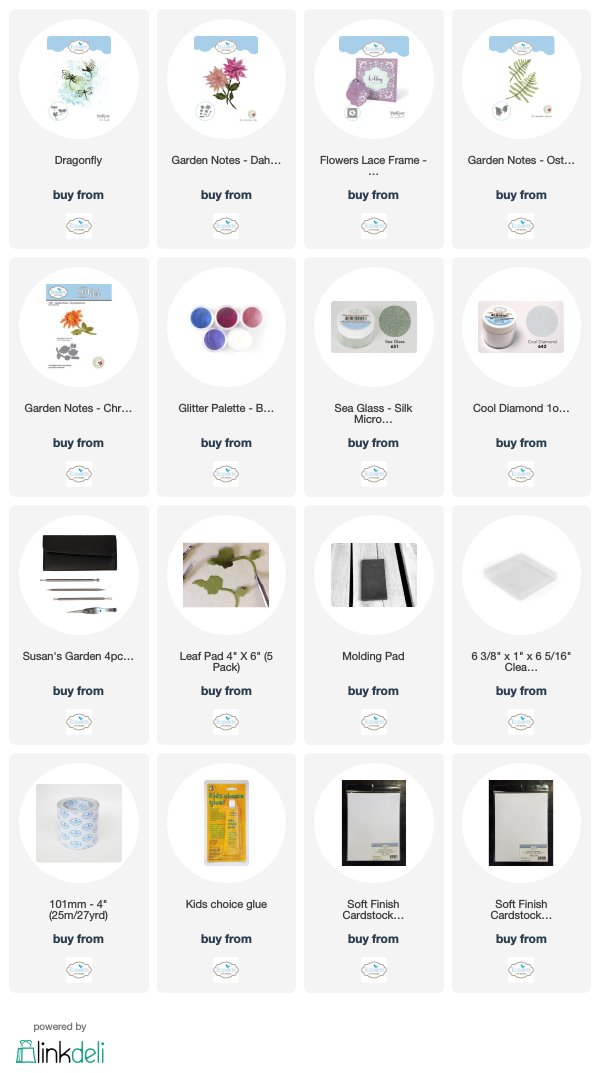
Glitter Challenge


Good Morning.  Today the design team for Elizabeth Craft Designs was challenged to create a project using some of the new Silk Microfine Glitters.  The team has been busy creating some beautiful cards and you can view them at this LINK.

Below are the beautiful new Silk Microfine Glitter Palette colors.


Glitter Palette - Bloom
Glitter Palette Bloom

Glitter Palette - Earth
Glitter Pallete - Earth


Glitter Palette - Beach


*******************
For today's challenge Elizabeth Craft Designs is giving away a $20 Gift Card to use on their website to 3 winners

To enter simply leave a comment on the Elizabeth Craft Designs Facebook Giveaway Blog Post, or the Elizabeth Craft Designs Challenge post, and tell us Which of the new Silk Microfine Glitter Palettes is your favorite, Earth, Beach or Bloom?

Three lucky winners will be selected in a random drawing. 

The winners will be announced on Friday, May 18th on the Elizabeth Craft Designs Blog and Facebook page.

*****************
Here are the directions for creating my card.

Step 1.  Create the background.  Add a piece of Clear Double Sided Adhesive to the top of white card stock 6 inches square.  Use the Flowers and Lace die set and die cut the frame.  Cool Diamond Silk Microfine Glitter will be added to the top of this die cut.  Leave the adhesive sheet on this die cut piece.

 Step 2.  Cover a piece of white card stock, 6 inches square, with Clear Double Sided Adhesive.  Peel off adhesive covering and attach the Flowers & Lace die cut piece on top. Insert the center  piece leaving on the adhesive covering.  The only sticky parts should be the flower die cut openings of the frame.  Sprinkle on the Rose Red glitter from the Bloom glitter set, adding glitter to all the design.  Rub the glitter in well with fingers, then use brush and/or Swifter cloth and clean off all stray glitter.  

Step 3.  Being sure all lose Rose Red Glitter if cleaned off work area, peel off the adhesive covering on both the die cut frame and the center piece of the frame.  Pour Cool Diamond Silk Microfine glitter over the entire front of the card.  The Cool Diamond Glitter will not stick to the Rose Red Glitter if it was rubbed in well.  Rub Cool Diamond Glitter in well with fingers and brush off excess.  Trim edges of frame as needed to fit front of 6 inch square card.

Step 4.  Use a piece of white card stock, covered with Clear Double Sided Adhesive,  large enough to die cut three dragonflies. Die cut the three dragonflies of choice.   Sprinkle on Lilac, Periwinkle and Sea Foam Silk Microfine glitter, using a spoon to layer the glitters.  The Lilac and Periwinkle glitters are in the Bloom glitter set.

Step 5.  Use the Garden Notes Blue Bonnet/Lupine die set and create one pink flower.  Use the Flower Tool Kit and Kids Choice glue for shaping and assembly.  

Step 6.  Use the Garden Notes Dahlia die set and create one flower.

Step 7.  Use the Garden Notes Chrysanthemum die set and create one flower.

Step 8.  Use the Garden Notes Ostrich Fern die set and die cut two ferns.

Step 9.  Attach the ferns, flowers and dragonflies as shown.

You can shop for the products used by clicking on the product pictures below.


Wednesday, May 9, 2018

Happy 4th of July


This card was designed using one of the new Joset Designs die sets from Elizabeth Craft Designs.  The name of this set is called 4th of July.  You can view all the cards created for this new release on the Elizabeth Craft Designs blog at this LINK.

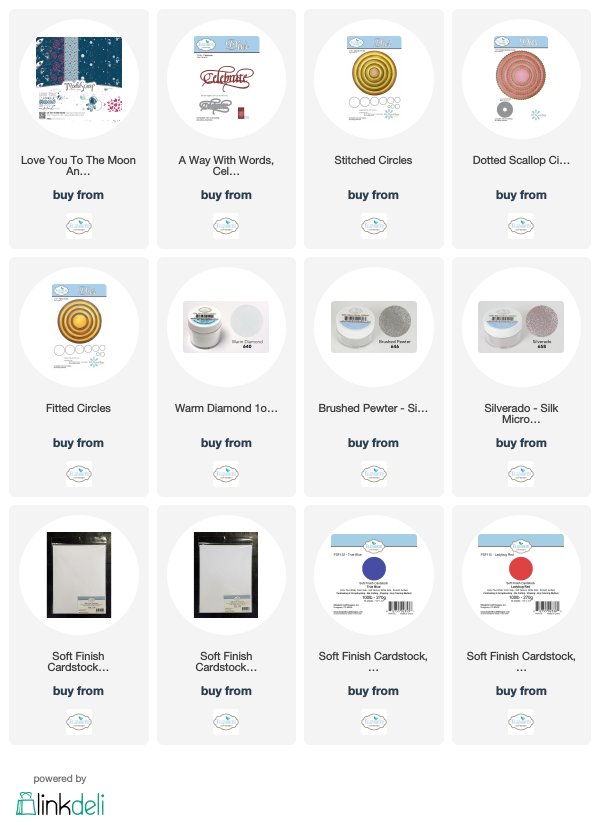
Step 1.  To create this card, use a 6 inch card base.  Cover the front with a piece of design paper from the ModaScrap Love You to The Moon & Back paper pad.  

Step 2.  Use the 4th of July die set and die cut all the pieces.  Use red, white and blue card stock as shown, for the stars, top hat, and firework.  Use a piece of white card stock to die cut the top of the firework that has Clear Double Sided Adhesive attached on top.  Die cut  and add Brushed Pewter Silk Microfine Glitter to this piece.  

Step 3.  For the fireworks 'blast', die cut the pieces with Clear Double Sided Adhesive on top of white card stock so you can add glitter.  Use Brushed Pewter Silk Microfine Glitter on the larger piece, and Silverado Silk Microfine Glitter on the smaller piece.   

Step 4.  To create the 'Uncle Sam' face to go with the top hot, use the smallest Dotted Scallop Circle die and white card stock.  For the face, use vanilla card stock and die cut  using the smallest Stitched Circle die.  Use a black marker to create the face.  Glue the face to the beard and attach the top hat.

Step 5.  Use the new Summer Fun Sentiments Clear Stamp set for the Happy 4th of July sentiment.  Stamp it using black VersaFine Ink then fussy cut around it.

Step 6.  Use the A Way With Words Celebrate die set to die cut the White Celebrate.  

Step 7.  Attach all the pieces to the card as shown using dimensional tape, except for the Celebrate.  Glue the Celebrate to the bottom of the card.

Thank you for visiting today.

You can purchase the products used by clicking on the product pictures below.


Tuesday, May 8, 2018

Grillin & Chillin


New releases are always exciting.  Today the Elizabeth Craft Design Team has created a variety of cards using the new dies now available.  The set for this card is the Backyard Barbeque die set.  This die set will be especially easy to create masculine cards.  You can see all the cards created by the design team on the Elizabeth Craft Designs Blog at this LINK.

Here are the directions for my card.

Step 1.  This is a 6 inch square card.  Use a 6 inch square piece of  white card stock to layer on top of the card.  Before attaching, score around the edges for a decorative edge.

Step 2.  Use the Dotted Scallop Square die set to die cut a square for the background.  Attach to the front of the card with dimensional tape.

Step 3.  Use the Backyard Barbeque die set and die cut the BBQ, the fire, hamburger, mustard, ketchup, fork and hot dog.  Use markers to color each piece.  

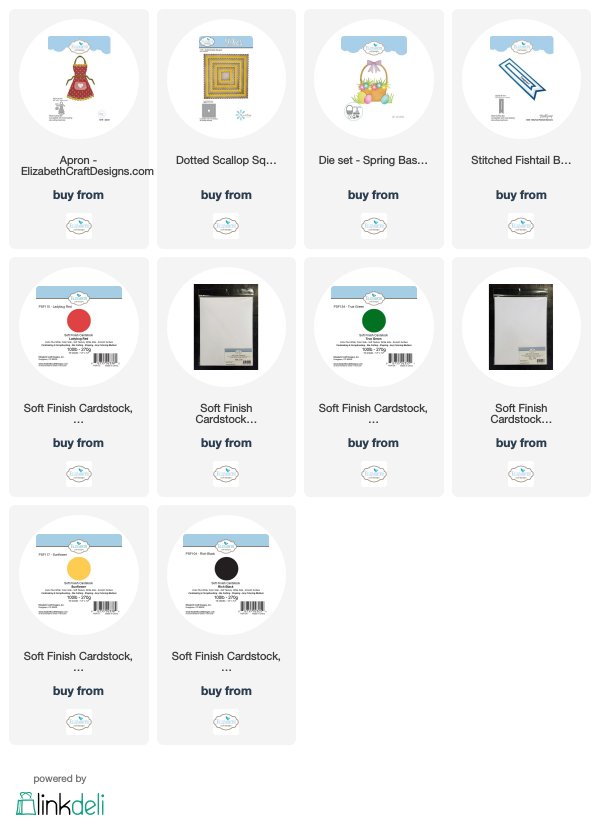
Step 4.  Use the Apron die set and die cut pieces for the apron.  Glue the red pieces to the red/white gingham apron.

Step 5.  Use the Spring Basket die set and die cut two pieces of grass, using green card stock.

Step 6.  Use the Summer Fun Stamp Set and stamp the sentiment on white card stock.  Use the Stitched Fishtail die set and die the sentiment.  Cut the left edge of the Fishtail to fit along the left side of the card.

Step 7.  Attach all the die cut pieces as shown.

Thank you for visiting my blog today.


You can find all the products used by clicking on the products pictures below.


Life's A Picnic


The new Elizabeth Craft Designs,  Joset Designs product release, is now available.  The design team has completed cards with all the new products.  You can see these cards on the Elizabeth Craft Designs Blog at this LINK.

I have created an outdoors BBQ scene for this card.  

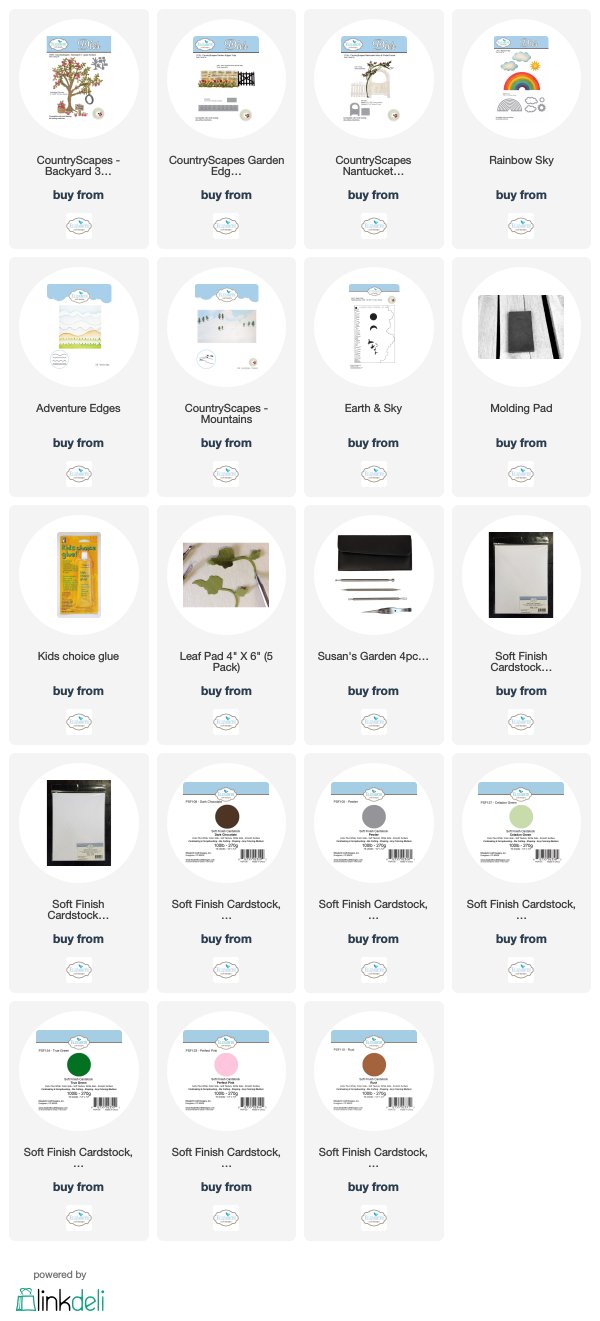
Step 1.  This is a 6 inch card.  Cut a piece of white card stock  5 3/4 inches square.  Use the Earth & Sky Stencil to sponge on clouds on the top half.  Attach to the front of the card.  

Step 2.  Use the CountryScapes Mountains die and die cut two edges with the trees.  Only one of these edges will be used, but the a couple of the trees will be added to one die cut.

Step 3.  Use the Adventure Edges die set and die cut one rolling hills edge.  This piece must be long enough below the top die cut edge to fit a along the bottom of the card.  Use the Earth  Sky Stencil to add grass to this piece.  

Step 4.  Use the Backyard Barbeque die set to die cut the grill, fire and steak.  Glue the pieces together as shown.

Step 5.  Use the CountryScapes Backyard 3 die set to die cut the tree.  Use the Leafy Branch die set to die cut the green leaves for the tree.  Cut the leaves from the branch and attach to the die cut tree branches.

Step 6.  Use the CountryScapes Nantucket Fence die set for the white fence.

Step 7.  Use the CountryScapes Garden Edges Tulip die set for the Tulips.  Shape the tulips using the Flower Tool Kit and using Kids Choice Glue.  

Step 8.  Use the Adventure Edges die set for the die cut grass at the bottom of the card.

Step 9.  Use the Rainbow Sky die set and die cut two clouds.  

Step 10.  Attach all the pieces as shown.


All the products used for this card are pictured and linked below.


Monday, May 7, 2018

Just Because


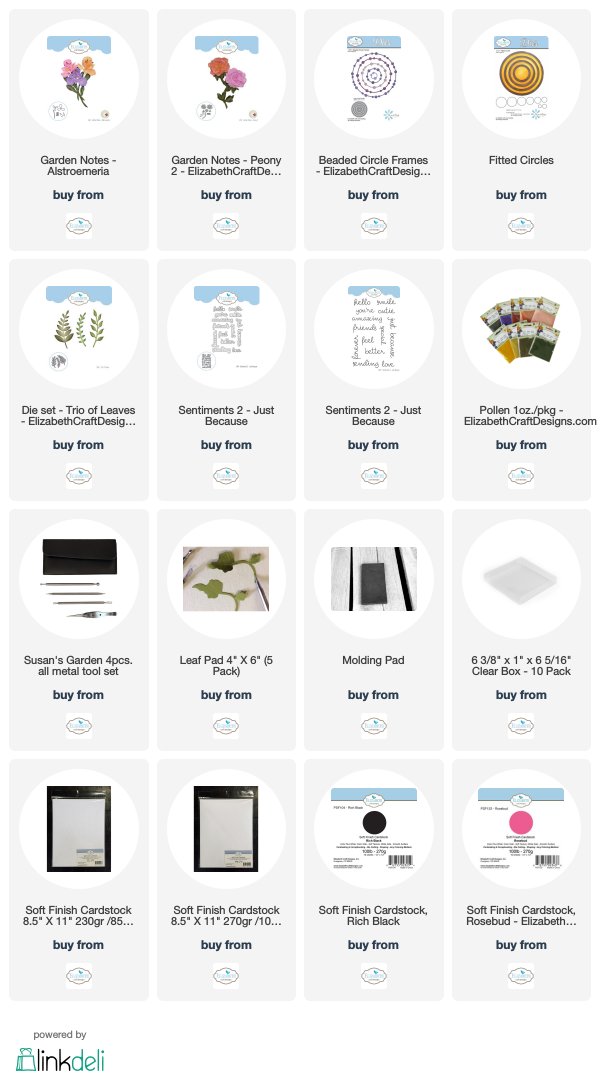
Good Morning.  Today I have a card designed using Susan's Garden Notes Peony 2 and Garden Notes Alstroemeria die sets.  

This is a 6 inch card.  A white piece of card stock was cut and scored around the edges then attach to the front of the card.

The Fitted Circles die set was used to die cut a black and a white circle.  The smaller black circle was attach over the white circle.  

The Beaded Circle Frames die set was used to die cut the pink circle that is glued inside the edge of the black circle.

The Garden Notes Peony 2 die set was used to die cut petals for 3 flowers.  The petals were shaped using the Flower Tool Kit.

Use the Garden Notes Alstroemeria die set to create two flowers.  Add pollen to the end of each stamen.  

Use the Trio of Leaves die set to die cut 5 leaf branches.

Attach the leaves and flowers to the left side of the die cut circles. 

Use the Sentiments 2 - Just Because Stamp and die set for the sentiments.  Die cut the backing two more times and stack/glue the pieces together for dimension.

You can shop for the products used by clicking on the product pictures below.

Thank you for stopping by today.


Sunday, May 6, 2018

Foamiran Bouquet


My sweet friend Eva from the Netherlands sent me some packages of Foamiran to make flowers with.  She also sent me design paper, which I used on the front of this card.  The dies used to die cut the flowers, leaves and fern include Susan's Garden Rose 1, Garden Notes Pansy and Maidenhair Fern. Susan's Garden Notes die sets work great to die cut petals for any of the flowers you would like to create with Foamiran.

The Sentiment 1 - Celebrate Clear Stamp Set and matching dies were used for the sentiment.

The products from Elizabeth Craft Designs used are pictured and linked below.


Tuesday, May 1, 2018

Hydrangea and Butterfly Frame

 Today is May Day so I wanted to make some pretty flowers.  I used Susan's Garden Hydrangea die set and framed them in the Happy Frame XL.

Step 1.  Use White Soft Finish Cardstock to die cut the four pieces to create the frame.


Step 2.  Use the Decorative Edges 1 die set to create the stitched design on the front of the frame.  Tape the die on the die cut frame piece, as shown above and run through the die cutting machine.  Add Clear Double Sided Adhesive and create each side of the frame then assemble the frame.  Cut a piece of white card stock to cover the back of the frame.

Step 3.  Use the Dotted Scallop Square and Fitted Square frame sets to die cut a frame to go inside the Happy Frame.

Step 4.  Use the Sea Glass Embossing Folder and emboss a piece of white card stock.  Attach it to the back of the Dotted Scallop Square frame.  Center and attach the Scallop Frame inside the Happy Frame.


Step 5.  To create the variegated color for the Hydrangea flowers, use a piece of white card stock  Add Shaded Lilac, Faded Jeans, and Wilted Violet Distress Oxide Inks to a craft mat.  Spritz with water then dip the card stock down into the ink until the card stock is covered with ink.


Step 6.  Use the Susan's Garden Hydrangea die set and die cut enough flower petals to create three hydrangeas, using the card stock created in Step 5.  Shape the flowers using the Flower Tool Kit.  For directions on how to assemble this flower, you can watch Susan's Garden Club Video at this LINK.  Add yellow Prills to the center of each flower.

Step 7.  Use the Garden Notes Jasmine die set and create six Jasmine flowers.

Step 8.  Use the Leafy Branch die set and and die cut two branches.  These are to be cut apart and and used behind the flower arrangement.

Step 9.  Assemble the Leafy Branch, Hydrangea and Jasmine flowers in the lower left corner of the frame.

Step 10.  Use the A Way With Words 4 Seasons die set and die cut Spring, using white card stock.  Lightly sponge Shaded Lilac Distress Oxide Ink on it.   Attach in the frame as shown.

Step 11.  Use the A Way With Words Butterfly Flourish die set and die cut three white  butterflies.  Color by sponging on  Wilted Violet Distress Oxide Ink.  Attach as shown.

Step 12.  Use the Romantic Corner die set and die cut four white corners.  Attach them to each corner of the frame.

Step 13.  To finish the frame, Use the Lace Card die set and die cut one white lace piece.  Attach to the back of the frame at the top.

You can shop for the products used by clicking on the pictures below.


.


LinkWithin

Related Posts with Thumbnails