

Another card using some of Susan's new Garden Notes die sets from Elizabeth Craft Designs. One of the questions I receive about my flower cards, is how do I mail them. I have been mailing these cards out in clear plastic boxes, that are available from Elizabeth Craft Designs - the LINK is below. These boxes are sturdy and in my experience always arrive in perfect shape to the recipient - The flowers are never smashed. You just add your card in the box and behind the card add a piece of paper that has the mailing information. My cards are always 6x6 inches so the address is printed on a piece of 6x6 inch computer paper and placed behind the card. I like to use clear mailing tape on the ends to be sure the box stays closed.
This is a 6 inch square card.
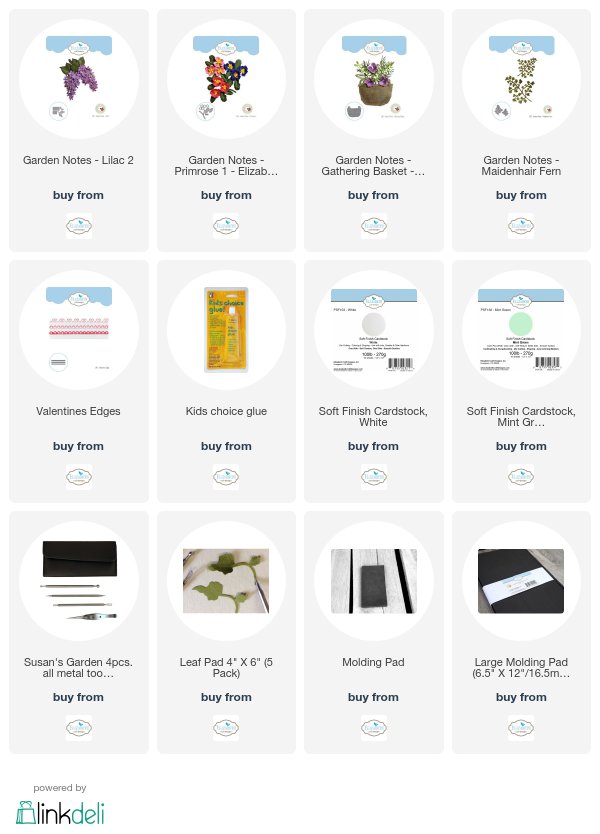
1. Use the Garden Notes Primrose die set and create eight flowers. I used white card stock and colored the flowers with markers. Shape the flowers using Susan's Flower Tool Kit. Add yellow Pollen to the tips of the stamens. Die cut, shape and color the leaves.
2. Use the Garden Notes Lilac 2 die set and create three branches of purple lilacs and the leaves. Add yellow Prills to the center of the little flowers.
3. Use the Garden Notes Gathering Basket die set and die cut one basket. Color and slightly shape the basket.
4. Use the Valentine Edges die set and die cut one heart edge. Attach this edge along the bottom of the card. Leave about a one inch border below the pretty die cut edge.
5. Use the Love Struck die set and die cut the large heart, using White Soft Finish Cardstock.
6. Stamp the sentiment from Suzanne's Where The Flowers Bloom Collection stamp set, using black VersaFine ink and clear emboss. Use scissors and trim around the sentiment and add to the upper left corner of the card.
7. Attach the Love Struck heart at an angle toward the top of the card. Attach the Gathering Basket at the bottom of the card. Glue only the edges of the basket down, creating a bow in the basket so you can insert the flowers.
8. Add the ferns, and the flowers inside the basket.
You can shop for the products used by clicking on the product links below.


3 comments:
Absolutely gorgeous!
Beautiful card today, so bright and colorful. Nice to see bright colors after all this snow outside my window and white everywhere including the sky. Thank you for explaning how you mail your cards. I was wondering how the clear plastic mailing boxes would hold up going through the postal system.
OUSTANDING.....this basket with Flowers, Selma!!
Your flowers are MAGNIFIC!! I Love it...
Post a Comment